

showUnify() call that lets your users connect a domain they already own or buy a new one, without you building a selection screen or managing two flows.
1. Set up your dashboard
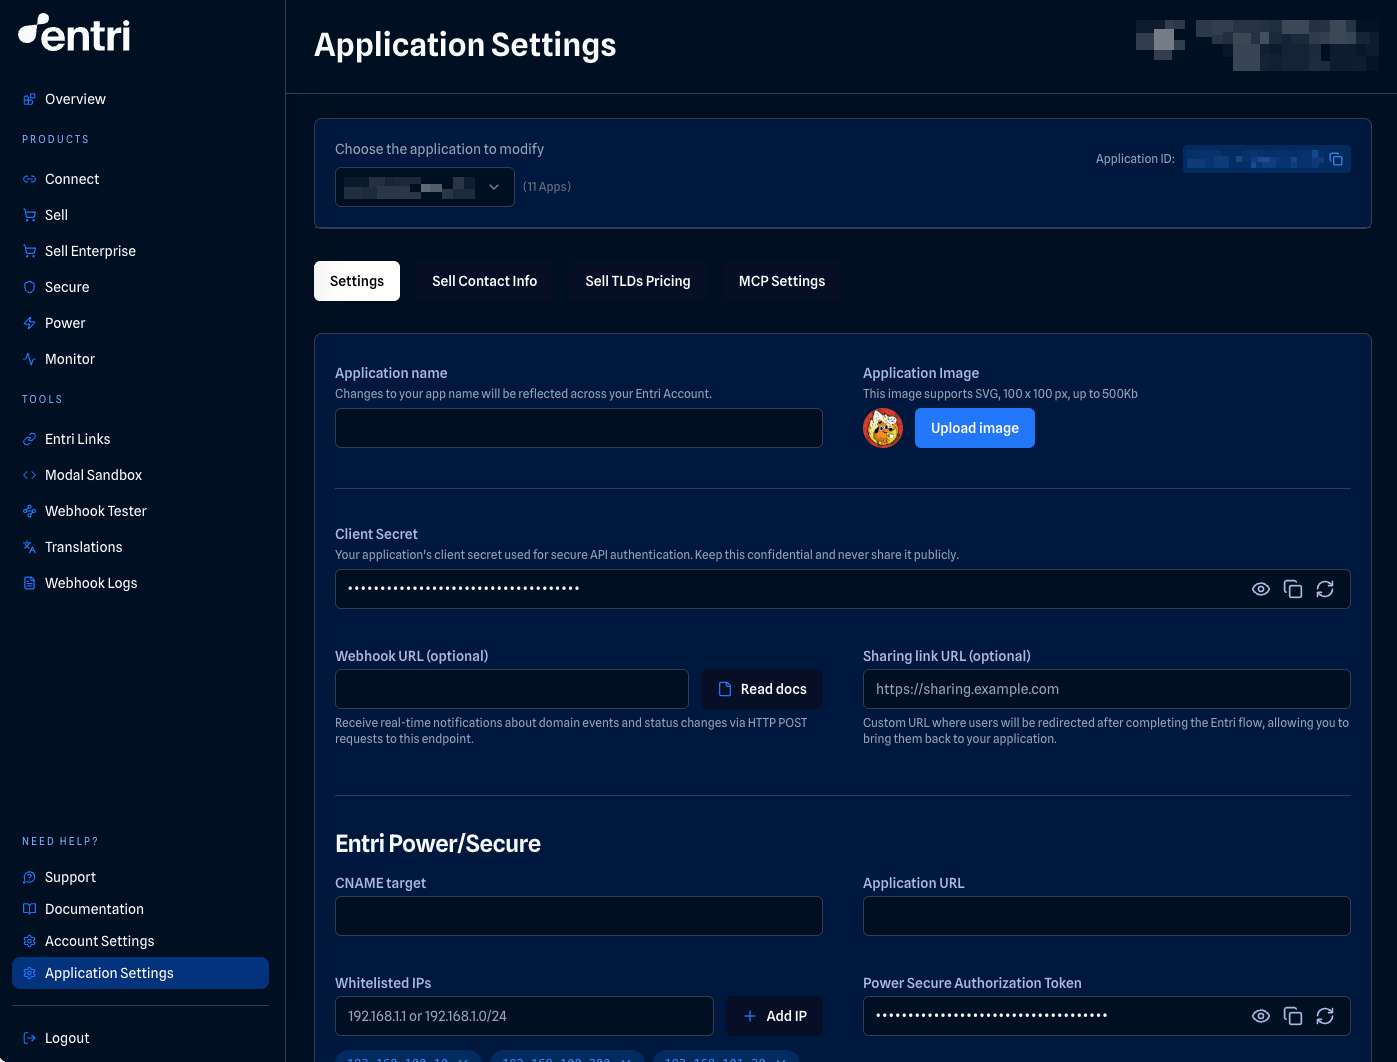
Before writing code, configure your application in the Entri Dashboard:- Sign up or log in
- Create an application
- Set your display name and icon (PNG or SVG, 1:1 ratio, white or transparent background)
- Copy your
applicationIdandsecret
2. Install Entri
Choose your preferred installation method:Subresource Integrity (SRI): If your security policy requires SRI, load Entri via the pinned loader URL with its SHA-384 hash:The loader at
entri-latest.js is immutable, so the integrity hash above stays valid across Entri SDK releases — no need to update it on each version.Because the loader fetches the SDK asynchronously, window.entri isn’t available immediately. Wait for the entri:ready event before calling showUnify():3. Get a JWT token
For security, fetch the JWT on your server-side. The token expires after 60 minutes.4. Launch the Entri modal
With your token ready, launch the Entri modal. Entri asks the user whether they want to buy a new domain or connect one they already own, then routes them through the right flow. The records you pass indnsRecords are applied either way; this example uses a single CNAME, and DNS Records covers all supported types and their fields:
DNS monitoring is included. Every domain added through
showUnify() is automatically enrolled in Entri Monitor, which watches its DNS records and notifies your webhook if they change or break. No extra configuration needed.If you only need one of the two paths, call
connectDomain() (connect an existing domain) or purchaseDomain() (buy a new one) directly. They take the same config, but note that they don’t enroll domains in Entri Monitor by default; pass monitor: true if you want monitoring. connectDomain() was previously named showEntri(), which is deprecated but still works as an alias.5. Handle events
Listen for completion and close events:onEntriPathSelected browser event. After that, the selected flow fires its regular events. See Unify events for the details.
Complete example: React
Here’s a full working example with React:For more framework-specific examples, see our React Integration Guide and Vanilla JS Guide.
Next steps
You just integrated Entri Unify, which routes your users into Entri Connect (existing domains) or Entri Sell (new purchases) behind a single call. Explore those flows and the rest of Entri’s products:Connect
Automated DNS configuration for 60+ providers
Sell
Let users purchase domains in your app
Secure
Automatic SSL certificate provisioning
Power
Custom domain management for your users
Dive deeper
Configuration Reference
All showUnify() options
Events Reference
Complete events documentation
Webhooks
Server-side notifications
DNS Concepts
Understanding DNS records
