
English
Image

Recommended Posts

Image

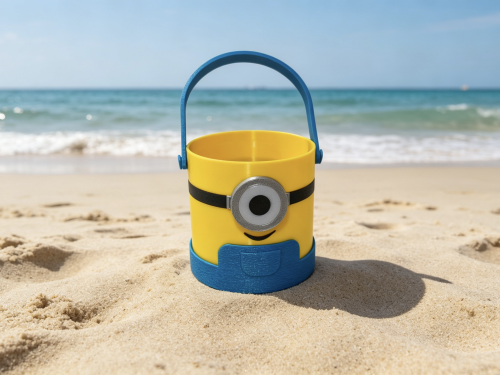
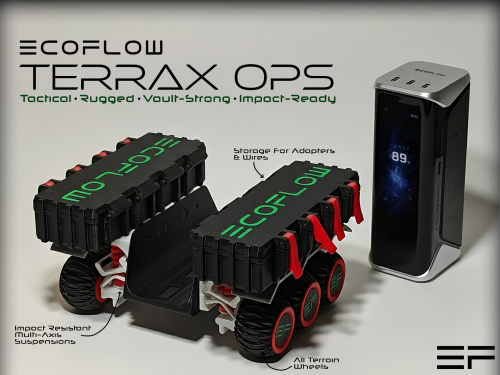
The small yellow person bucket designed and 3D printed by oneself has been completed

After tinkering and debugging, the car overturned several times, and the handle was also printed and assembled separately.
Preparing to take the child out to dig sand, hoping to withstand the children's efforts
Image651
Image3
Image1
Image

Pocket portable mini slot machine

Installation steps:
Prepare 21 circular magnets measuring 4mm x 2mm.
1. Insert the three magnets with their positive poles facing outward into the corresponding holes. Fix with 502.
2. Combine the protruding part of the torsion spring with the gear hole, and add a small amount of glue to fix it at the hole.
After completing the above three sets of processes, insert the three gears into their corresponding slots, making sure that the front end of the torsion spring is behind the blue line. As shown in the picture, the front end of the torsion spring can move backwards, but it must not move forwards. To ensure a success, the front end of the torsion spring can be placed about 1 millimeter away from the blue line. If it doesn't turn in the end, it's likely because the front end of the torsion spring is still too far forward, causing the gear and rotor to get stuck with each other. (Note that the thickness of the gears varies and do not install them incorrectly)
5. It is best to keep the top of the gear in a straight line. Drop a small amount of glue into the gap between the gear and the shaft, ensuring that the three gears are fixed together with the shaft (do not drop too much glue)
6. Insert 6 magnets with negative poles facing outward into the corresponding holes (first step with positive poles facing outward). If the first step is to have the negative pole facing outward, then this step requires the positive pole facing outward. It is necessary to ensure that the magnetic poles of the magnet on the gear are opposite to those on the base, that is, to ensure that the magnet is in a mutually attractive state. (Don't make any mistakes). Repeat this step three times.
7. The cover plate is fixed with glue. Repeat 3 times.
8. First, stick the white numbers and symbols in their corresponding positions with 502. Then insert the shaft and check if the rotation is smooth
10. Fix with glue.
For more information, please refer to the installation instructions in the model link.
Image618
Image2
Image1
Image

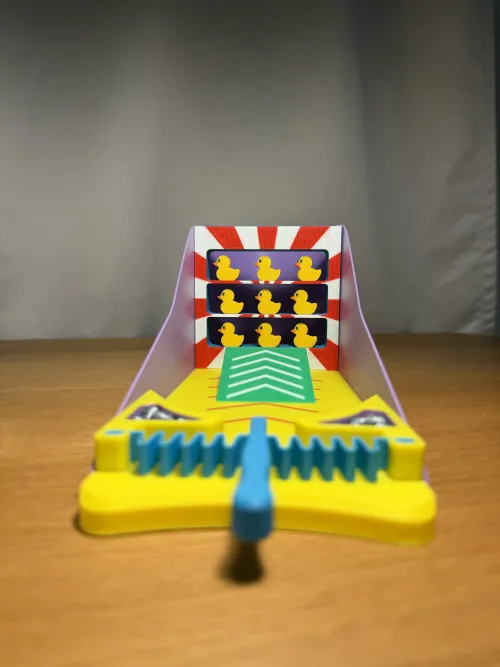
Duckling - tabletop catapult game

This is a tabletop shooting game where the goal is to use a spring powered launcher to knock down as many ducks as possible.
The player shoots a ball towards a three-layer rack on the game field where a total of 9 ducks are placed. Each round contains 10 shots and records the number of ducks knocked down.
In order to reach different heights, the game includes 5 interchangeable slopes with varying angles. These slopes can be freely placed between the first and last red arrows on the base before each shot, allowing players to adjust their trajectory and strategy.
For easy resetting and cleaning, there is a pull-out drawer on the back of the game for collecting balls and dropped ducks.
The first player to knock down 20 ducks wins.
Image622
Image2
Image1
Image

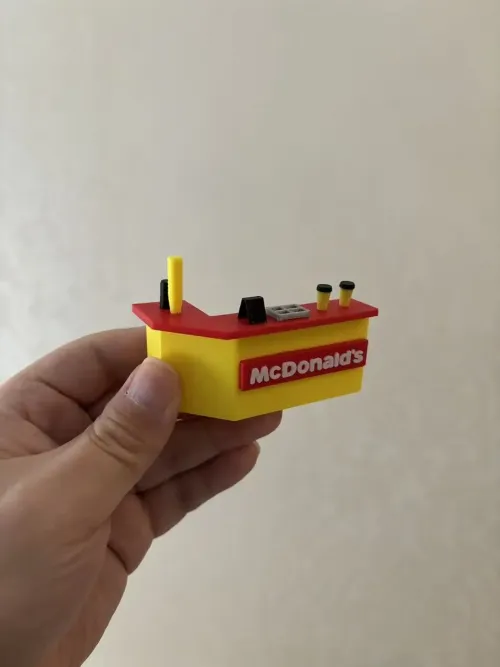
Miniature Scene - McDonald's Window Model Night Light

Accessories: Additional purchase of candle lights is required
Installation steps:
1. Stick the small props together with glue
2. Reinstall the menu onto the cabinet
3. Install signs
4. Install walls, cabinets, and roofs
5. Candle lamps can be installed on the reserved holes on the roof (the silicone sleeve on the candle lamp can be removed to make it look more harmonious)
Image269
Image4
Image1
Image

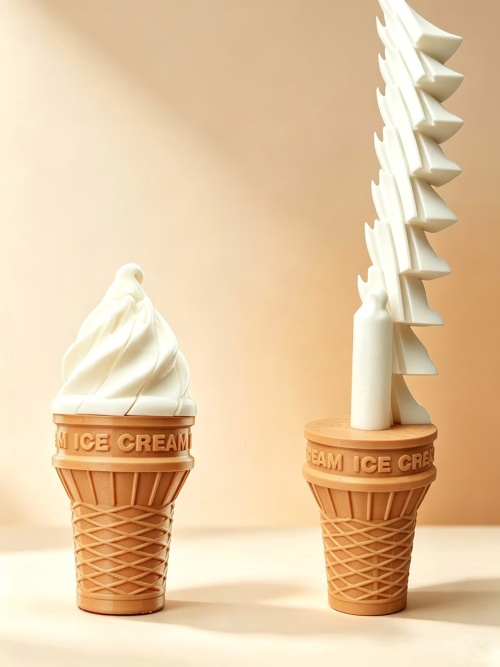
Design of ice cream cone disassembly

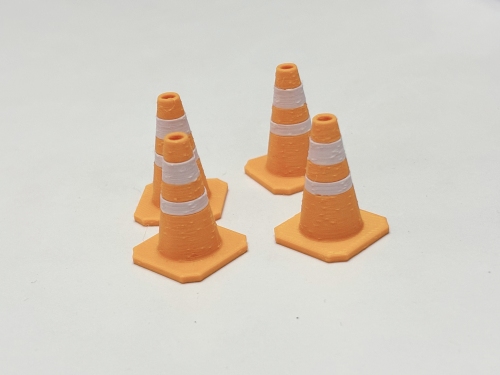
When setting up a small car race track, small markers are often needed to divide the activity area. Therefore, this ice cream cone is designed. The white part does not require glue and can be directly covered without AMS to achieve multi-color effects. At the same time, after testing, it can be printed directly without support, greatly reducing the consumption of consumables. It can also be adjusted proportionally according to needs, which is very practical
Image865
Image2
Image1

Featured Collections

Image

Printed Happiness: The Satisfying Collection

Image

22

Image

22

Image

2

Image

Badass Mechs

Image

32

Image

13

Image

2

Image

Stands & Supports

Image

28

Image

26

Image

2

Image

Miniature Model

Image

32

Image

48

Image

2

Image

Flower Vessel Design

Image

42

Image

29

Image

2

Recommended Groups

Image
Makeroad RC Car Discussion Area
Image45.38k
Image1.14k
Image278
Image181
Join Group
Image
MAKEROAD RC Boat Discussion Group
Image5.33k
Image101
Image141
Image40
Join Group
Image
Makeroad RC Car Discussion Area
Image45.38k
Image1.14k
Image278
Image181
Join Group
Image
MAKEROAD RC Boat Discussion Group
Image5.33k
Image101
Image141
Image40
Join Group
Image

Top Designer of the Month

Image

zyh1234

Image105
Image2
Image17
Image

一雕造物

Image414
Image170
Image367
Image

win9688

Image17
Image17
Image17
Image

ggggg88

Image114
Image24
Image105
Image

Volcano

Image134
Image61
Image257
Image

没事扑腾两下

Image157
Image81
Image25
Image

小包

Image68
Image36
Image179
Image

SUZO

Image327
Image20
Image92