

Download PFE – Easy 3D Text Rendering Software
Overview: What Is PFE and Who Is It For?
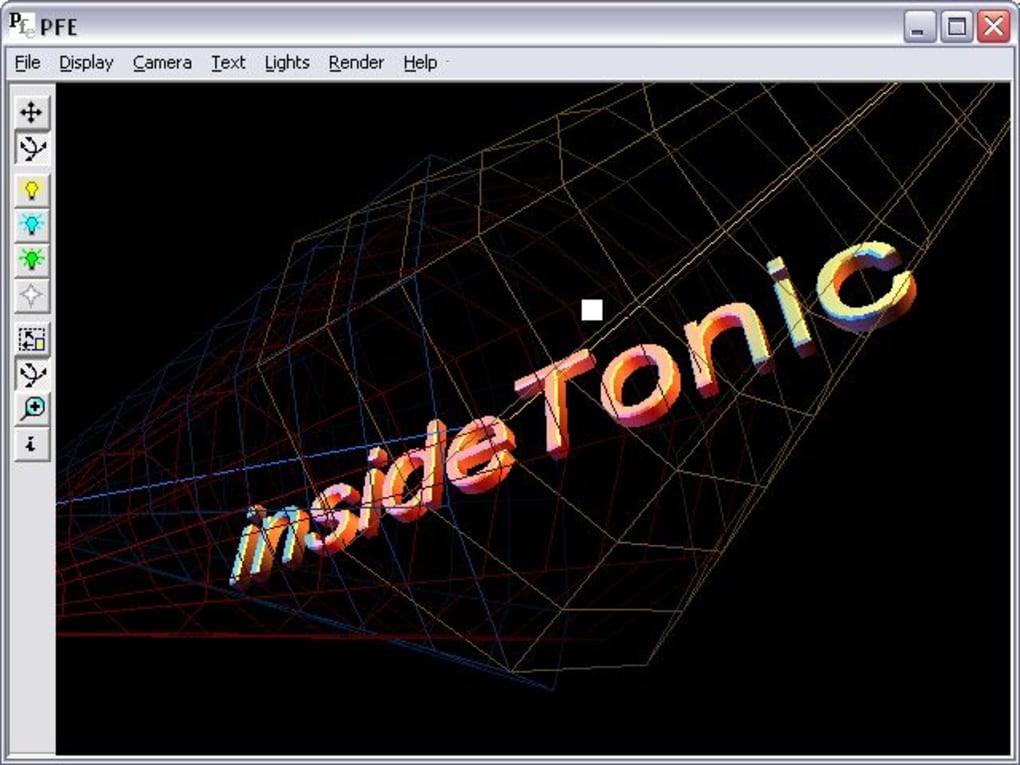
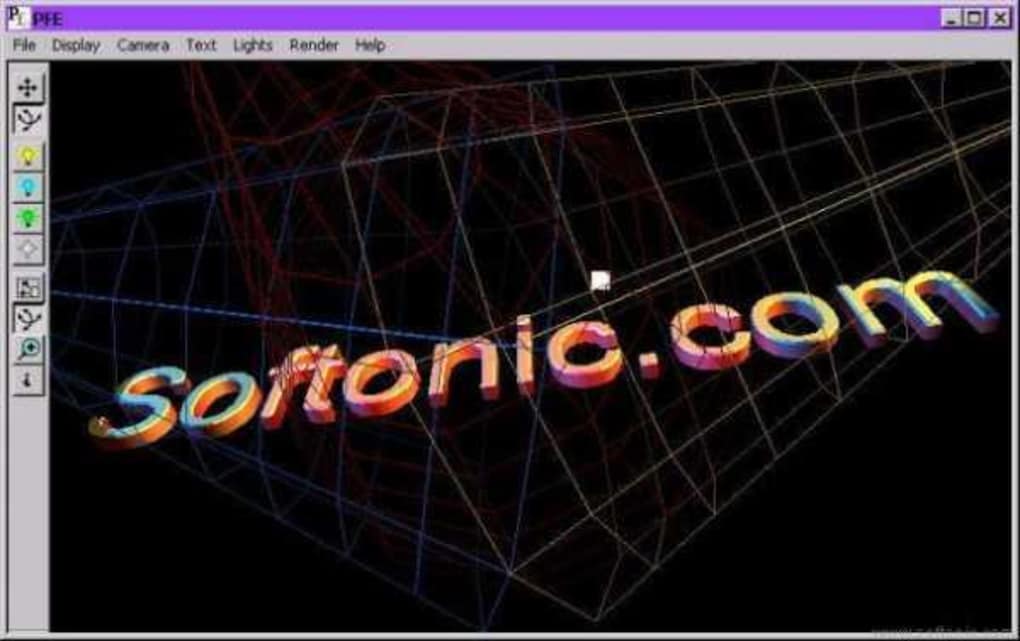
PFE (pronounced “pee‑eff‑ee”) is a lightweight design tool that specializes in creating three‑dimensional text graphics with a single click. Targeted at novice designers, hobbyists, and marketers who need eye‑catching headlines, logos, or title cards without the steep learning curve of full‑blown 3D suites, PFE delivers instant results. The core idea behind the application is simplicity: users can replace the default placeholder text, hit “Render,” and receive a high‑quality JPG image ready for social media, presentations, or print. While the default settings already produce attractive results, PFE also offers a handful of tweakable parameters—lighting, shadow intensity, camera zoom, and lens flare—to let users fine‑tune the visual style without diving into complex node‑based editors.
Because PFE focuses exclusively on 3D text, the interface stays uncluttered. There are no layers, no texture maps, and no rigging tools to manage. The program’s workflow can be summed up in three steps: (1) type your text, (2) choose a preset or adjust basic lighting options, and (3) export the image as a JPG with a selectable quality level (from 70 % to 100 %). This makes PFE an excellent companion for small businesses that need quick branding assets, teachers preparing lecture slides, or YouTubers looking for bold intro titles.
In addition to the free version, PFE offers a trial of its premium features, which include additional font packs, higher‑resolution rendering, and batch processing. Even though the software only outputs JPG files, the built‑in quality slider ensures that the final image retains crisp edges and smooth gradients, suitable for most online and print contexts. If you’re already familiar with tools like Adobe Illustrator, AutoCAD, or Inkscape, you’ll notice that PFE’s learning curve is dramatically shorter—no need to master vector paths or 3D modeling concepts. Simply download, install, and start creating 3D headlines in minutes.
Features & Customization Options
- One‑click 3D text rendering with instant preview.
- Editable text field supporting Unicode characters.
- Four built‑in lighting presets (soft, dramatic, neon, and natural).
- Adjustable shadow depth, angle, and opacity for realistic depth.
- Zoom and lens‑flare controls to simulate camera effects.
- Quality slider for JPG export (70 %–100 %).
- Support for custom fonts installed on your system.
- Batch rendering mode in the premium version.
- Lightweight installer (< 10 MB) and minimal system requirements.
- Cross‑platform availability for Windows, macOS, and a limited web‑based version for Android/iOS browsers.
Even though PFE markets itself as a “no‑settings” tool, the modest set of customization knobs gives users enough creative freedom to match brand guidelines. The lighting presets are pre‑configured with different HDRI environments, meaning you can achieve a glossy metal look or a soft matte finish with a single click. For those who want more control, the “Custom Light” panel lets you move a virtual light source across three axes, adjust its intensity, and choose a warm or cool color temperature. Shadows respond dynamically, providing a realistic drop‑shadow effect that enhances depth perception.
Zoom is not just a camera move; it also influences perspective distortion, allowing you to create dramatic foreshortening or a flat‑look for minimalistic designs. Lens flare, a popular effect for video intros, can be toggled on or off, and its intensity is adjustable. The combination of these tools means that even beginners can produce professional‑looking 3D text without learning a full 3D engine.
From a workflow standpoint, the “Export” button opens a dialog where you select the output folder, file name, and JPG quality. The software writes a small metadata block inside the JPG, indicating the rendering parameters—handy if you need to reproduce a design later. In the premium version, you can queue multiple text strings and let PFE render them sequentially, saving valuable time for marketing teams that need dozens of headline variations.
Installation, Usage, and Compatibility
Step‑by‑Step Installation Guide
Downloading and installing PFE is straightforward. Follow these steps:
- Visit the official PFE website and click the Download for Windows (or macOS) button.
- The installer (PFE_Setup.exe or PFE_Installer.dmg) will be saved to your default downloads folder.
- Run the installer. On Windows, you may need to confirm the User Account Control (UAC) prompt; on macOS, drag the app icon to the Applications folder.
- During setup, you can choose the installation directory (default is
C:\Program Files\PFEon Windows). - Finish the wizard, and optionally create a desktop shortcut for quick access.
- Launch PFE from the Start menu (Windows) or Launchpad (macOS).
The first launch may trigger a short “checking for updates” routine, which ensures you are running the latest stable build. PFE’s update mechanism works automatically in the background, prompting you only when a major version is available.
How to Use PFE Effectively
Once opened, you will see a clean interface with a large text input box at the center. Type your desired phrase, select a font from the drop‑down menu, and choose a lighting preset from the toolbar on the right. Click the Render button to generate a preview. If the result looks good, hit Export and set the JPG quality. For finer adjustments, open the Advanced Settings panel, where you can modify light position, shadow opacity, zoom level, and lens flare intensity. The changes are reflected in real‑time, so you can experiment without committing to a file.
Power users can save custom presets by clicking the “Save Preset” icon, allowing quick reuse across projects. The premium version adds a “Batch Render” window where you paste a list of texts, choose a shared style, and let PFE generate a series of images automatically.
Operating System Compatibility
PFE is compatible with the following operating systems:
- Windows 10 (64‑bit) and later
- macOS 11 (Big Sur) and later
- Linux (Ubuntu 20.04+ and Fedora 33+) – community‑supported build
- Web‑based version accessible via modern browsers on Android and iOS (limited to single‑render mode)
The application requires a minimum of 2 GB RAM and a graphics card supporting OpenGL 3.2. Because PFE only renders 2D JPGs, it does not need a high‑end GPU; integrated graphics on most laptops work perfectly. For batch rendering or high‑resolution output (300 dpi), a dedicated GPU will speed up processing.
Pros, Cons, and Frequently Asked Questions
Pros
- Extremely easy to learn – ideal for beginners.
- Fast one‑click rendering; most images are generated in under 2 seconds.
- Lightweight installer and low system requirements.
- Customizable lighting and shadow options provide decent creative control.
- Batch rendering available in the premium version.
- Cross‑platform support, including a web‑based version for mobile.
Cons
- Exports only to JPG; no PNG or vector formats.
- Limited to text – cannot import 3D models or other graphics.
- Advanced effects (e.g., reflections, texture mapping) are absent.
- Free version restricts resolution to 1080 p.
- Web version lacks batch processing.
Frequently Asked Questions
Can I use my own fonts in PFE?
Yes. PFE reads any TrueType (.ttf) or OpenType (.otf) font installed on your operating system. After installing the font on your computer, it will appear in the font dropdown menu within the application.
Is there a way to export transparent backgrounds?
The free version only supports JPG, which does not include an alpha channel. The premium version adds PNG export with transparency, allowing you to place the 3D text over any background.
How does the batch rendering feature work?
In the premium edition, open the Batch Render window, paste a list of text strings (one per line), choose a preset style, and click “Start.” PFE will render each entry sequentially and save the files to the selected folder.
Will PFE run on older Windows versions like Windows 7?
Officially, PFE supports Windows 10 and later. While it may launch on Windows 7, you might encounter missing OpenGL support or stability issues, so we recommend using Windows 10 for optimal performance.
Is there a free trial for the premium features?
Yes. You can download a 7‑day trial that unlocks PNG export, higher resolution (up to 4K), and batch rendering. No credit card is required; just provide an email address to activate the trial.
Conclusion & Call to Action
For anyone who needs a quick, hassle‑free way to generate 3D text graphics, PFE delivers exactly what it promises: simple, fast, and visually appealing results. While power users may miss advanced features like vector export or texture mapping, the core audience—novice designers, marketers, educators, and content creators—will appreciate the minimal learning curve and immediate output. The free version is sufficient for occasional social‑media posts, whereas the affordable premium upgrade unlocks higher resolution, transparent PNGs, and batch processing for small teams.
If you’re looking to boost the visual impact of your presentations, videos, or online ads without spending hours in a complex 3D program, download PFE today. The installer is lightweight, the interface is intuitive, and the one‑click rendering makes it possible to produce professional‑looking 3D headlines in seconds. Don’t forget to try the 7‑day premium trial if you need PNGs or bulk rendering—there’s no risk, and you’ll see how much time you can save.
Ready to transform your text into eye‑catching 3D art? Click here to download PFE now and start creating instantly.