


Uploadcare
Connect Uploadcare, a file handling and CDN delivery platform, with Webflow to add file upload fields to forms, process submitted media, and sync uploads to CMS collections.

Uploadcare gives Webflow projects a complete file handling layer for collecting images, documents, and videos through forms with flexible upload sources, larger file size limits, and a path to route submitted media into broader workflows. It plugs into Webflow through a marketplace app, custom code embeds, automation platforms, or direct API integration, making it useful for agency client intake forms, e-commerce custom artwork collection, community user-generated content, and developers who need tighter control over submitted media.
How to integrate Uploadcare with Webflow
What is Uploadcare? Uploadcare is a file handling platform that covers the full media lifecycle — uploading, storage, processing, and CDN delivery. It provides an embeddable upload widget with support for 10+ file sources, 40+ on-the-fly image transformations via URL parameters, and delivery through 325,000+ CDN nodes across 135 countries. Uploadcare serves 10,000+ developer teams and supports any file type up to 5 TB.
Teams connect Uploadcare with Webflow when they need to collect files through forms, serve optimized images without manual processing, or sync uploaded media into Webflow CMS collections. The combination is common on portfolio sites, job application portals, real estate listings, and e-commerce storefronts where customers submit reference images with orders.
The Uploadcare-Webflow integration supports 4 approaches:
- The Uploadcare File Uploader app adds file upload fields to Webflow forms without writing code.
- Code Embed elements and custom code injection give you control over widget placement, configuration, and form field binding.
- Zapier and Make connect explicit Uploadcare triggers to explicit Webflow actions for CMS workflows.
- The Webflow and Uploadcare APIs give you full control over file processing, CMS population, and webhook-driven workflows, but require server-side development.
Most implementations combine two or more of these methods depending on the complexity of the setup.
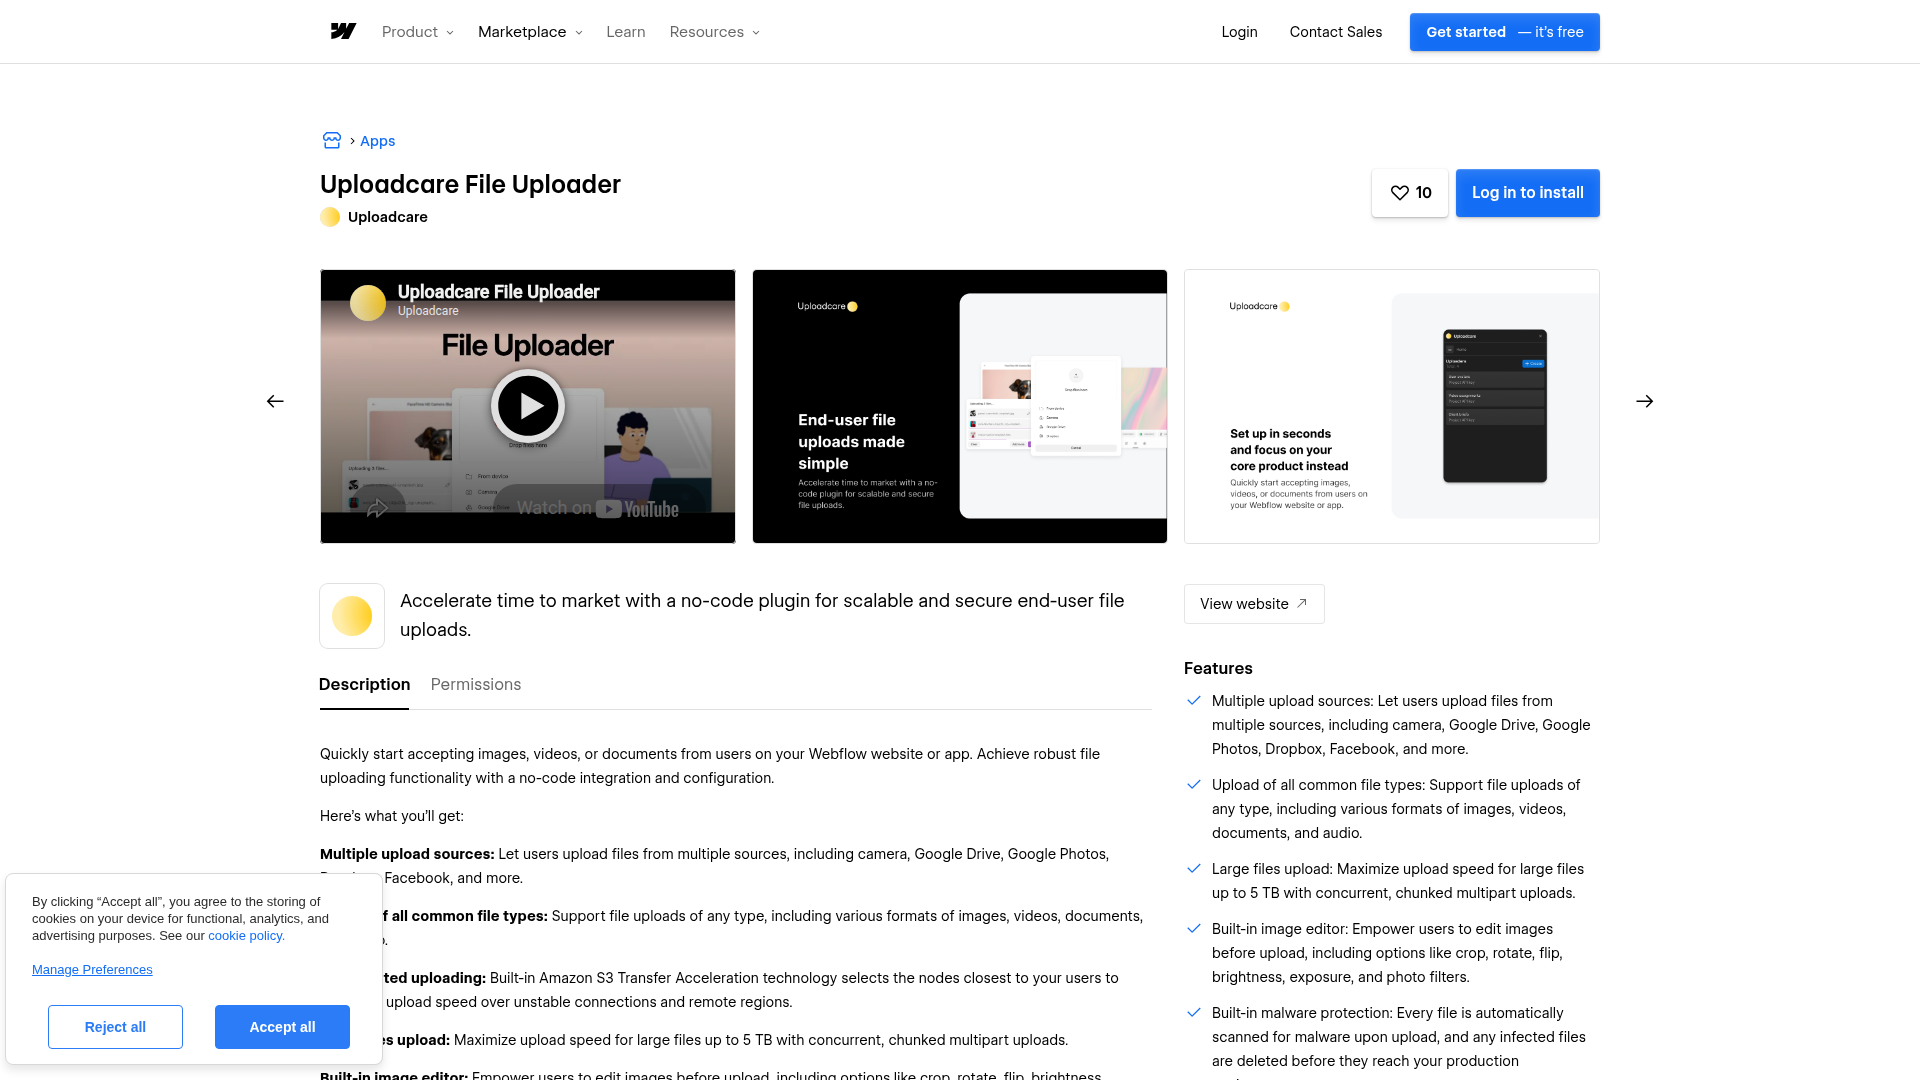
Install the Uploadcare File Uploader app
The Uploadcare File Uploader app is the fastest way to add file uploads to a Webflow form. It installs directly from the Webflow Apps panel, requires no code, and works on a free Webflow account. You configure upload sources, file type restrictions, size limits, and multi-file settings through a GUI. The app has 1,000+ installs and supports 34 languages out of the box.
To set up the integration:
- Open your project in Webflow, click Add Elements (+), and drag a Form Block onto the page.
- Click the Apps icon in the left panel, search for "Uploadcare File Uploader," and click Install.
- Select the Form element on the canvas, then click + Create in the Uploadcare settings panel.
- Enter your Uploadcare Public API key (found in your Uploadcare project dashboard under API Keys), set your file type and size restrictions, and toggle multi-file uploads if needed.
- Click Embed to insert the uploader into the form.
- Click Publish and test on the live site URL.
The app supports these capabilities without code:
- File uploads from local devices, Google Drive, Dropbox, and camera capture
- Multiple file uploads in a single session with individual progress bars
- Built-in image editor for cropping, rotating, flipping, and adjusting brightness before submission
- File type restrictions and max file size limits
- Built-in malware scanning
The upload widget does not render in the Webflow canvas preview — it only appears on the published site. A free Uploadcare account is sufficient to start, but customizing the widget's appearance with CSS requires a paid Webflow plan and adding styles through custom code in head and body tags.
Add Uploadcare components with Code Embed elements
When you need more control over widget placement, form field binding, or configuration than the marketplace app provides, you can embed the Uploadcare file uploader directly using Code Embed elements and custom code injection. This approach requires a paid Webflow plan and involves copy-pasting pre-written code, not writing it from scratch.
Embed the uploader widget in a form
The most common pattern places the uploader inside a Webflow Form Block and uses the current web component package to handle uploads in the page body.
To add the widget to a specific form:
- In your site settings, open the Custom Code tab and paste this in the head code section:
<link rel="stylesheet" href="https://cdn.jsdelivr.net/npm/@uploadcare/file-uploader/web/uc-file-uploader-regular.min.css" />
<script type="module">
  import * as UC from 'https://cdn.jsdelivr.net/npm/@uploadcare/file-uploader/web/uc-file-uploader-regular.min.js';
  UC.defineComponents(UC);
</script>
- Add a Form Block to your page, then drag a Code Embed element inside the form. Paste this HTML:
<uc-config
  ctx-name="my-uploader"
  source-list="local, url, camera, dropbox"
  pubkey="YOUR_PUBLIC_KEY"
></uc-config>

<uc-file-uploader-regular
  ctx-name="my-uploader"
  class="uc-light"
></uc-file-uploader-regular>
- Replace
YOUR_PUBLIC_KEYwith your Uploadcare Public API key. - Publish the site and test the uploader on the live URL.
The uc-config element must be placed in the page body via a Code Embed element — not in the <head> section. The web component version (@uploadcare/file-uploader) is the current package. The older jQuery-based widget was deprecated on September 1, 2025 and should not be used for new projects.
Bind uploaded file URLs to form fields
By default, the file URL from an Uploadcare upload is not automatically captured in the Webflow form submission. In the current web component uploader, use the <lr-form-input> component for automatic form field population instead of older JavaScript widget binding patterns.
To bind the upload to a form field:
- Inside the Form Block, add a Code Embed element with the uploader configuration and form input component:
<uc-config
  ctx-name="my-uploader"
  pubkey="YOUR_PUBLIC_KEY"
></uc-config>

<uc-file-uploader-regular
  ctx-name="my-uploader"
  class="uc-light"
></uc-file-uploader-regular>

<lr-form-input ctx-name="my-uploader" name="file-upload"></lr-form-input>
- For multiple uploaders on a single form, give each form input a distinct
nameattribute. - Publish and test the form on the live site URL to confirm the uploaded file URL is included in the submission.
Webflow does not allow adding hidden input elements natively through the UI — the HTML Embed element is the only way. One important gotcha: the Uploadcare widget uploads files asynchronously, but Webflow form submissions are synchronous. If a user clicks submit before the upload finishes, the form field may still be empty, so test thoroughly on the published site.
Serve optimized images with URL API transformations
Uploadcare's URL API applies image transformations on the fly by appending operations to CDN URLs. No server-side code or build step is needed — you construct the URL and the CDN returns the processed image.
To use URL API transformations on a Webflow site:
- Store the Uploadcare file UUID or base CDN URL in a Webflow CMS plain text field.
- In a Code Embed element, construct the transformation URL:
https://ucarecdn.com/{UUID}/-/resize/1200x/-/format/auto/-/quality/smart/filename.jpg
- Use the
-/format/auto/directive to serve the best supported format for the requesting browser, typically modern formats such as WebP and, where supported and available, AVIF, and-/quality/smart/for ML-based quality adjustment.
Common transformation operations include resize, smart crop (content-aware), face detection for auto-cropping, blur, grayscale, and watermark overlays. Transformed versions are cached on the CDN and do not count against storage limits. Webflow's native image element does not support URL API chaining directly, so Code Embed elements are the way to construct dynamic transformation URLs.
Uploadcare documents ucarecdn.com as the URL API base, and newer accounts may also use project-specific CDN domains instead of the legacy shared domain. In practice, use the CDN base returned for your Uploadcare project when constructing transformation URLs.
Connect Uploadcare and Webflow with Zapier or Make
Both Zapier and Make support direct Uploadcare-to-Webflow connections with pre-built templates.
Zapier provides these explicit Uploadcare-to-Webflow pairings:
- Uploadcare trigger: New File Uploaded (instant) → Webflow action: Create Item in a CMS collection
- Uploadcare trigger: New File Uploaded → Webflow action: Update Live Item in a CMS collection
- Webflow trigger: Form Submission → Uploadcare action: Upload File
Make supports these explicit Uploadcare-to-Webflow pairings:
- Uploadcare trigger: Watch File Uploads → Webflow action: Create an Item
- Uploadcare trigger: Watch File Uploads → Webflow action: Update an Item
- Uploadcare trigger: Watch File Uploads → Webflow action: Delete an Item
One known limitation: the Zapier Webflow connector may not natively support populating multi-image fields. If you need to add multiple images to a single CMS item, a custom webhook workaround or Make scenario may be required.
Build with the Webflow and Uploadcare APIs
For conditional file processing, automated content moderation, webhook-driven CMS updates, or any workflow that goes beyond what the marketplace app and automation platforms support, you can connect the Uploadcare and Webflow APIs directly. This requires server-side development using a serverless function (such as Cloudflare Workers or Netlify Functions) because Webflow's Code Embed does not support server-side languages.
The relevant APIs are:
- The Uploadcare Upload API handles file ingestion from any source
- The Uploadcare REST API v0.7 handles file management, metadata, webhooks, and add-on execution (background removal, virus scanning, object recognition)
- The Uploadcare URL API applies on-the-fly image transformations via CDN URLs
- Webflow's Data API v2 handles CMS collection items, assets, and site publishing
- Uploadcare webhooks trigger real-time events (
file.uploaded,file.stored,file.info_updated,file.deleted) that you can route to your serverless function
These APIs together let you build fully automated media pipelines where files uploaded through Webflow forms get processed, validated, and published to CMS collections without manual intervention.
Sync uploads to Webflow CMS via webhooks
The most common API pattern listens for Uploadcare webhook events and creates corresponding CMS items in Webflow automatically.
To implement webhook-to-CMS sync:
- Register an Uploadcare webhook pointing to your serverless function endpoint:
curl -X POST "https://api.uploadcare.com/webhooks/" \
  -H "Authorization: Uploadcare.Simple YOUR_PUBLIC_KEY:YOUR_SECRET_KEY" \
  -H "Accept: application/vnd.uploadcare-v0.7+json" \
  -H "Content-Type: application/json" \
  -d '{
    "target_url": "https://your-serverless-fn.com/uploadcare-hook",
    "event": "file.uploaded",
    "is_active": true
  }'
- In your serverless function, parse the webhook payload to extract the file UUID, CDN URL, MIME type, and dimensions. Filter by
initiator.type == "api"to avoid duplicate CMS items from add-on-generated files. - Create a Webflow CMS item using the Data API:
curl -X POST "https://api.webflow.com/v2/collections/{collection_id}/items" \
  -H "Authorization: Bearer YOUR_WEBFLOW_TOKEN" \
  -H "Content-Type: application/json" \
  -d '{
    "fieldData": {
      "name": "Uploaded Image",
      "slug": "uploaded-image",
      "image-url": "https://ucarecdn.com/{uuid}/-/format/auto/"
    }
  }'
- Publish the item — CMS items created via API exist in a staged state until explicitly published:
curl -X POST "https://api.webflow.com/v2/collections/{collection_id}/items/publish" \
  -H "Authorization: Bearer YOUR_WEBFLOW_TOKEN" \
  -H "Content-Type: application/json" \
  -d '{"itemIds": ["ITEM_ID"]}'
You can use the file.stored event instead of file.uploaded if you want to wait until the file is confirmed in permanent storage before creating a CMS item. The file.info_updated event fires after add-on processing completes — use it to update CMS items with metadata from background removal, virus scanning, or object recognition results. You can also attach custom metadata (like a cms_collection_id) at upload time to control routing in your webhook handler.
What can you build with the Uploadcare Webflow integration?
Integrating Uploadcare with Webflow lets you collect, process, and deliver user-submitted media without building a custom backend or managing file infrastructure.
- Client intake portals: Build project submission forms where clients upload design briefs, brand assets, and reference images directly through a Webflow form. Files get stored on Uploadcare's CDN, and an automation routes the submission data and file URLs into a CMS collection that your team reviews from a dashboard page.
- E-commerce product customization pages: Add a file upload field to a product page where customers submit custom artwork, engravings, or reference photos tied to their order. Uploadcare's built-in image editor lets customers crop and adjust their images before submitting, and the CDN serves the processed files to your fulfillment team.
- Community profile photo uploads: Create a member profile form that accepts photo uploads from local devices, Google Drive, or camera capture. Use Zapier or Make to route the Uploadcare CDN URL into a Webflow CMS item, then display the photo on the member's profile page using a Collection List bound to the member collection.
- Performance-optimized media galleries: Store image UUIDs in Webflow CMS plain text fields and construct Uploadcare URL API transformation URLs in Code Embed elements to serve responsive, auto-formatted images. Each image gets resized, converted to the best supported format for the browser, and delivered from 325,000+ CDN nodes — without manually processing a single asset.
If you need more control over conditional processing, content moderation, or multi-step upload workflows, the API integration path covers those cases with full flexibility.
Frequently asked questions
Yes. The core Uploadcare File Uploader app installs and functions on a free Webflow account. A paid Webflow plan is only required if you want to customize the File Uploader with custom CSS. See the Uploadcare Webflow integration docs for plan-specific details.
The Uploadcare widget renders only on the published site, not in the Webflow canvas preview. Custom code and third-party scripts display as placeholders during editing. Publish your site and test at the live URL. If the widget still does not appear, check that your Uploadcare Public API key is correct and that the initialization script loads before any code that references Uploadcare. The Code Embed documentation covers how Webflow handles third-party scripts.
Use the
<lr-form-input>component in the current web component uploader for automatic form field population. Older JavaScript widget binding approaches may break between uploader versions, so keep your implementation consistent with the current web component package. Always check the Uploadcare Changelog when upgrading widget versions.Not directly from the widget, but you can automate it. The standard approach uses Zapier or Make to watch for new Uploadcare file uploads and create corresponding CMS items via the Webflow API. For full control, set up an Uploadcare webhook pointing to a serverless function that calls the Webflow CMS items endpoint. CMS items created via API are staged and require an explicit publish step before they appear on the live site.
Uploadcare accepts any file type — images, videos, documents, and archives — up to 5 TB per file. Upload sources include local devices, camera, Google Drive, Dropbox, and direct URLs. You can restrict allowed file types and set maximum file size limits in the marketplace app's GUI or through configuration attributes on the web component. See the File Uploader options reference for the full list of configurable parameters.
Description
Uploadcare adds file upload fields to Webflow forms through a marketplace app or custom code, with support for 10+ upload sources, built-in image editing, and on-the-fly CDN transformations.
This integration page is provided for informational and convenience purposes only.

Flowstar: Contact Form Builder
Connect Flowstar: Contact Form Builder with Webflow to add multi-step booking, order, registration, and pre-order forms with embedded, popup, and targeted widget display modes.
Inputflow
Connect Inputflow, a multi-step form builder, with Webflow to create forms with conditional logic, real-time calculations, and custom validation — all designed in Webflow Designer.
Flowstar Form Connectors
Connect Flowstar Form Connectors with Webflow to sync form submissions to email marketing platforms.
Growform
Connect Growform with Webflow to handle complex lead qualification with multi-step flows and conditional logic.
Flowstar Polls
Connect Flowstar Polls to Webflow site to add polling and survey capabilities.
Formester
Connect Formester, a form builder platform, with Webflow to capture form submissions and route data to CMS collections.
Documentero
Connect Documentero, a cloud-based document generation platform, with Webflow to create Word, Excel, and PDF documents from form submissions and CMS data.
Gravity Forms
Gravity Forms with Webflow to add conditional logic, payment processing, multi-page forms, and approval workflows.
Formly
Connect Formly with Webflow to build multi-step forms and custom workflows without coding.
Related integrations
Get started for free
Try Webflow for as long as you like with our free Starter plan. Purchase a paid Site plan to publish, host, and unlock additional features.
