
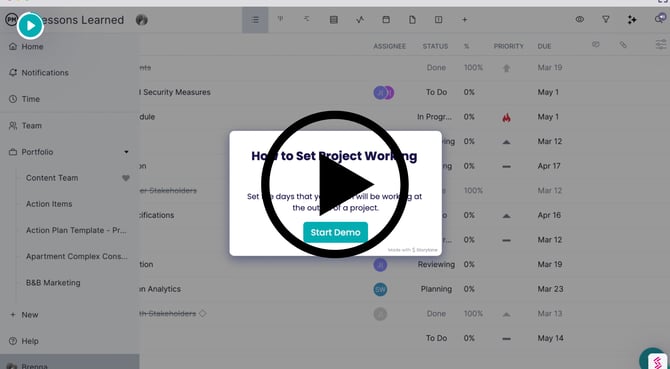
Tip: It's easiest to set project working days when creating a new project. We've created a walkthrough on how to do so. Otherwise, you'll need to follow the instructions below.
You'll need to determine your working days at the outset of a project to dictate when you can assign tasks to your team. For example, if you select your working days Monday-Friday, you won't be able to schedule tasks for Saturday or Sunday.
Got questions? Join a live demo this week to get a real-time walkthrough of ProjectManager and get your questions answered in a Q&A session.
Export and Import Data into a New Project
1. Create a New Project & Set the Correct Working Days
You'll first want to create a new project with the correct set of working days. Click below for step-by-step instructions.
You’ll use this new project to import the details of your existing project. To create a new project, locate the “+” button in the bottom left-hand of the screen and click “project.”
In the pop-up, locate the gear icon to the right of the project name entry field.
This will prompt you to set the correct working days for the project.

2. Create a Test Task on the New Project
Once your new project is created with the proper project working days, add a sole task. Feel free to call it a “test task” or something similar. This task is simply a placeholder to set your working days and you’ll delete it later.

3. Export the Copy of Your Project as an XML
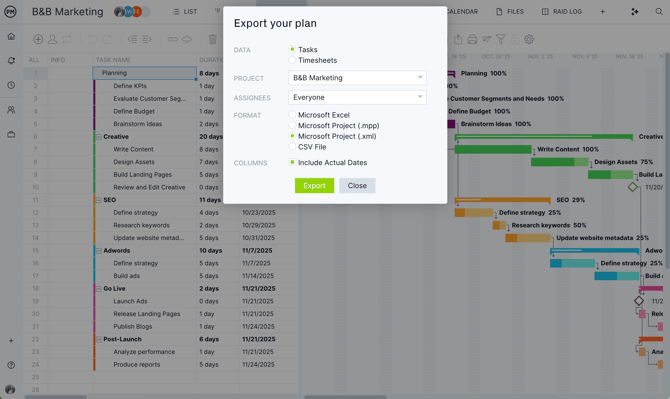
After you’ve created the new project and created the test task, you’ll then need to export the existing project on which you need to change the working days. To ensure there are no formatting issues, choose to export as an XML file. To export your project, click the export button on the Gantt.
Save the file to your computer once you’ve successfully exported the project.
4. Import Data Into Your Newly Saved Project
Once you’ve successfully exported your existing project, you can import your data into the new project you created. Go to the Gantt view to open your newly created project. Locate the “Import” button located directly to the left of the Export button and choose “Select File.”
Tip: When importing, make sure to select "Existing Project" and double-check that the "Delete All Existing Data and Replace" option is not checked.

5. Select "All Data" & Delete the Test Task
Finally, select the "All Data" option and click "next." As soon as the project data is imported successfully, you can delete the test task that you created.
Success! You'll then see a confirmation pop-up to confirm the successful import of your data. You can click the project name at the top of the screen, then project settings, to see your new working days.
FAQs
Q: Can I adjust my project working days after a project is already created?
A: Unfortunately, not. Once your project has started, you'll be tied to the same working days that you initially set. This is why we've compiled the Export and Import steps to help you with this process.
Q: How do I adjust my project working days at the outset of a new project?
A: Setting your project working days is easy! After you’ve clicked on the “+” link and selected “Project,” a popup screen will appear. Simply locate the gear icon next to the project name cell to select the appropriate project working days for your project.
Please email support@projectmanager.com if you have any questions about how to set your project working days!
