Image

Running DOOM On A Cheap 104-in-One Handheld

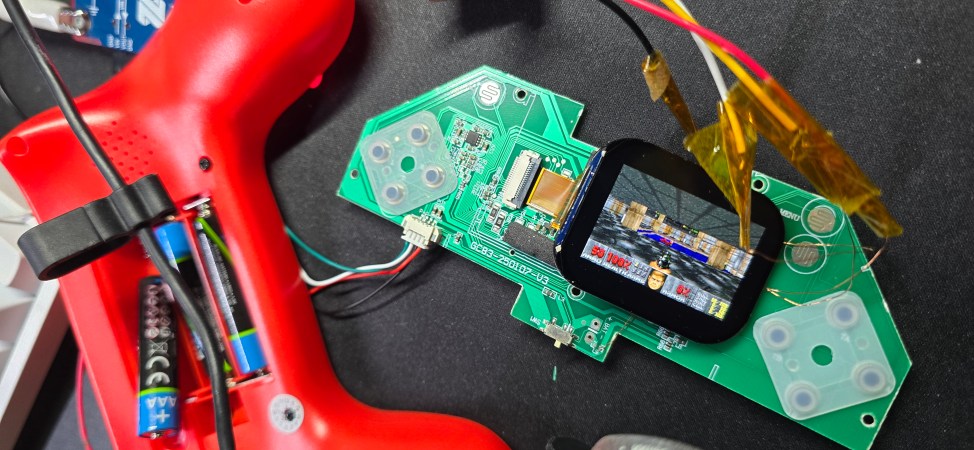
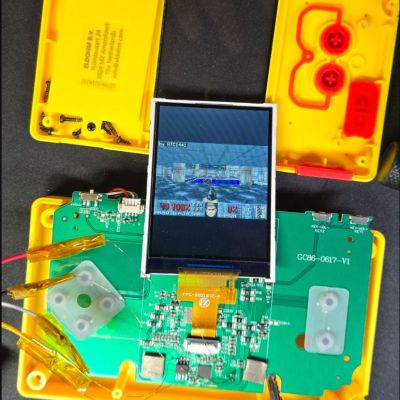
Taking a break from putting DOOM on devices that absolutely were never conceived for use as gaming devices, [Aaron Christophel] recently got enticed by some cheapo handheld gaming systems at his local Action budget store. One is a controller-shaped ‘mini game console’ with 104 games from the 1980s and 1990s, while the other is simply a Pac-Man handheld in a more typical rectangular form factor. Although this brings to mind basic blob chips and limited hacking potential, as it turns out they’re actually quite nice inside.
Image

As also covered in the demonstration video, rather than said nasty blob chip, both handhelds turned out to use the same unmarked MCU in QFN48 packaging. Some prodding and poking confirmed that it’s a typical ARM core, specifically a Cortex-M33 compatible STAR-MC1 ARMv8-M from an unknown manufacturer. Without a datasheet to go by, its limitations had to be discovered experimentally.

Of those, the biggest were a clock speed of 62 MHz – instead of the typical 194 MHz – as well as a lack of sound. This latter issue might be fixable with a better understanding of what appears to be a quirky DMA-fed DAC. Beyond this you’re also dealing with limited memory and of course just 4 MB of flash, though the chip for this might be upgradable if the MCU can map more. You do get a 320×240 display and a lot of buttons, which is admittedly nice.

As for the price difference of around $8/€7 for the Pac-Man version, this appears to be due to it running an officially licensed Bandai Namco arcade emulator as firmware, while the 104-in-one unit runs FlyThings/ZKSWE with a NES emulator.

Continue reading “Running DOOM On A Cheap 104-in-One Handheld”
Image

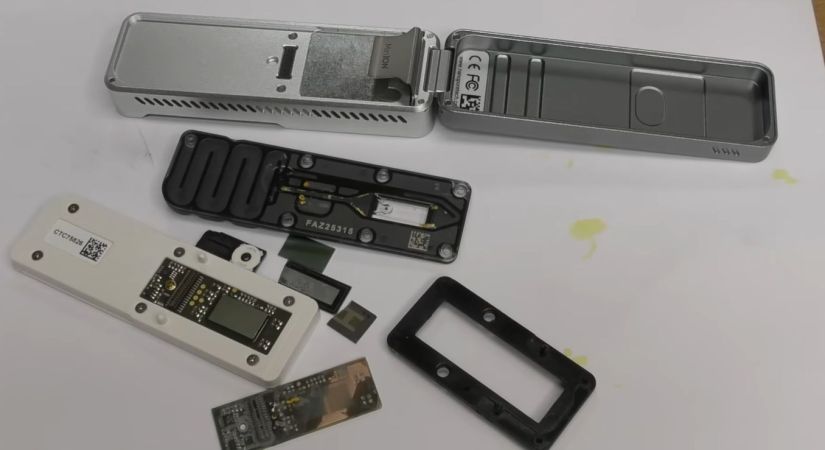
Teardown Of An Oxford Nanopore MinION DNA Sequencer

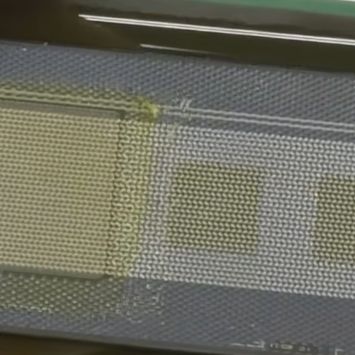
Detail of the nanopore chip. (Credit: mikeselectricstuff, YouTube)

For most people the term ‘DNA sequencing’ probably brings to mind large, expensive laboratory equipment in sterile rooms, but over the past decades technological progress really has had its way with it, to the point where it’s now just another small portable device. Something like the Oxford Nanopore MinION unit that [Mike] recently took to bits to ogle at the intricate insides.

This device was trialed in 2014 in a limited release before its commercial release in 2015, with this paper by [Miten Jain] et al. in Genome Biology detailing the workings of this nanopore sequencer. At a mere $2,000 it’s rather remarkable how affordable it is, though this comes with the caveat of the consumables, which are also shown in the video. These come in at a cool £690 per unit, can sequence either RNA or DNA and can be used at most a few times before they need to be replaced.

The main unit is fairly simple, featuring a Xilinx Spartan 6 FPGA and a rather nice slim fan-based cooling solution. For the nanopore unit you get the typical microfluidics system, to guide the deposited fluid containing the genetic material to sequence over the nanopore system. In here we see the actual magic as well, in the form of the high-density pitch ICs on both sides of the PCB inside the consumable sequencer unit.

Although this particular unit got discontinued already, the consumables are still available for it if you are feeling the sequencing itch. Of course, we’re likely to see the costs for DNA and RNA sequencing to keep plummeting, as what were once complex chips get overtaken once again by the progress of technology.

Continue reading “Teardown Of An Oxford Nanopore MinION DNA Sequencer”

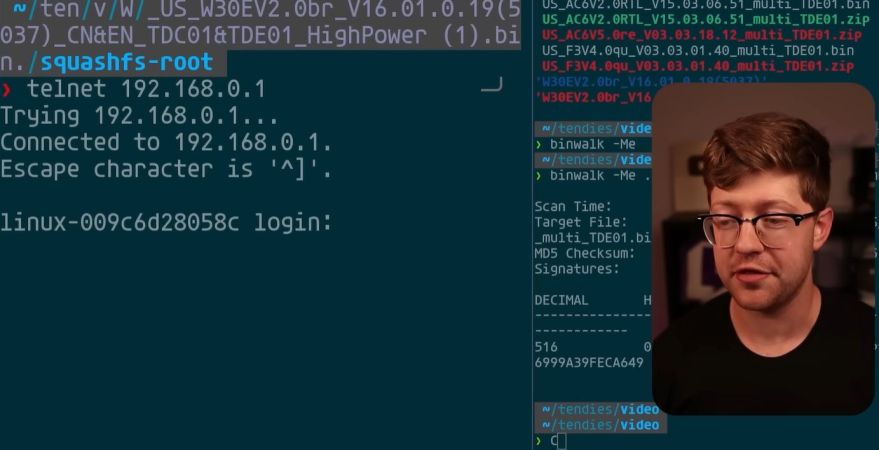
Iz in ur Tenda AC10V6, hax0ring your printf output. (Credit: Low Level, YouTube)

Hacking A Tenda AC1200 Wi-Fi Router With A CVE Combo

It’s rather awkward when you buy a piece of hardware like a sketchy router to make a video about its hidden admin password backdoor – known as CVE-2026-11405 – only to discover that you bought the wrong Tenda router, namely the AC10V6 model. After making this mistake, [Low Level] did the only reasonable thing one ought to do in this case, and try to find an exploit in this ‘wrong’ router as well.

The obvious start here is to do the same as with the other exploit, in that you download a firmware image from the manufacturer’s website, then pluck it apart using binwalk to do an initial check for juicy files. After that tools like Ghidra can be used to do a more in-depth analysis of any binary files, with a special focus on things like user-facing elements like login screen, as input validation will likely forever remain the number one type of exploited CVE.

One major change that Tenda made here was to encrypt the firmware image, which seemed suspicious. With that easy path blocked, the research of others on different Tenda routers was looked at, including the AC20 with the fascinating Telnet exploit in the form of CVE-2025-9090 where merely poking a file on the device turned on the Telnet service. This left the minor issue of finding a password to log into said Telnet session.

Continue reading “Hacking A Tenda AC1200 Wi-Fi Router With A CVE Combo”

Image

Re-Testing An Apollo Guidance Computer Module That Failed Certification Testing

After getting his hands on a rope driver module from the Apollo project era that had a big ‘Scrapped Module’ stamped on it, [Mike Stewart] was naturally left curious as to what exactly had failed in this module. Originally destined for the Apollo Guidance Computer, these Raytheon-manufactured modules were the pinnacle of space-grade high-tech of the 1960s, with requisite acceptance testing so as to not endanger a very expensive space mission.

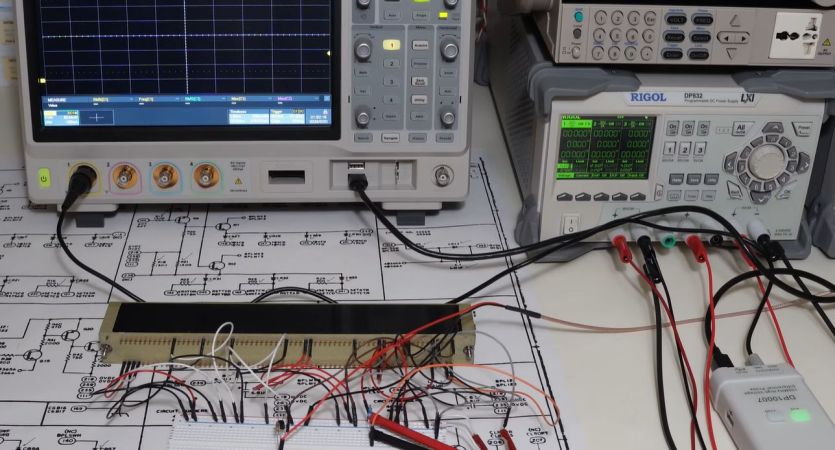
The cool part here is that the acceptance documents for the module in question (B16-B17) have been scanned in and can be found on the Internet Archive. With the part itself being potted and very much inaccessible, this document helpfully lays out the expected measurements on the module’s pins, as well as schematics and mechanical drawings. Unfortunately the reasons for the rejection were not recorded, so replicating the failing test results is required to understand the reason.

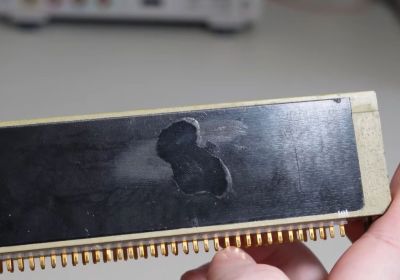
NASA Rope Driver Module with suspicious exploration marks. (Credit: Mike Stewart, YouTube)

A slight complication here is that the testing procedure doesn’t just involve hooking up a multimeter for some voltage and capacitance measurements. There are also temperature and voltage extremes, and vibration tolerance involved, which would be somewhat complex to test, but most of all risk damaging a historical artefact. Thus a somewhat conservative testing procedure was chosen, even if this may not reveal the actual fault.

As noted in the video, sometimes modules were also rejected because someone simply dropped it on the floor along the way. However, generally if a module was found to be faulty they would open it to diagnose said fault, with a closer look at this module indeed revealing suspicious marks in the potting compound where it was apparently opened and conceivably repaired. This also might explain why they also put the ‘For engineering use only’ on it.

With multiple of such locations visible in the potting compound, these locations were mapped to the schematics for the module, to get some idea of what may have been accessed. After this, basic testing was performed on the module, as per the acceptance testing document.

Along the way an error was detected in said document, in the form of the wrong pin number. In table 4-2 the input pin 269 was mistakenly listed as having output pin number 169 when it should have been pin 168. Pin 169 is chassis ground, so this was presumably fixed in a later version of the document.

After all the testing with just stationary, room-temperature conditions, everything appeared to check out. This means that likely this was indeed a repaired module that got subsequently used for engineering purposes rather than installed in flight-ready hardware. The only issue found was that channels were out of calibration, but whether this was an original flaw or due to the module being half a century old is hard to tell in the absence of repair logs.

Overall it’s an exciting opportunity to document another part of history, since so many of the details pertaining to these original modules and related technologies got lost or muddled over the decades.

Continue reading “Re-Testing An Apollo Guidance Computer Module That Failed Certification Testing”

Image

Wireless LCD Streaming For The ANENG AN870 Multimeter

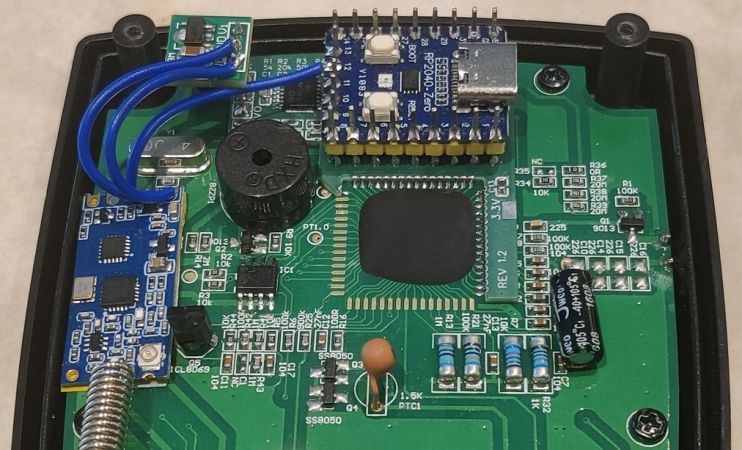
Having the information shown on the display of a digital multimeter also recorded off-screen can be incredibly useful, but unless the device exposes something like SCPI on a network interface, you will have to get creative. In the case of the budget ANENG AN870 digital multimeter (DMM), [Bits und Bolts] really wanted to show its display clearly as an overlay in OBS instead of just the camera view, but with said DMM not offering an easy way he had to resort to just copying the data sent to its multiplexed LCD.

The GitHub project page contains the background information, as well as the instructions if you too have this DMM. It might of course also be useful as the jumping off point for your own DMM modification. In total the project requires three modules: an RP2040 Zero and HC-12 433 MHz transceiver on the DMM side, and another HC-12 plus ESP32-C3 module on the receiving side. A boost module is also added to generate 3.3 V out of the 2.4 V – 3 V provided by the meter’s two AA cells.

To be able to read the LCD signal lines, a custom PCB was created that is installed inside the DMM. With the LCD’s segments mapped, this meant being able to send a perfect copy of the display’s state to the ESP32-C3 and from there making it available via WiFi.

Continue reading “Wireless LCD Streaming For The ANENG AN870 Multimeter”

Image

Making A Locked Down Wearable Work Without A Subscription

WHOOP does not have the presence in the wearable space as other brands, but in certain circles, it’s a household name. Their business model requires you to have a yearly app subscription to use their fitness tracker, but here at Hackaday, we are big fans of actually owning the devices you buy — which is why we were happy to hear about an open source and subscription free WHOOP compatible app!

The goal of the so-called OpenStrap project is not to re-create the WHOOP app. Rather, the algorithms and processing methods are developed from scratch, based on public research. It’s all calculated locally on a 1 Hz interval, based on the data the WHOOP 4.0 device feeds the app. As such, the health data collected from the watch, never leaves the phone. While not the main goal of the project, the privacy improvement of the app’s serverless nature cannot be overstated. However, to display metrics, you first need to get data off the WHOOP to begin with.

The crux of the issue with making the WHOOP 4.0 work without the official app is the reliance on proprietary Bluetooth protocols. Fortunately, the protocol itself ended up being relatively simple. The WHOOP 4.0 amounts to little more than a series of sensors that sit on the user’s wrist. As such, the app can subscribe to the Bluetooth feed and decode the data, right? Well, the devil is always in the details with such things, and the protocol came with its fair share of quirks. The hardware clock needs to be synchronized, or it simply defaults to zero Unix time. Moreover, the analog sensors like, ambient temperature are given in relative ADC values, and are not terribly useful without calibration. Regardless, the result of the reverse engineering effort speaks for itself with the OpenStrap app able to recreate much of the functionality in WHOOP’s official app.

Quite often, devices reliant on proprietary apps are little more than manufactured e-waste. While we don’t expect many of you to actually own a WHOOP 4.0, we do hope to see the OpenStrap project keep at least a few out of the landfill in the future.

Image

Documenting The IR Protocol Of The PumpSaver Plus Device

Having a pump in a remote location where you aren’t constantly monitoring it is a common scenario, which can be unfortunate when said pump runs into problems like a dry well, jammed impeller or power issues. This is where pump monitors like the older SymCom (now Littelfuse) PumpSaver Plus 233P will protect the pump if such conditions are detected. Of course, the infrared communication port on it uses an undocumented protocol that was meant to be used with a long-since discontinued handheld device. Ergo [Elizabeth Camporeale] saw fit to reverse-engineer this protocol.

In the installation manual for this device this Informer unit is briefly mentioned along with the information it will display on its screen, making it clear that it’s quite literally just there to act as a display for the information that’s constantly generated on this interface. Naturally, this is incredibly useful if you wish to tie the system into a wider monitoring and automation system.

Somewhat unusual, this IR interface on the used 233P-1.5 unit turned out to be use a 5,000 baud NRZ, MSB-first protocol, with the juicy details fully documented and a Python-based decoder implementation provided.

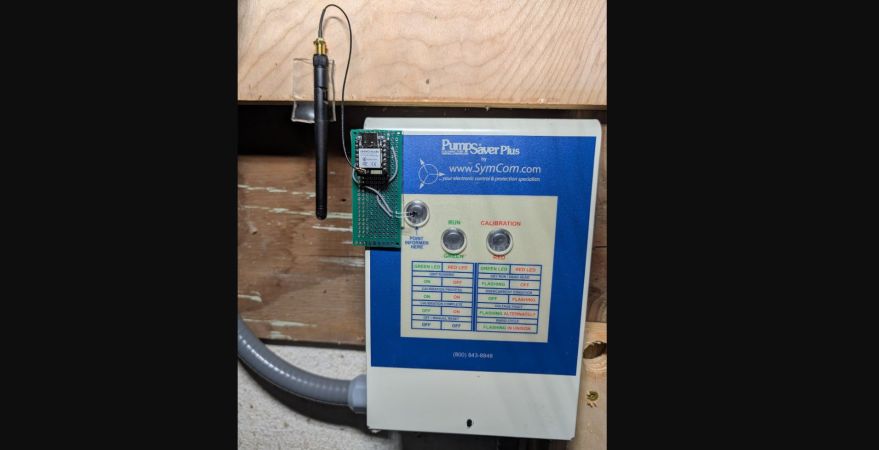
Naturally [Elizabeth] didn’t just reverse-engineer this for the fun of it, but also for ESPHome integration. This uses a setup as can be seen in the top image, with an ESP32-C6 module providing the processing power and Wi-Fi, with a standard phototransistor recording the data pumped out by the pump monitor.