Accessing SPIFFS Partitions from ESP32 Arduino Projects
This tutorial shows how to add an SPIFFS data partition to an ESP32 Arduino project in order to store various resources. We will show how to add 2 sample files to the partition, program it into the FLASH memory and use the SPIFFS API to read the file contents programmatically.
Before you begin, install VisualGDB 5.5 or later.
- Start Visual Studio and open VisualGDB Arduino Project Wizard:

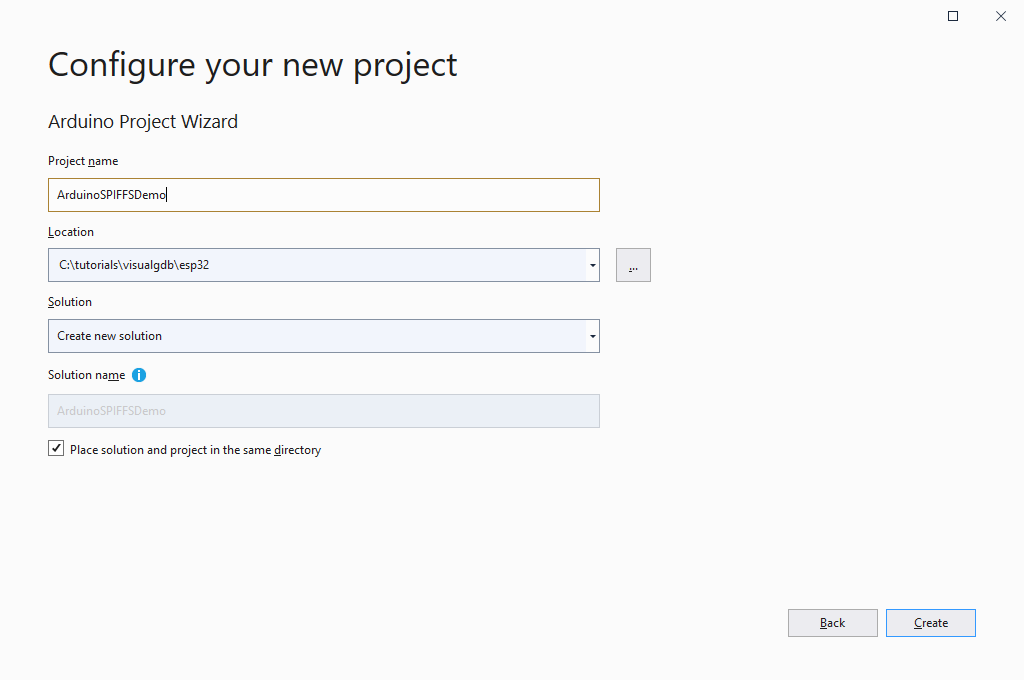
- Enter the name and location of the project you would like to create:
- Although the ESP32 Arduino platform comes with its own SPIFFS sample that can be cloned via the VisualGDB Arduino wizard, we will instead show how to add SPIFFS support from scratch, so select “Create a new ‘Blinking LED’ project“:

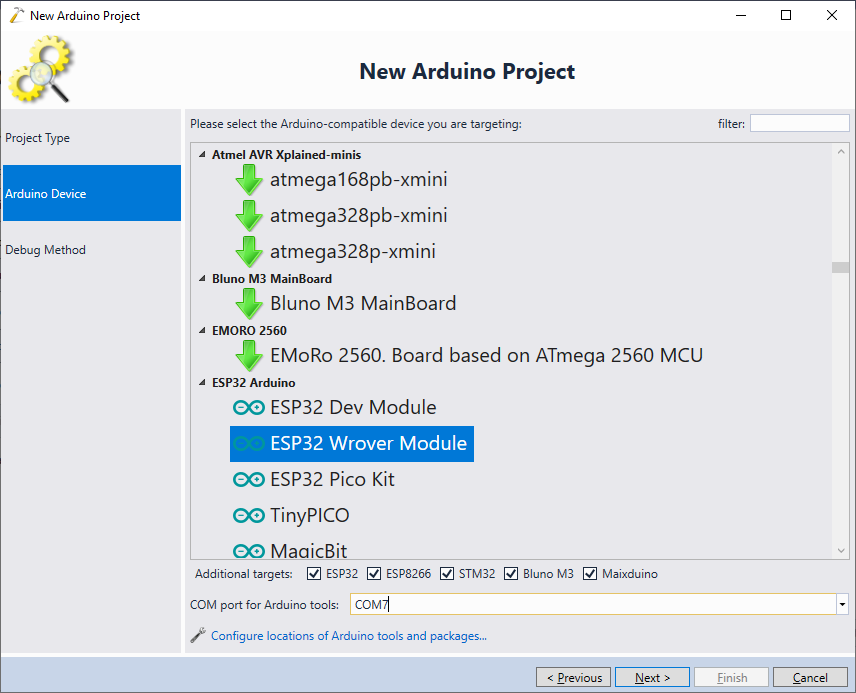
- On the next page pick your ESP32 board. It is also recommended to select the COM port where the target prints the output:
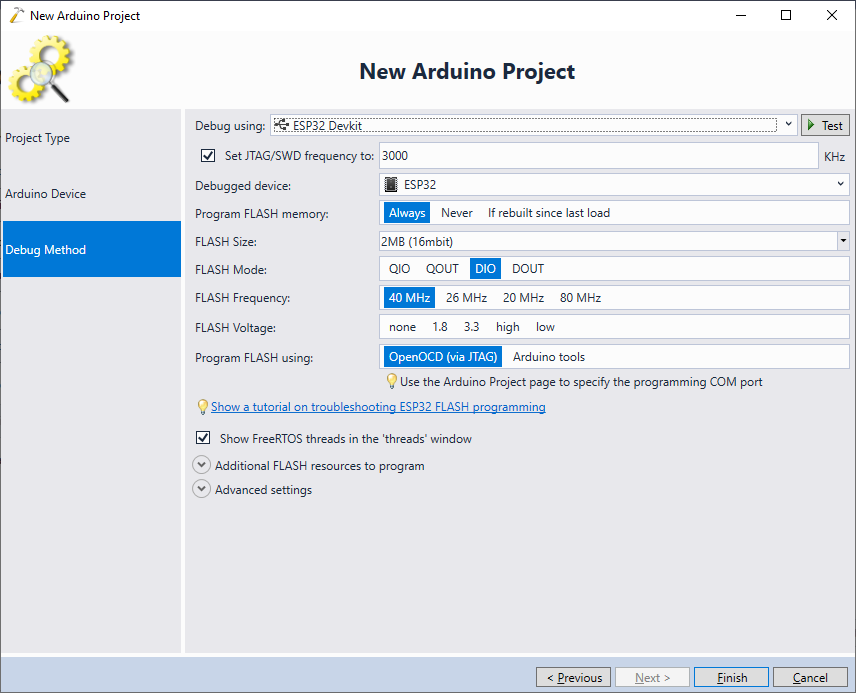
- Finally, select debugging settings that work with your target and press “Finish”:
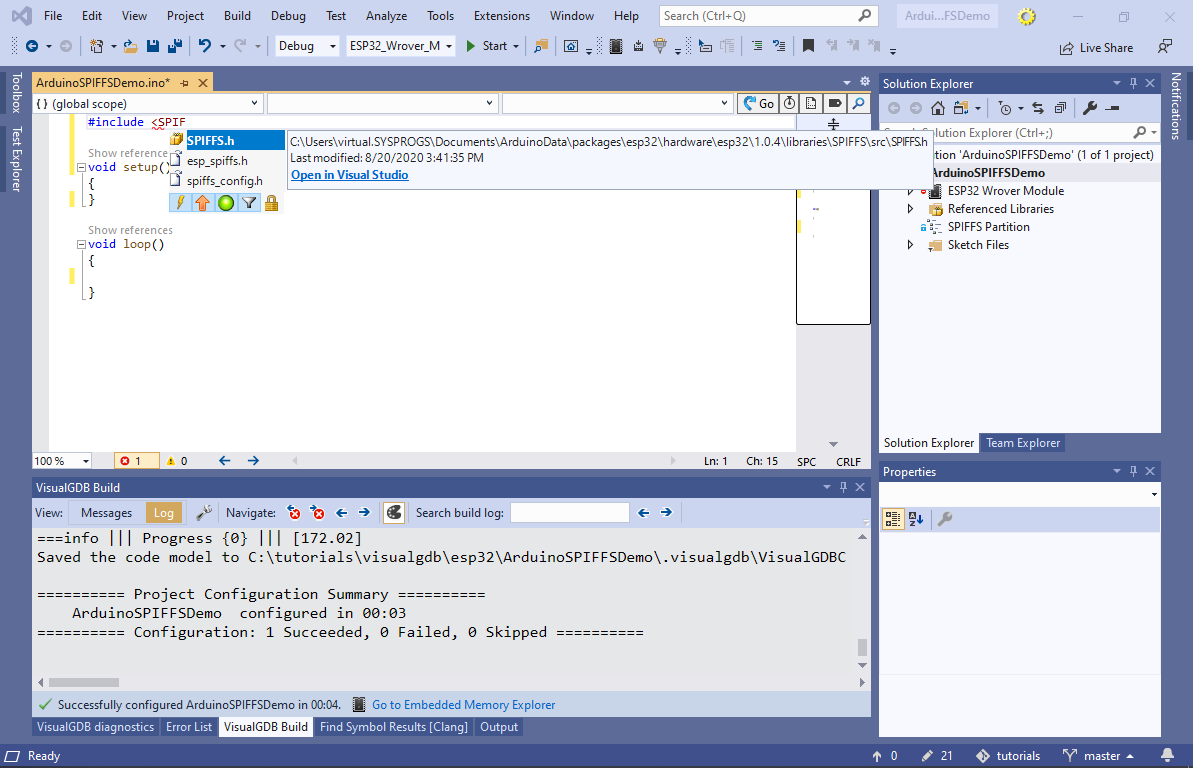
- VisualGDB will create a basic LEDBlink sketch. Erase the contents of setup() and loop() functions and include the <SPIFFS.h> file:
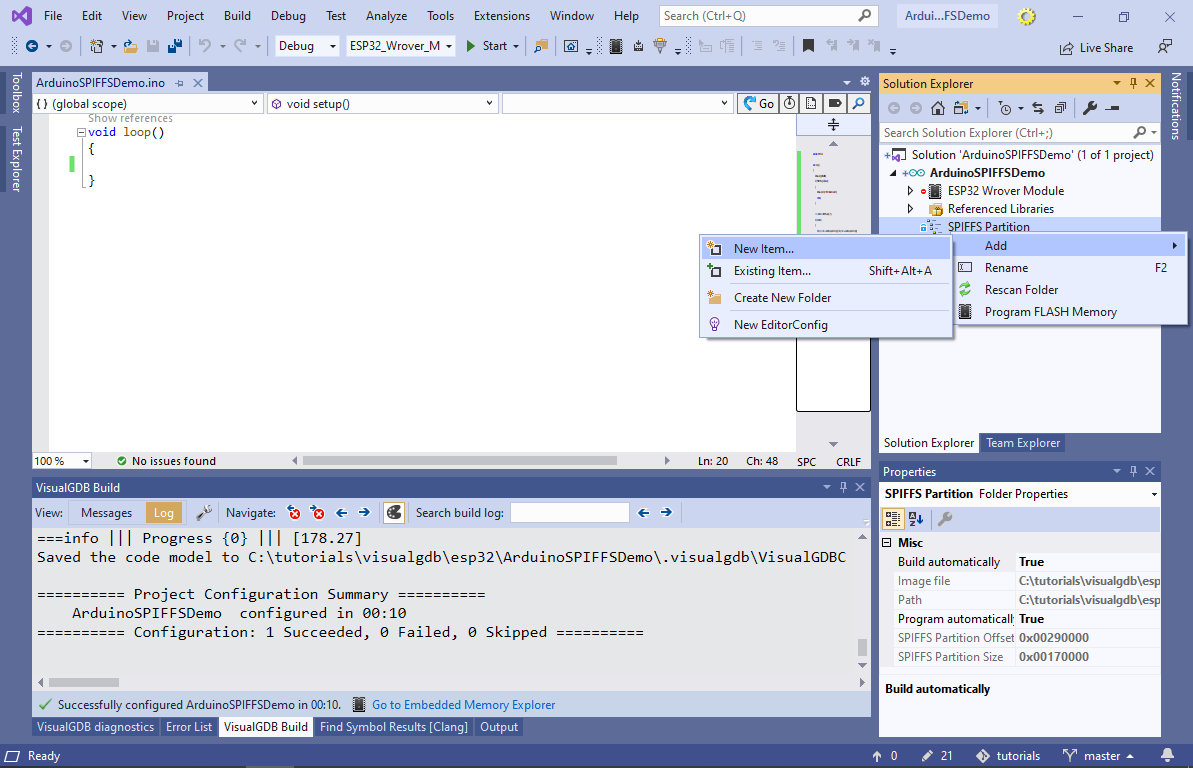
- Locate the SPIFFS Partition node in Solution Explorer. Right-click on it and select “Add->New Item“:
- Enter “file1.txt” as the file name:
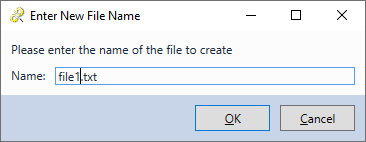
- VisualGDB will create a new file placing it in the “<Project Directory>\data” folder. Open it via Solution Explorer and add a few lines to it:

- Similarly, create a file2.txt file containing different lines:

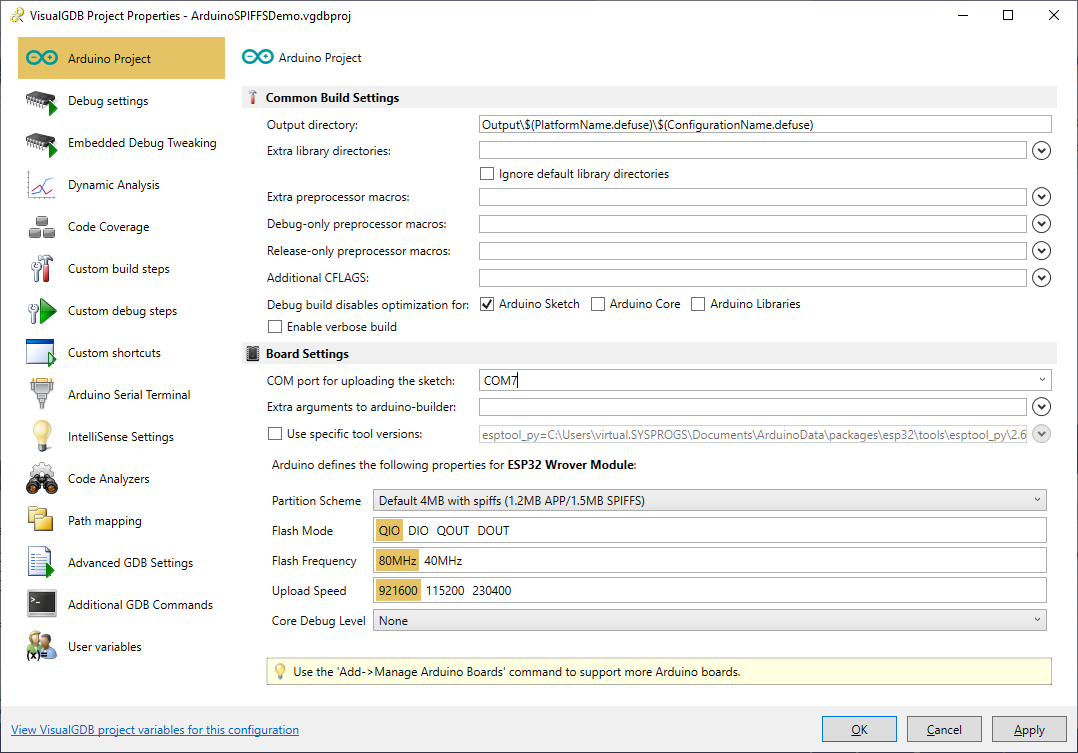
- Now we will show how to read the SPIFFS contents programmatically. First of all, make sure that the COM port is set correctly on the Arduino Project page of VisualGDB Project Properties:
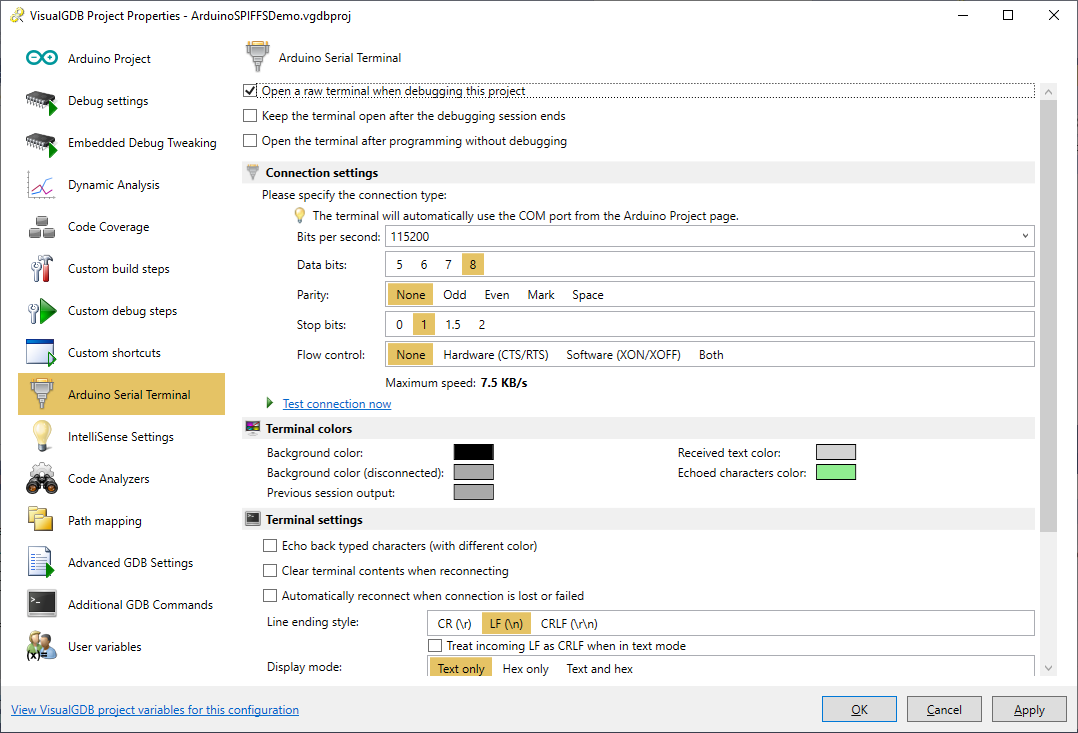
- Then enable the Arduino Serial Terminal as shown below:
- Finally, add the following code inside the setup() function:
    Serial.begin(115200);
    if (!SPIFFS.begin(false))
    {
        Serial.println("SPIFFS Mount Failed");
        return;
    }

    File rootDir = SPIFFS.open("/");
    if (rootDir)
    {
        for (File file = rootDir.openNextFile(); file; file = rootDir.openNextFile())
        {
            Serial.printf("[%s (%d bytes)]\r\n", file.name(), file.size());
            while (file.available())
            {
                String str = file.readStringUntil('\n');
                Serial.printf("\t%s\r\n", str.c_str());
            }
        }
    }
The code mounts the SPIFFS partition and then iterates over all files, printing their contents line-by-line.
- Set a breakpoint on the file.available() call and press F5 to start debugging. The breakpoint will trigger on the first file:
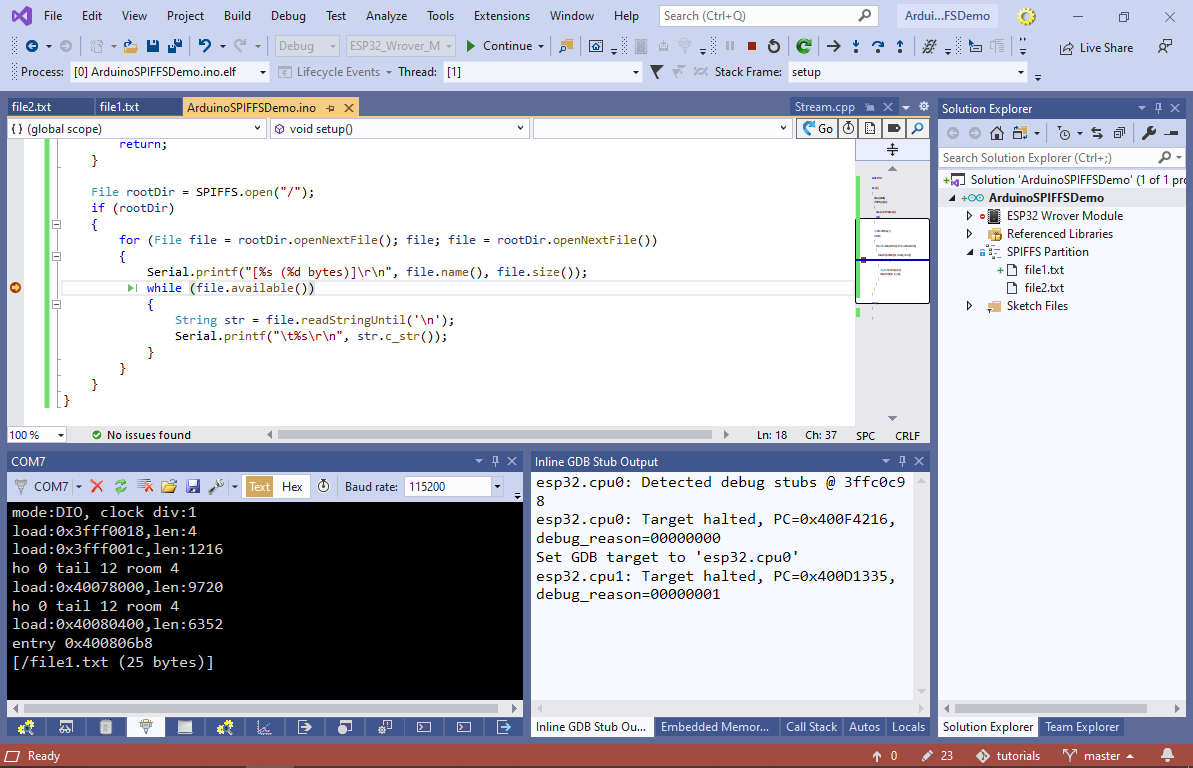
- You can step through the sketch, or let it run till the end to observe the complete listing of all files:
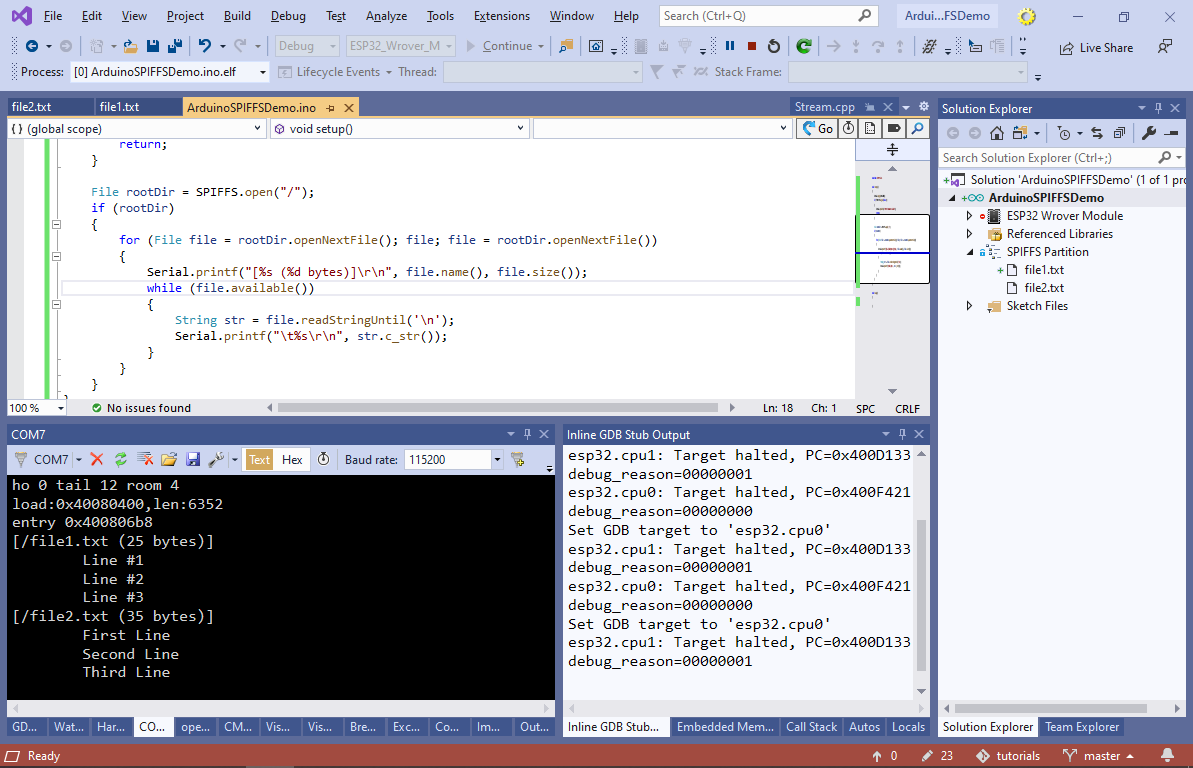
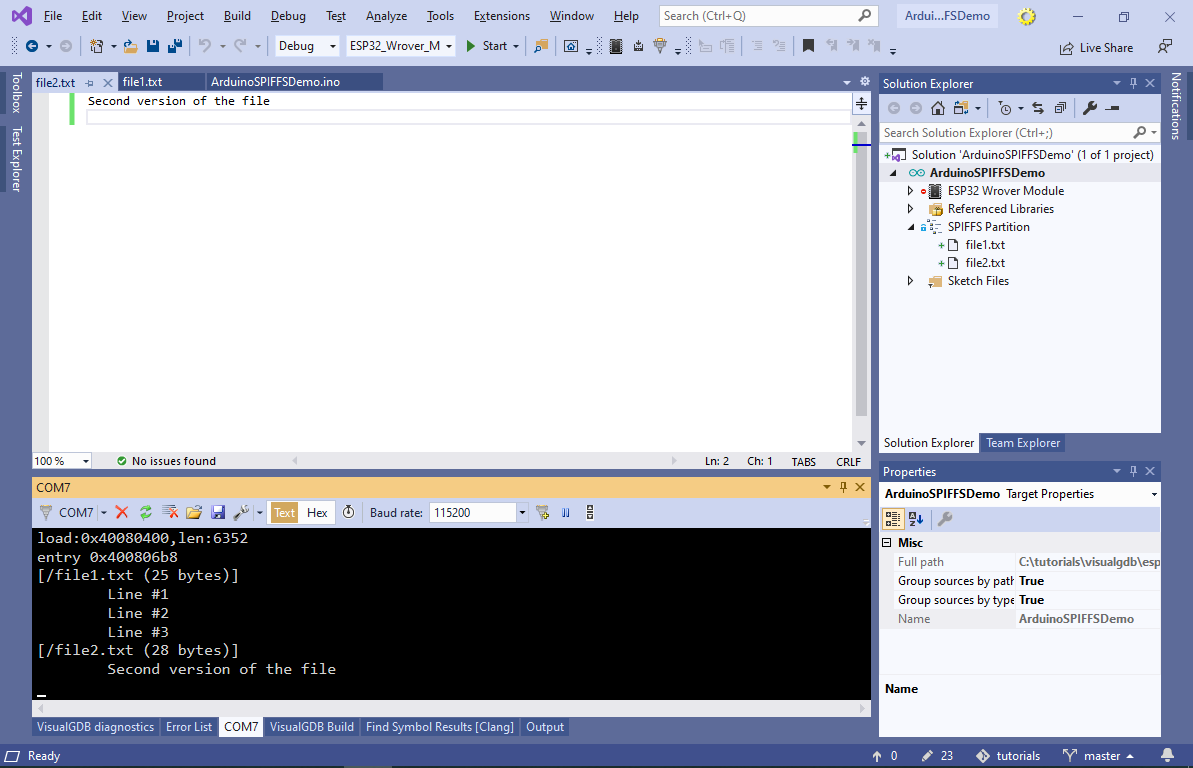
- Now we will show how to program the SPIFFS partition separately from the program itself. Change some of the lines in file2.txt so that we could observe the differences:

- Right-click on the SPIFFS Partition in Solution Explorer and select “Program FLASH Memory“:
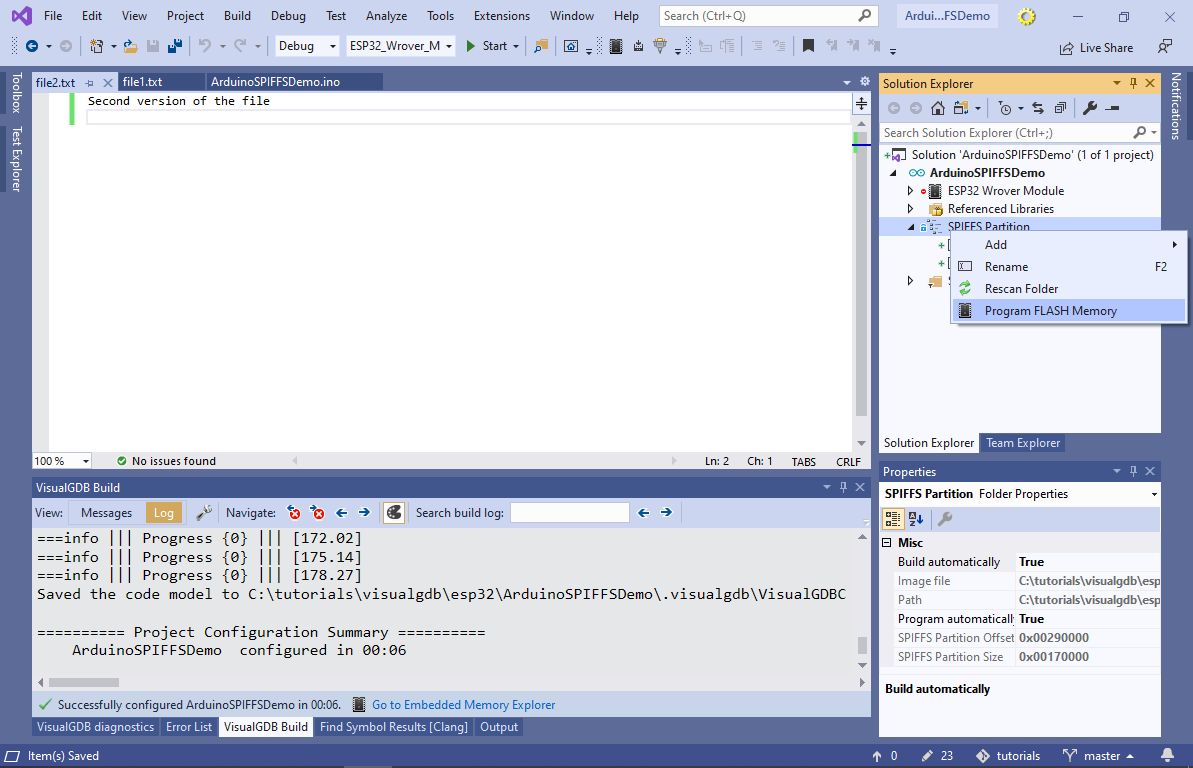
- VisualGDB will automatically update and program the SPIFFS image, leaving the program itself unchanged:

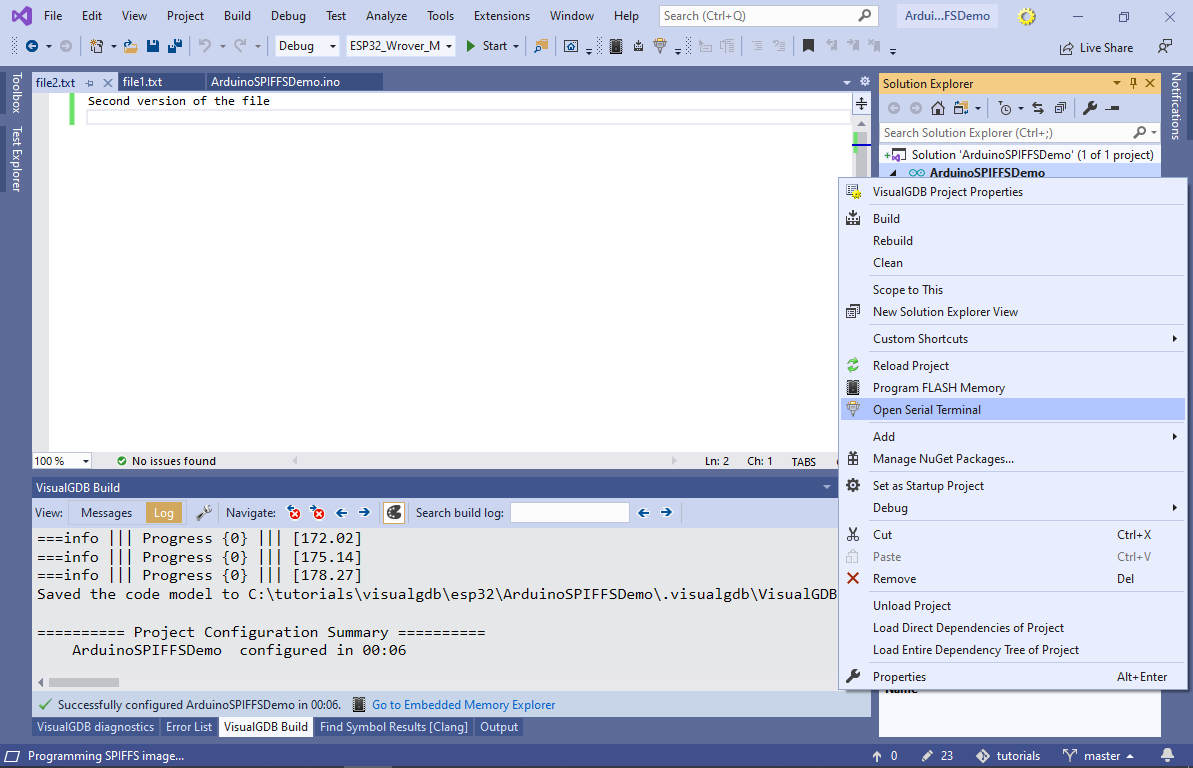
- Open the serial terminal without starting another debug session via a context menu command on the project node:
- Although we have not rebuilt or reprogrammed the program itself, the output will now show the second version of the file that was successfully programmed into the FLASH memory: