All I needed were some q-tips, a variety of different colored embroidery floss, scissors and glue. I was ready!
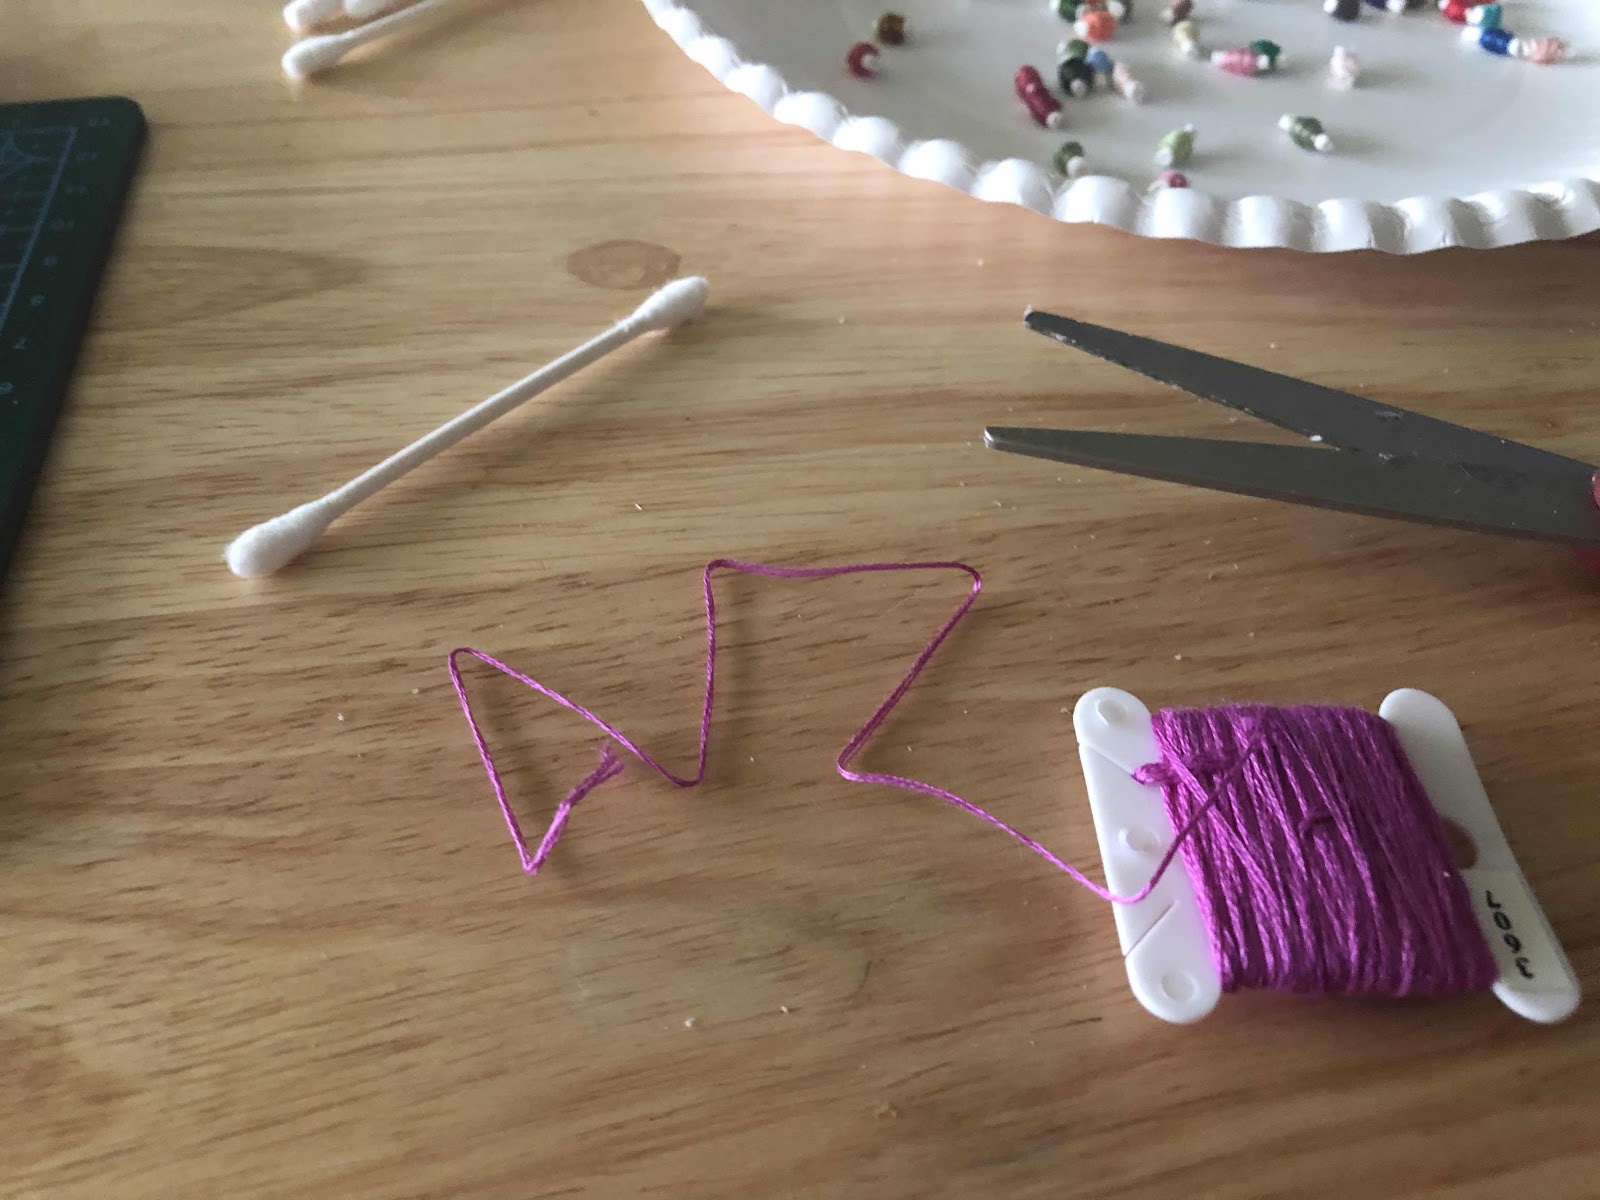
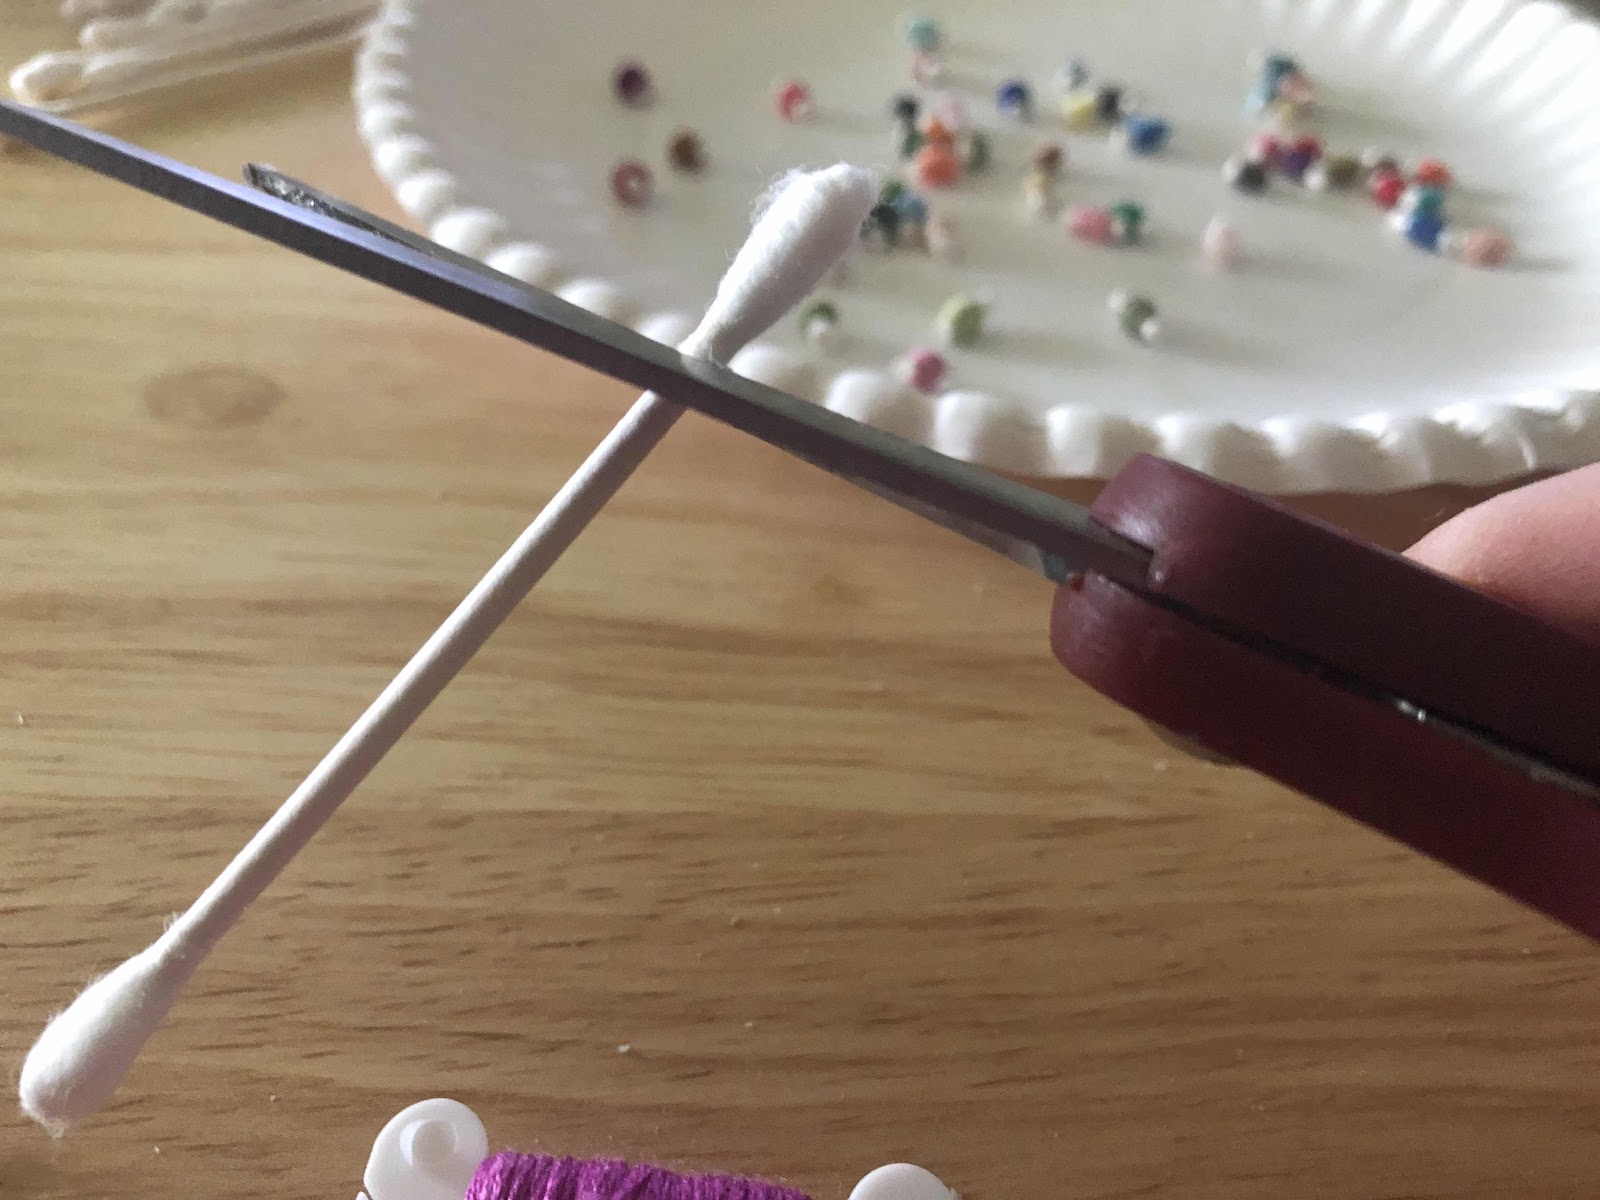
The first thing I did was to cut the cotton end off of the q-tip. I found it best to just cut one end off to start. I would be making about 5-6 spools from each q-tip and the second cotton side gave me a nice little grip/hand hold!
I then wound a bit of thread around the end. I used a dab of glue to hold it into place before I started to wind and another dab of glue to hold the end into place when I had finished ‘filling’ my spool with thread.
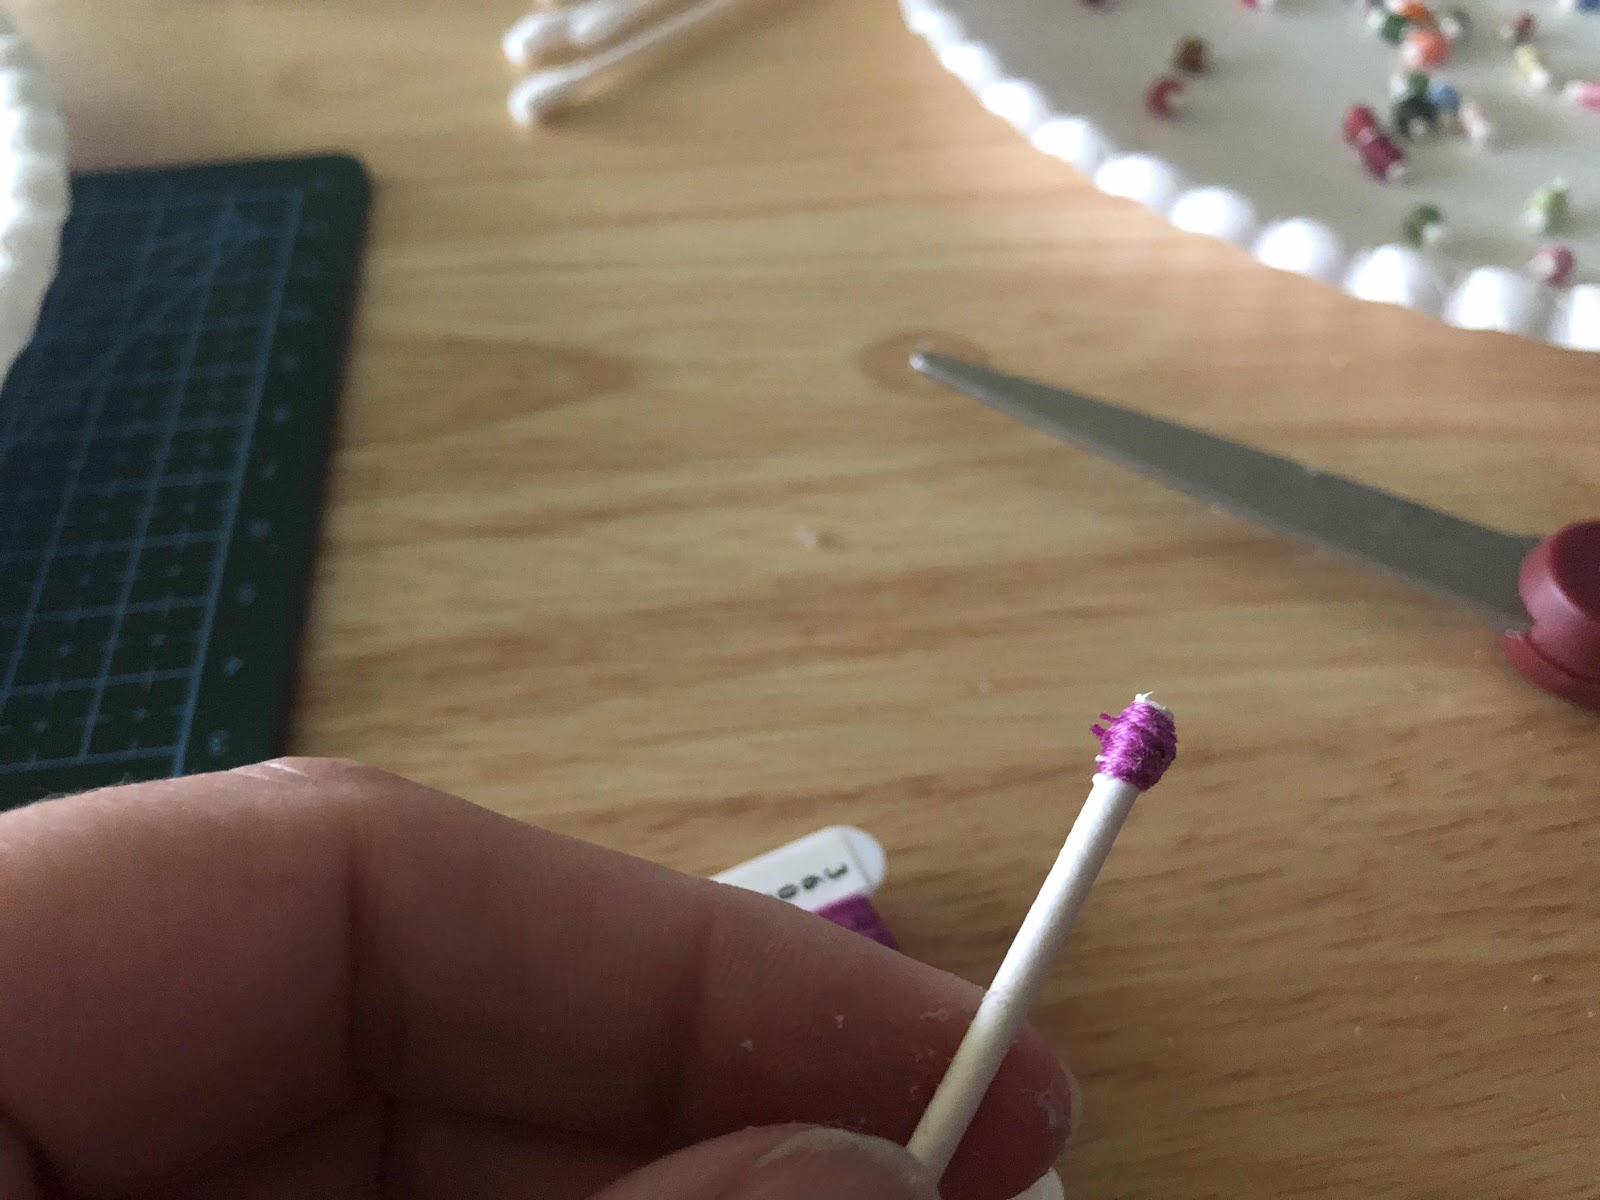
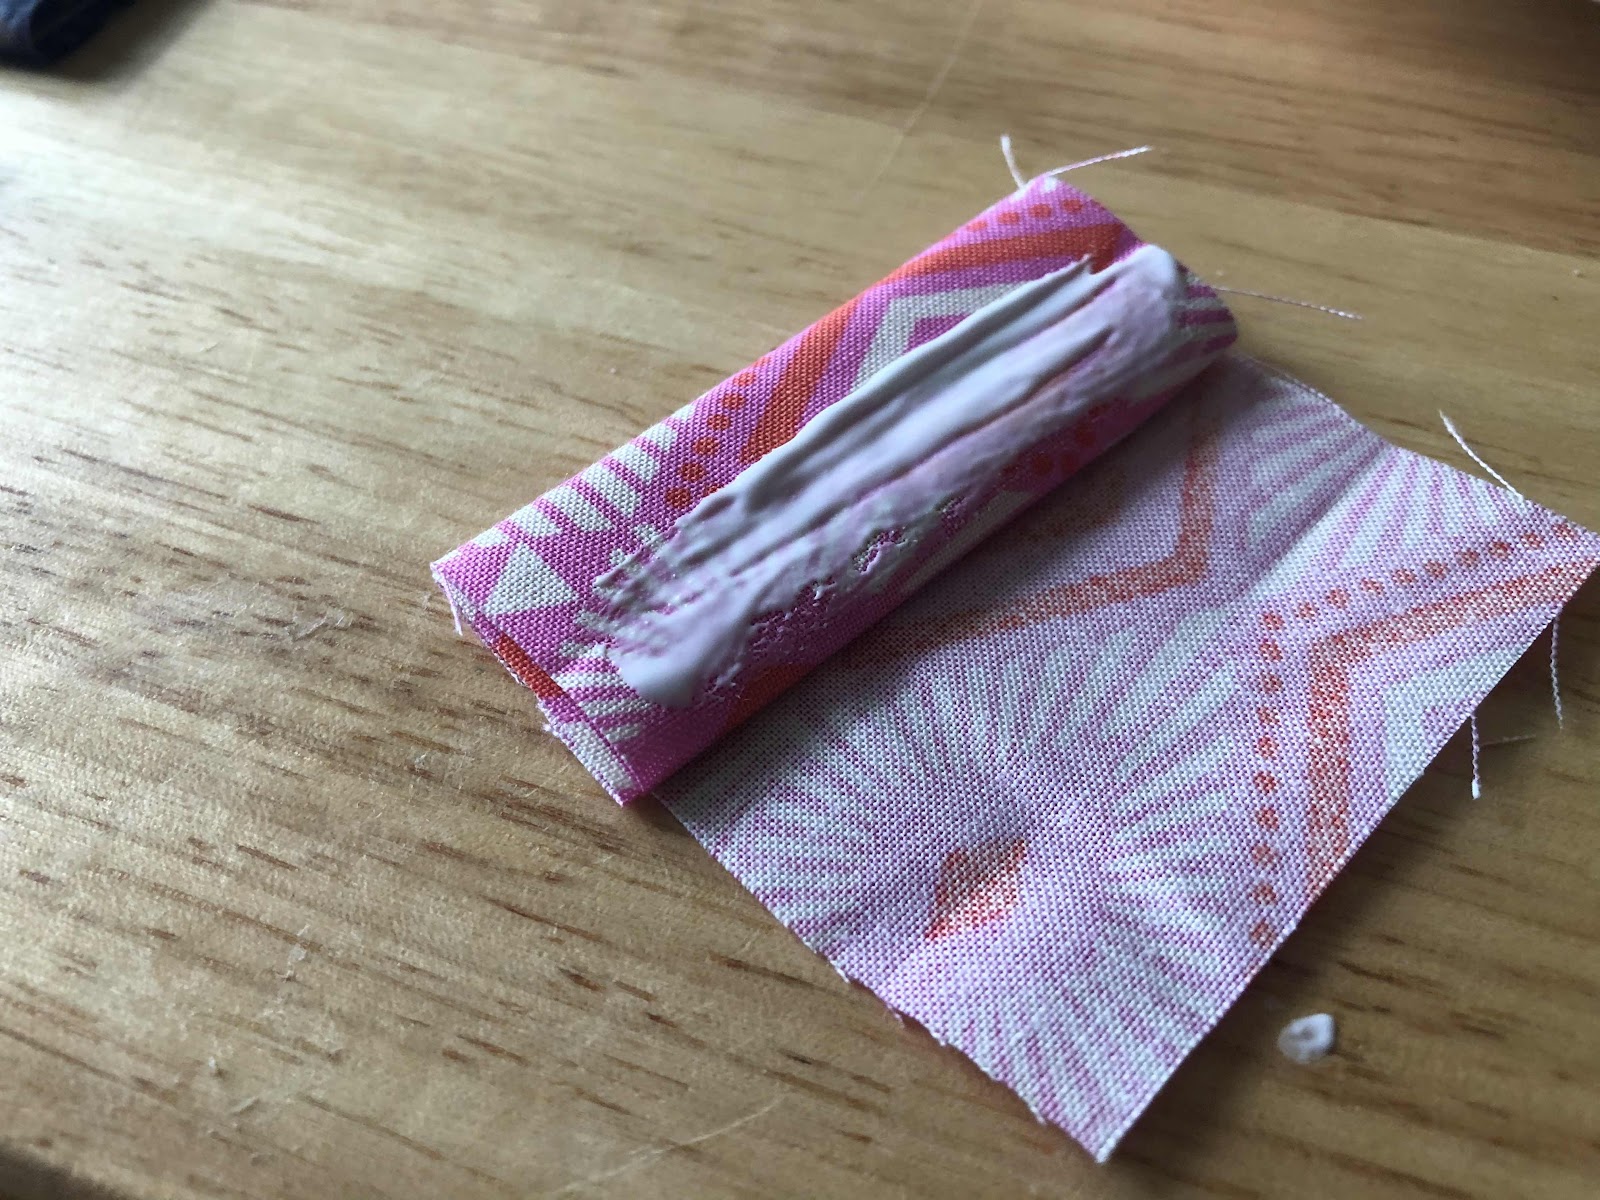
After everything was nicely held into place with a dab of glue, (any glue works...I used tacky craft glue) I took my scissors and snipped the q-tip to disconnect the ‘spool of thread’ just a wee bit below the thread. Seriously, I eyeballed this!

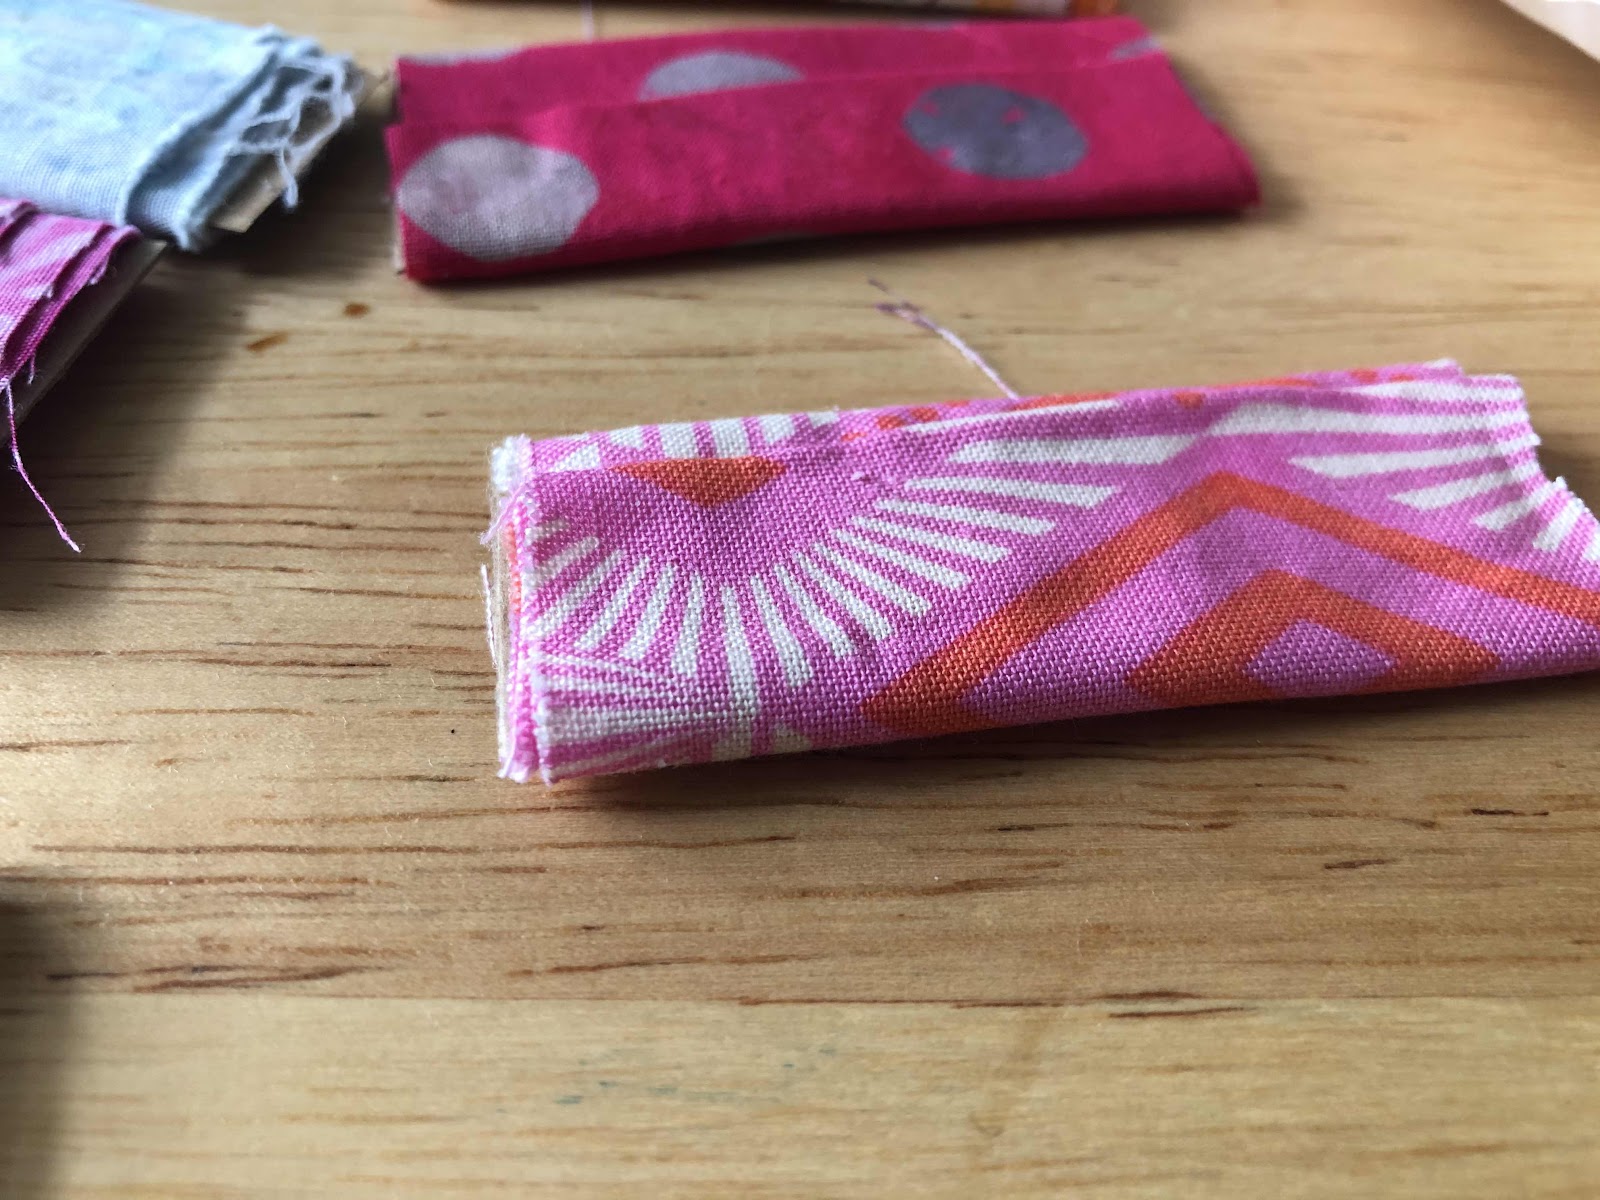
And voila.....we have a spool of thread!

I repeated this over and over.

And over ....
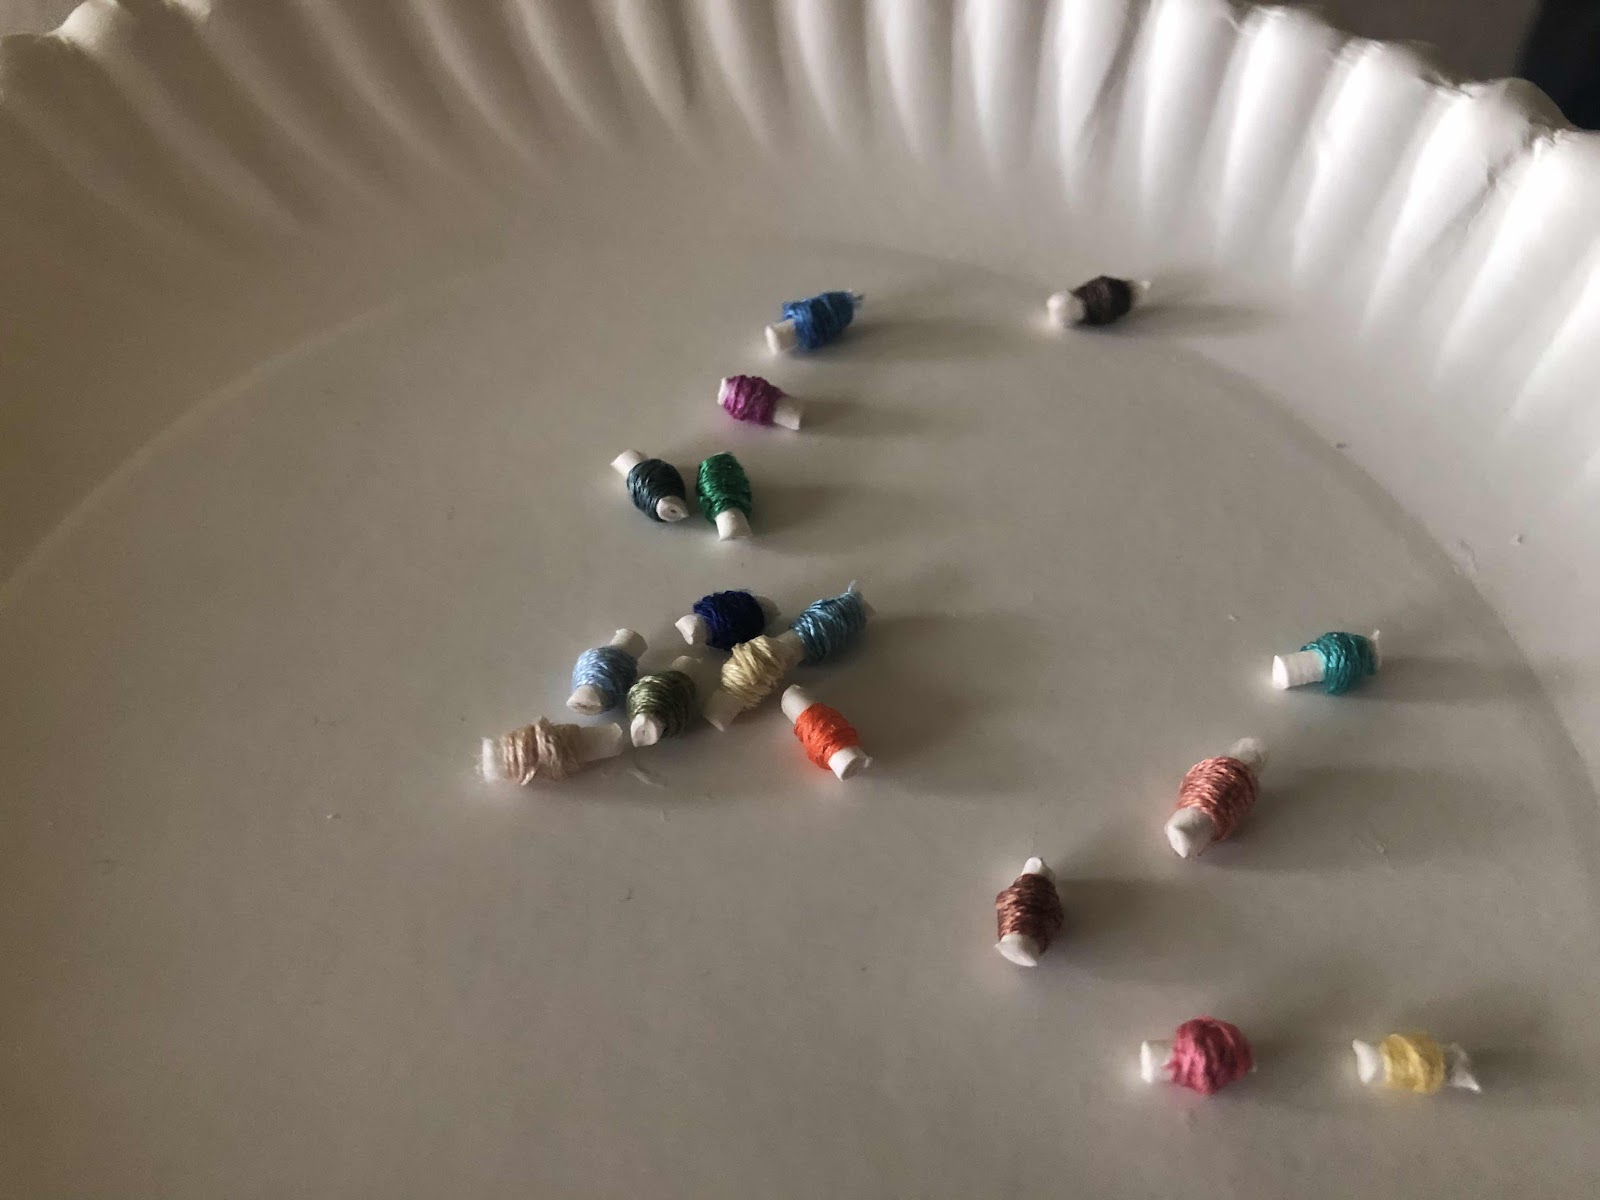
And over....

Until I had enough for my quilt shop. Tedious, but so easy!!!
I decided to make shelves in my dollhouse to display my thread.

I have plans to put make bins of white and black spools...those basic most used colors. (Yes I made quite a few white spools and quite a few spools of black thread).
It’s a work in progress, but these small projects are slowly bringing this miniature dollhouse quilt shop to life!!!!