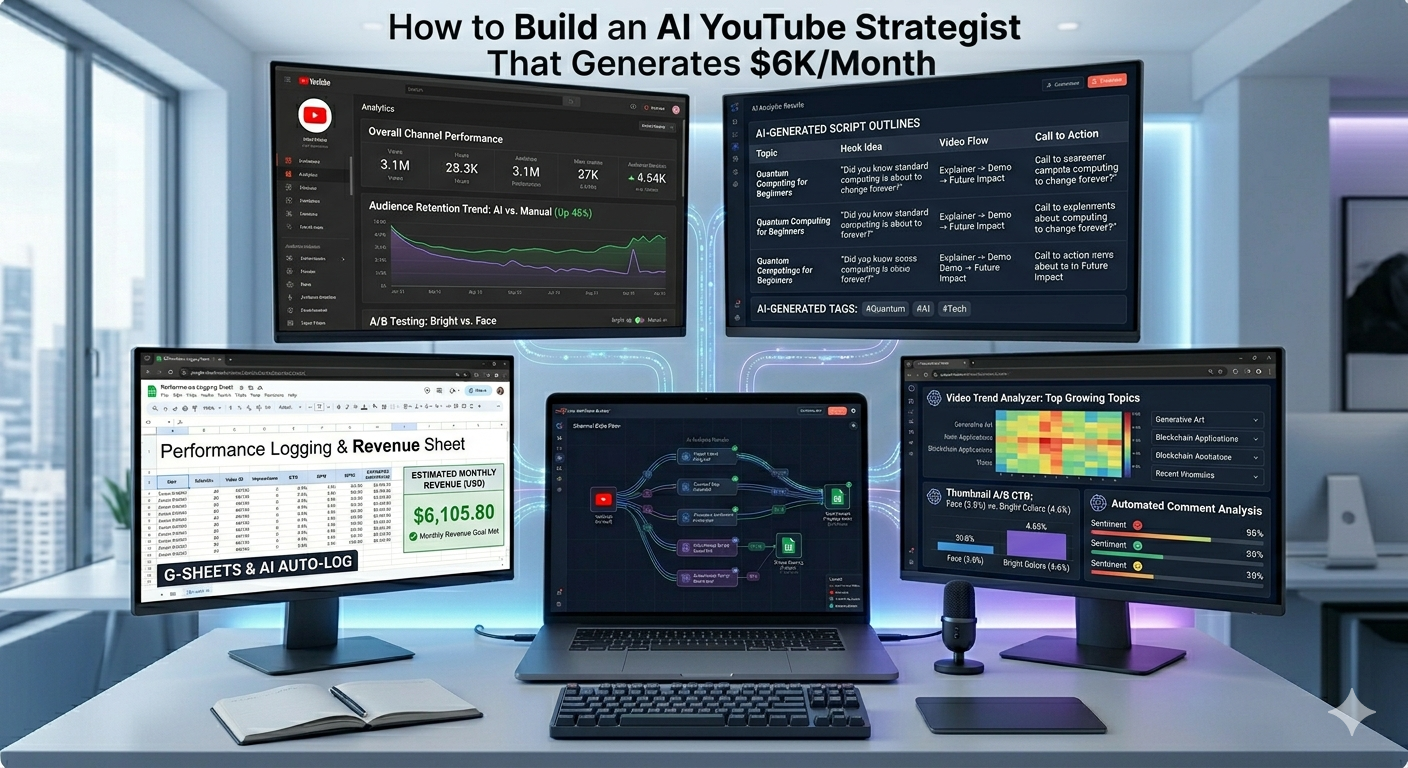
How to Build an AI YouTube Strategist That Generates $6K/Month
In today’s competitive creator economy, standing out on YouTube requires more than just great content—it demands data-driven strategy. That’s where an AI YouTube strategist comes in. This powerful automation system analyzes top-performing videos in your niche, reverse-engineers winning titles and thumbnails, and even generates fresh content ideas based on real audience feedback. Best of all? You can build and run this entire workflow for free using n8n, Apify, and OpenAI. In this guide, we’ll break down exactly how this AI YouTube strategist works, why each component matters, and how you can deploy it to grow your channel consistently.
What Is an AI YouTube Strategist?
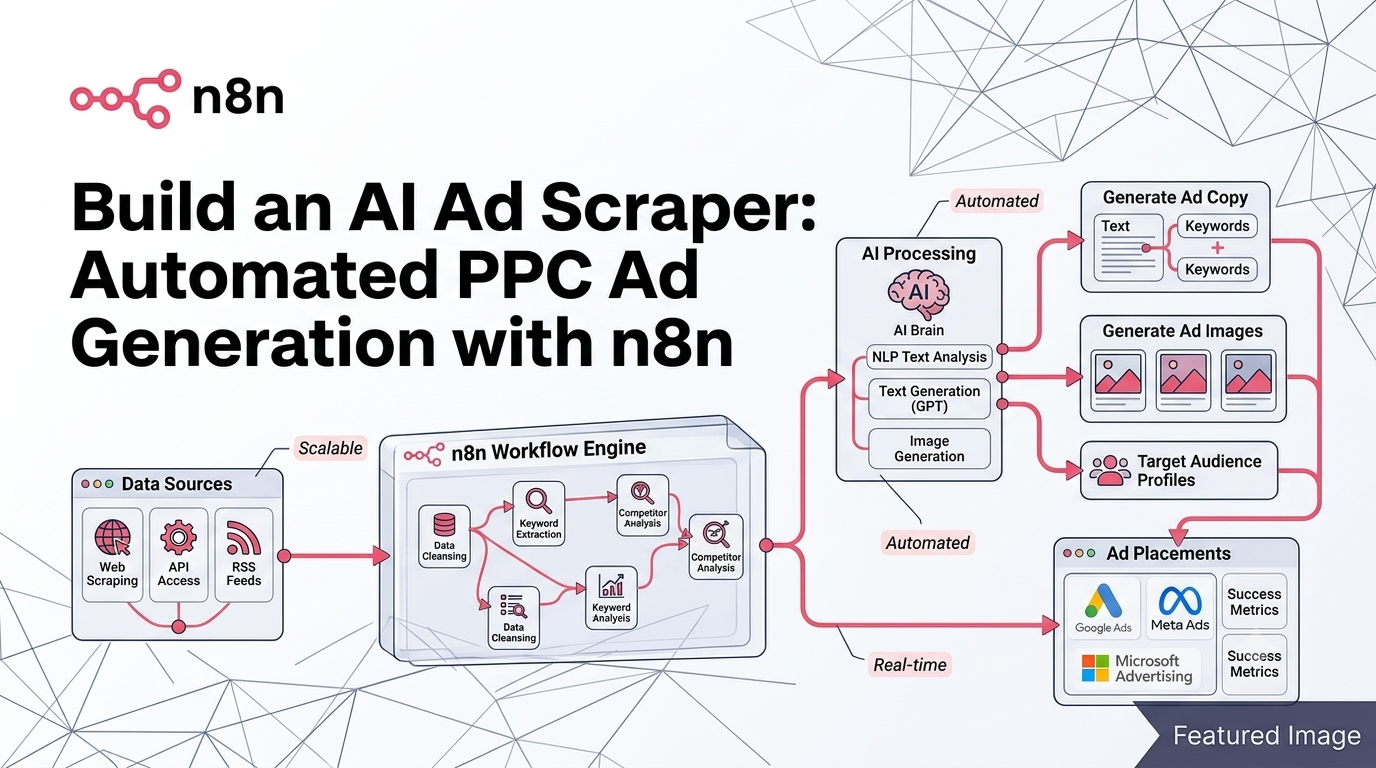
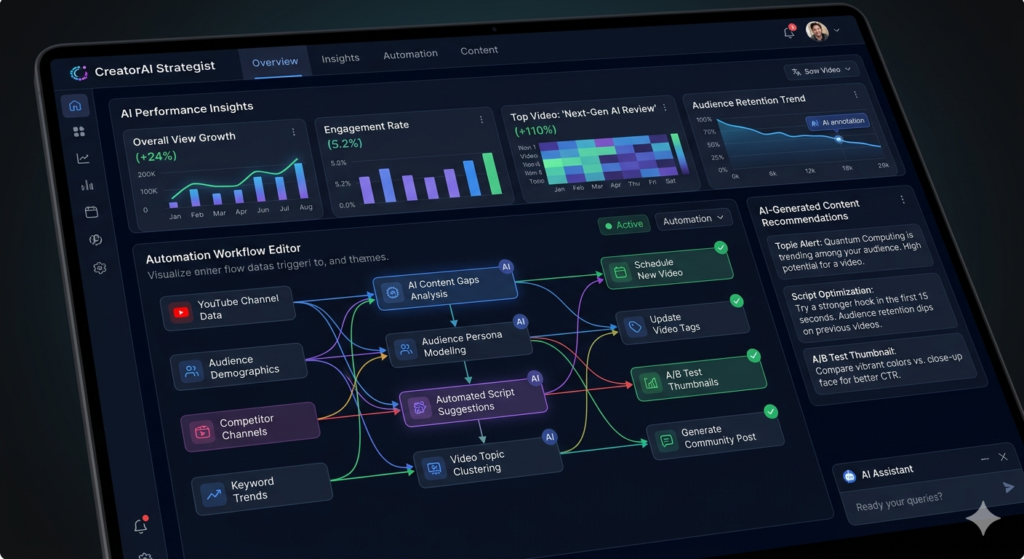
An AI YouTube strategist is an automated workflow that replaces manual competitor research, audience analysis, and content ideation with intelligent agents. Instead of spending hours scrolling through YouTube or guessing what thumbnails will convert, this system:
- Scrapes top-performing videos from channels in your niche
- Analyzes title power words and thumbnail design patterns
- Monitors your own comments for audience sentiment and requests
- Generates three new, data-backed video concepts daily
The result? A continuous stream of high-potential content ideas grounded in what’s actually working—right now.
n8n automation tutorials – aitoolsupdates.net/n8n-tutorials
The 5-Phase Workflow Breakdown
Phase 1: Niche Outlier Analysis
The foundation of any strong AI YouTube strategist is understanding what’s already working in your space. Phase one starts with a simple form submission where you input three competitor channels. The system then:
- Scrapes each channel’s top 10 videos from the past 6 months
- Uses AI to extract “power words” from titles (e.g., “free,” “step-by-step,” “2025”)
- Analyzes thumbnails for visual hooks like contrast, text placement, and emotional triggers
- Outputs everything to a Google Sheet for easy pattern spotting
This creates your first “pattern bank”—a living database of proven packaging strategies you can adapt to your own content.
Phase 2: Broad Niche Intelligence
To avoid niche tunnel vision, Phase two runs weekly and scans your broader category (e.g., “artificial intelligence” if your niche is “n8n tutorials”). This helps you:
- Spot emerging trends before they saturate your specific niche
- Borrow high-performing packaging from adjacent topics
- Stay ahead of algorithm shifts by monitoring macro-level engagement
YouTube Creator Academy – https://creatoracademy.youtube.com
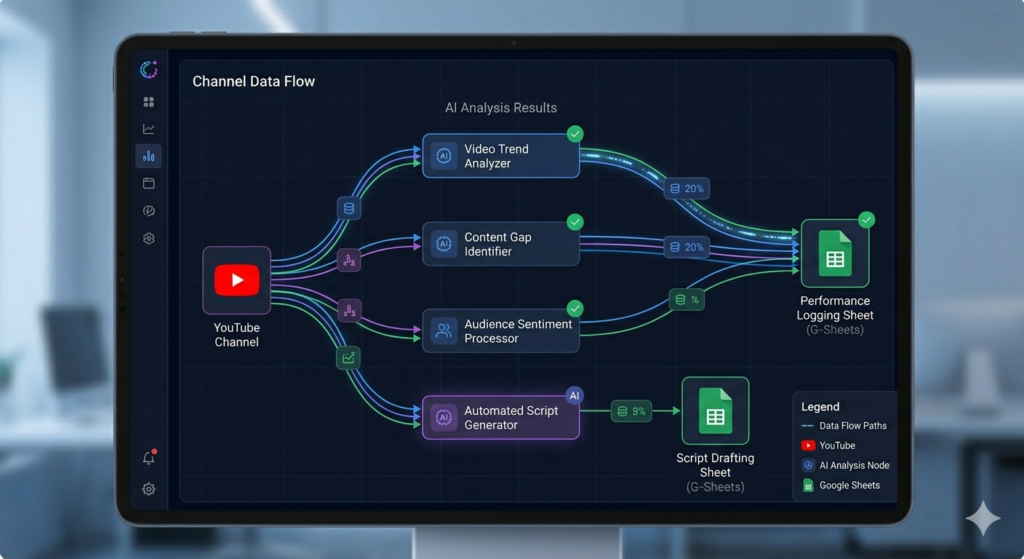
Phases 3–5: Daily Insights & Ideation
The real magic happens in the daily automation trio:
- Phase 3 scrapes the top 5 videos in your exact niche from the past 7 days
- Phase 4 analyzes your latest video comments, categorizing feedback into “what’s working,” “what’s not,” and “what viewers want next”
- Phase 5 synthesizes all this data to generate three new video concepts complete with title suggestions and thumbnail inspiration
This closed-loop system ensures your content strategy evolves in real-time with audience demand.
Why Your AI YouTube Strategist Needs These Components
Title Analysis with Power Word Extraction
Titles drive clicks. Your AI YouTube strategist uses a custom prompt to identify 1–3 high-impact words per title that create urgency, promise value, or spark curiosity. Examples from the demo include:
- “Full Course,” “Build & Sell,” “1.5K Each”
- “Start Today,” “Boring Automations,” “2025 Guide”
By cataloging these patterns, you can craft titles that tap into proven psychological triggers.
Thumbnail Analysis with AI Vision
Using OpenAI’s image analysis, the system evaluates thumbnails for:
- Visual hierarchy and text readability
- Emotional resonance and curiosity gaps
- Brand consistency and color contrast
This isn’t about copying—it’s about understanding why certain visuals convert so you can innovate within those frameworks.
Comment Analysis for Audience Insights
Your viewers tell you exactly what they want—if you listen. The comment analyzer processes dozens of recent comments to surface:
✅ Praise patterns: “Clear explanations,” “great for beginners”
❌ Pain points: “Git errors,” “setup confusion”
💡 Requests: “Show AWS hosting,” “add LangChain integration”
This direct feedback loop turns audience noise into actionable content direction.
AI content creation tools – aitoolsupdates.net/ai-content-tools
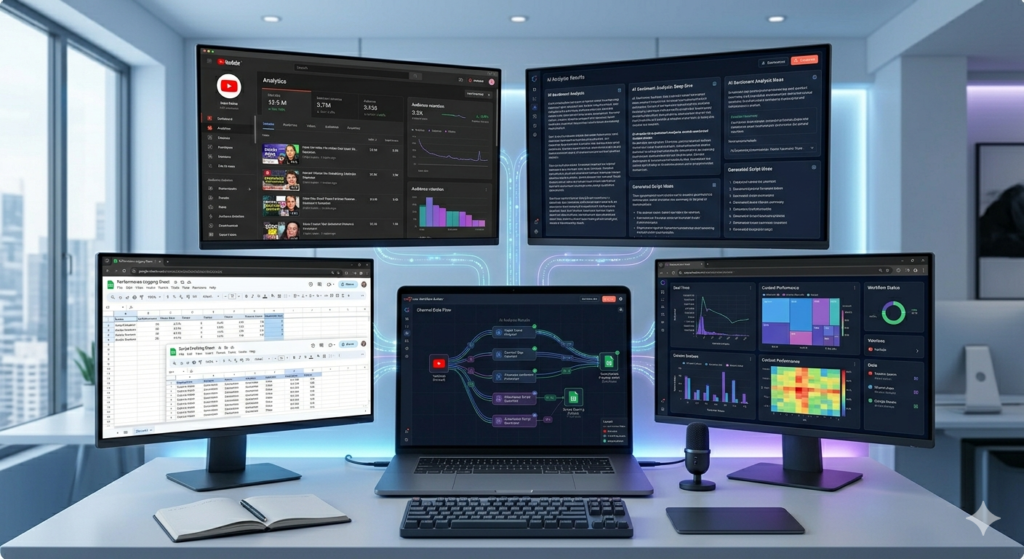
Getting Started With Your AI YouTube Strategist
You don’t need to code to deploy this system. Here’s what you’ll need:
- n8n account (free tier works) for workflow orchestration
- Apify API key for YouTube scraping ([Link: Apify YouTube Scraper documentation – https://apify.com/apify/youtube-scraper])
- OpenAI API key for title/thumbnail analysis
- Google Sheets for data storage and review
The creator offers a free template with pre-built nodes and a setup guide. Just import the JSON file into n8n, add your API keys, and connect your Google Sheet. Within minutes, your AI YouTube strategist begins working.
Cost Breakdown & ROI
One of the biggest advantages of this AI YouTube strategist is its affordability:
- Apify YouTube Scraper: $5 per 1,000 videos (you’ll use ~90 videos/week)
- Apify Comments Scraper: $1.30 per 1,000 comments (~150/day)
- OpenAI image/text analysis: Fractions of a cent per call
With a 30% discount code, most creators spend under $10/month to run the entire system—while potentially gaining thousands in ad revenue, sponsorships, or product sales from optimized content.
Advanced Customizations for Your AI YouTube Strategist
Once your base workflow is running, consider these upgrades:
- Hook Analyzer: Scrape video transcripts to identify high-retention opening lines
- Positioning Agent: Chat with an AI trained on your pattern bank to refine new video concepts
- Trend Alert System: Monitor news or social signals to pivot content toward breaking topics
These enhancements turn your AI YouTube strategist from a research tool into a full creative partner.
Final Thoughts: Automate Strategy, Amplify Growth
Building a successful YouTube channel doesn’t have to mean burning out on guesswork. By deploying an AI YouTube strategist, you automate the heavy lifting of market research, audience analysis, and ideation—freeing you to focus on creation and connection. The system outlined here is fully functional, free to start, and designed for creators who want to scale intelligently.
Ready to put an AI YouTube strategist to work for your channel? Download the free n8n template, connect your API keys, and start generating data-backed content ideas today. Your next viral video might be just one automated insight away.