If your team maintains a Google Sheets log of all articles in your Document360 knowledge base — tracking titles, categories, publish dates, or other metadata — updating that sheet manually every time a new article is added is repetitive and easy to forget. By connecting Document360 and Google Sheets through Zapier, you can automate this: whenever a new article event occurs in Document360, Zapier automatically adds a new row to your designated spreadsheet.
When to use this integration
- Your team tracks knowledge base content in a Google Sheet - for example, a content calendar, an article inventory, or a review log - and wants it updated automatically whenever articles are added or changed in Document360.
- You report on knowledge base activity to stakeholders who work in Google Sheets and need an up-to-date record without manual exports.
- You want to create an audit trail of article activity in Document360 that non-portal users can access in a shared spreadsheet.
Before you begin
- You must be logged into your Zapier account.
- You must have a Google account with access to the spreadsheet you want to write rows into.
- Before building the Zap, set up your Google Sheet with column headers that match the Document360 article attributes you plan to map. Zapier reads the headers when configuring the action. Refer to Work with Google Sheets in Zaps for guidance on preparing your sheet.
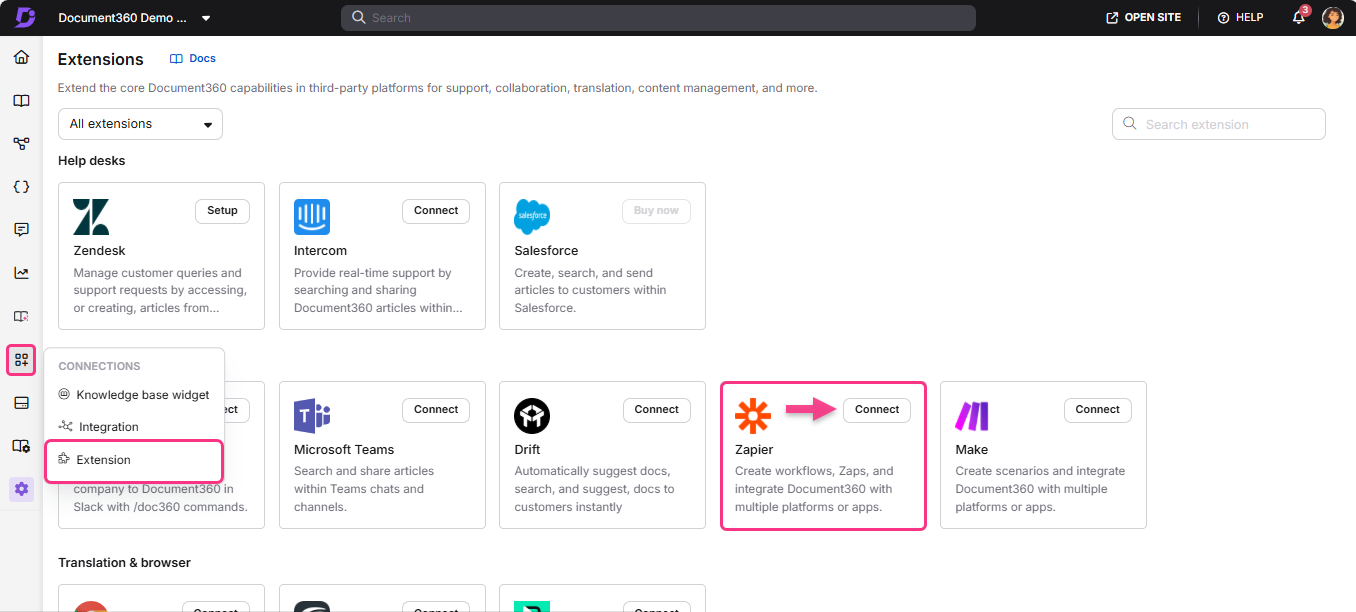
- You must have your Document360 API token ready. To generate one, navigate to Connections > Extensions , locate the Zapier tile, and click Connect to copy the token.
How to set up the Zap
Step 1 — Create a new Zap
- Log in to your Zapier account.
- From the left navigation menu, click Create then select Zaps.
- A new Zap is created with a Trigger and Action flow.

Step 2 — Connect Document360 as the trigger
- In the Trigger field, choose Document360.
- On the Setup panel, select the desired event in the Event field.
- Click the Account field — a Sign-in panel appears.
- Enter your sign-in credentials and click Allow.
To generate the API token from Document360:
- Navigate to Connections > Extensions in the left navigation bar of the Knowledge base portal.
- On the Zapier extension tile, click Connect.
- Click the Copy icon to copy the token.
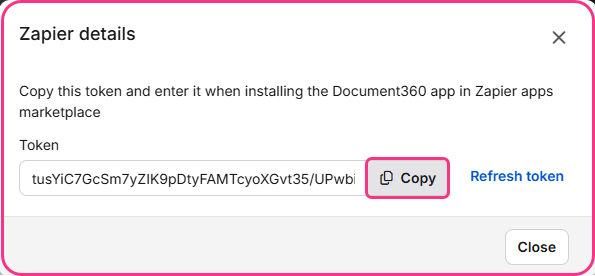
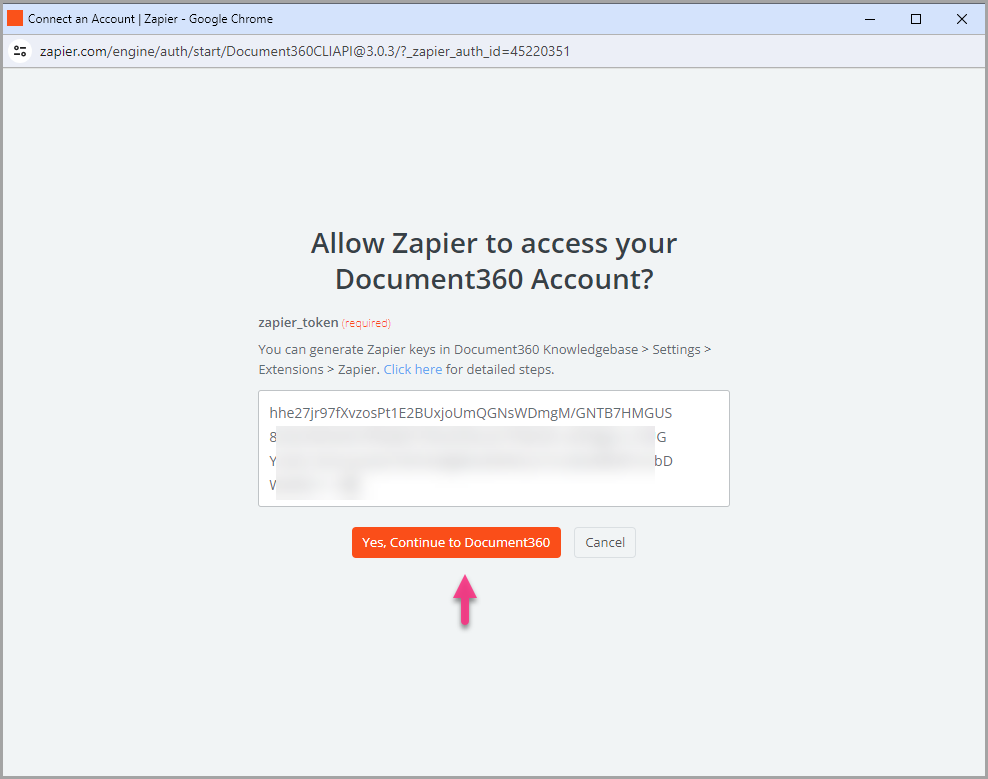
- Head back to the Zapier panel and paste the API token into the field.
- Click Yes, Continue to Document360.
- You can find the connected Document360 project on the Connect Document360 account page. To use a different account later, click Change.
- Click Continue.
Step 3 — Connect Google Sheets as the action
- In the Action field, choose Google Sheets.
- On the Setup panel, select Create Spreadsheet Row in the Event field.
- Click the Account field — a Sign-in panel appears.
- Enter your Google account credentials and click Allow.
- Click Continue.
- In the Configure panel, update the following fields:
| Field | Description |
|---|---|
| Drive | The default is My Google Drive. Choose a shared drive from the list if needed. |
| Spreadsheet | Select the spreadsheet file from your Google Drive. |
| Worksheet | Choose the specific worksheet (tab) within the selected spreadsheet. |
- As soon as you select the worksheet, the column headings are listed. Map each column heading to the corresponding Document360 article attribute you want to capture.
Zaps are intended to only add rows to the end of the spreadsheet — they cannot insert rows in between existing rows.
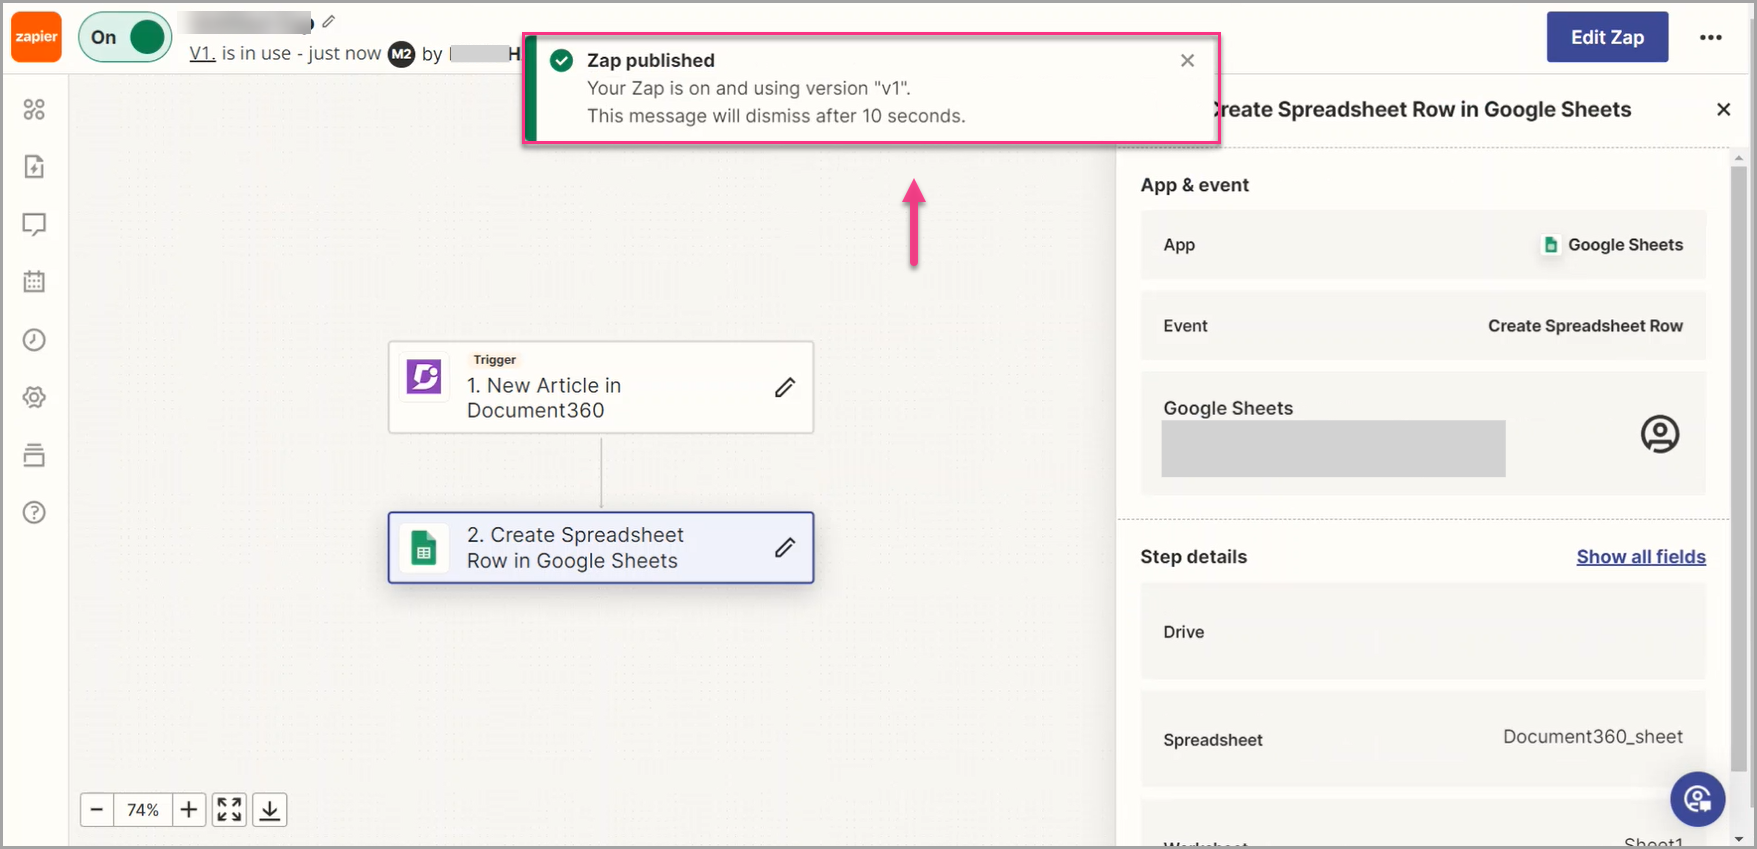
- Click Continue, then move to the Test section and click Publish. A Zap published popup confirms the Zap is on.
If you rename your spreadsheet or worksheet after the Zap is set up, you will need to reselect them in the Zap Editor to update to the new names — otherwise the Zap will fail.
Zap overview
Once active, you can view and manage the Zap from the Zapier dashboard. The overview page shows the trigger, action, and run history for the Zap.
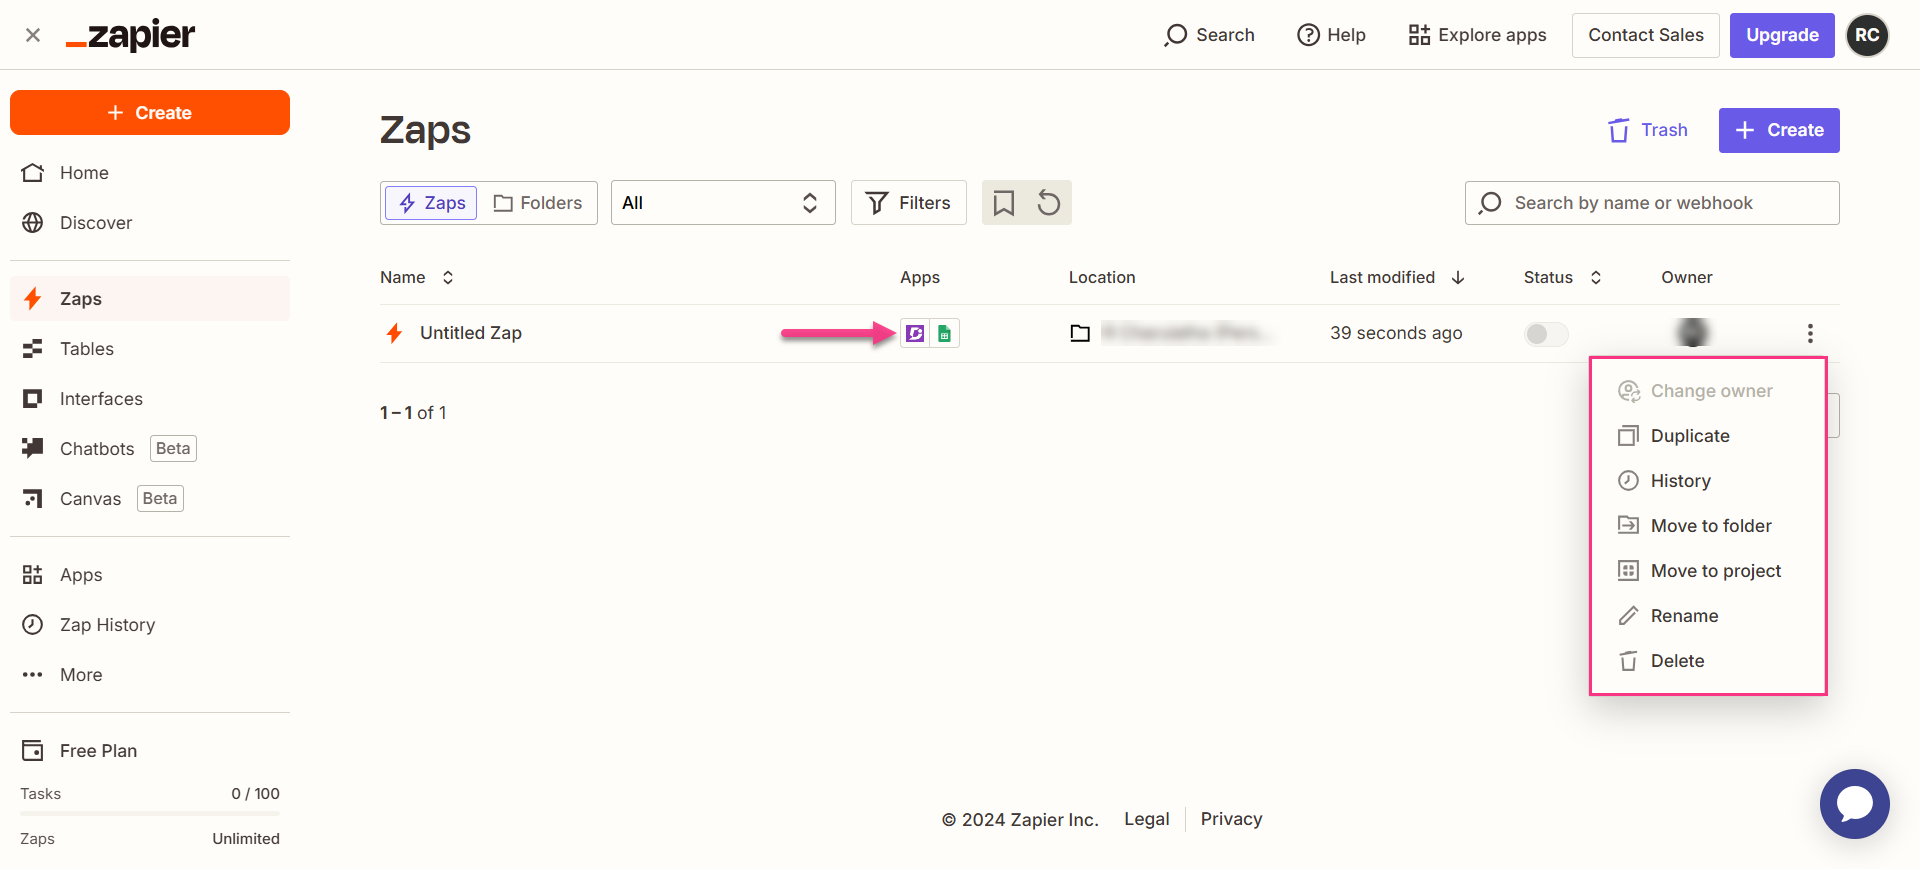
How to delete a Zap
- Navigate to the Zapier dashboard. A list of all existing Zaps is displayed on the overview page.
- Click the arrow (>) icon to the right of the Zap you want to remove and click Turn off and delete Zap. The Zap is permanently deleted.
Best practices
- Set up your spreadsheet column headers before building the Zap. Zapier reads the headers when you select the worksheet in Step 3, so the columns must already exist for mapping to work correctly.
- Keep your column headers descriptive and consistent with how Document360 labels article attributes — for example, "Article Title", "Category", "Published Date" — so the mapping is easy to understand and maintain.
- If you track articles across multiple workspaces, build a separate Zap for each workspace and route the rows to separate worksheets or spreadsheets, so your log stays organized by workspace.
FAQ
How is a spreadsheet different from a worksheet?
A spreadsheet is the overall file you select from Google Drive. A worksheet is a specific tab within that file where data is stored. When configuring the Zap, you select the spreadsheet first, then the worksheet within it.