

Download Copernicus – Free Screen Capture & Video Recorder
Why Copernicus Stands Out in a Crowded Screenshot Market
When you work with software reviews, tutorials, or simply need to capture a moment on your screen, the right tool can make the difference between a polished presentation and a clumsy set of images. Copernicus enters the scene as a lightweight yet powerful screen capture utility that caters to both casual users and power‑users alike. Unlike many free tools that hide essential features behind paywalls, Copernicus offers a complete suite—including still captures, short video recordings, batch processing, and on‑the‑fly quality adjustments—without asking you to upgrade.
The application is built with speed in mind. A single click (or a handy F‑key shortcut) launches the capture overlay, letting you select a region, a window, or the entire display in milliseconds. Once the screenshot is taken, a preview pane appears, giving you the option to annotate, crop, or organize multiple captures before you finally save them. Video mode works similarly: you can define frame rates, choose whether the footage is buffered in RAM or streamed directly to disk, and stop recording with a single keystroke.
From a security perspective, Copernicus runs locally without any background telemetry, which means your images stay on your machine unless you decide to share them. Updates are delivered through a secure HTTPS channel, and the installer is signed to avoid the risk of malicious code. Whether you’re on Windows, macOS, or a Linux desktop, the program offers a consistent experience, making it a reliable choice for cross‑platform teams.
In the following sections we’ll dive deeper into what Copernicus actually does, how to get it up and running, and why its pros often outweigh the few quirks that some users have noted.
Comprehensive Overview & Core Feature Set
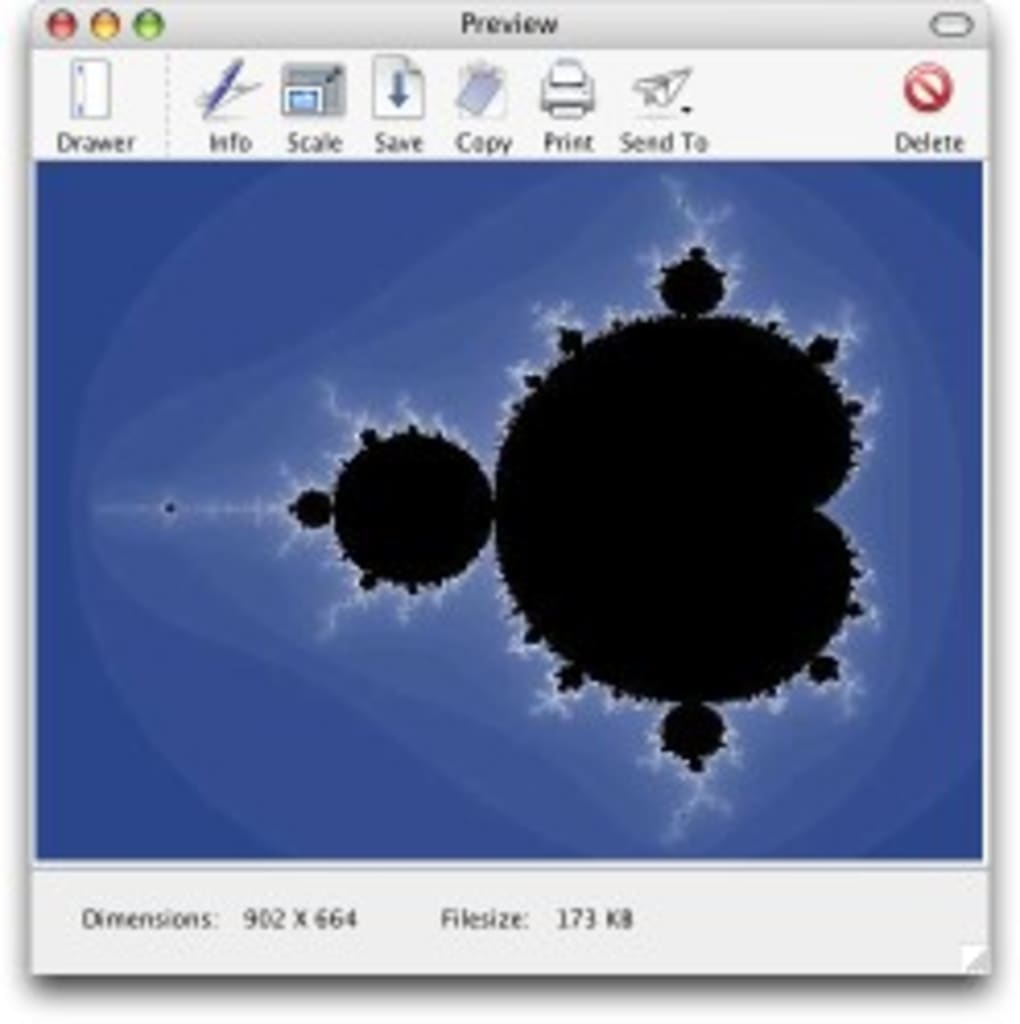
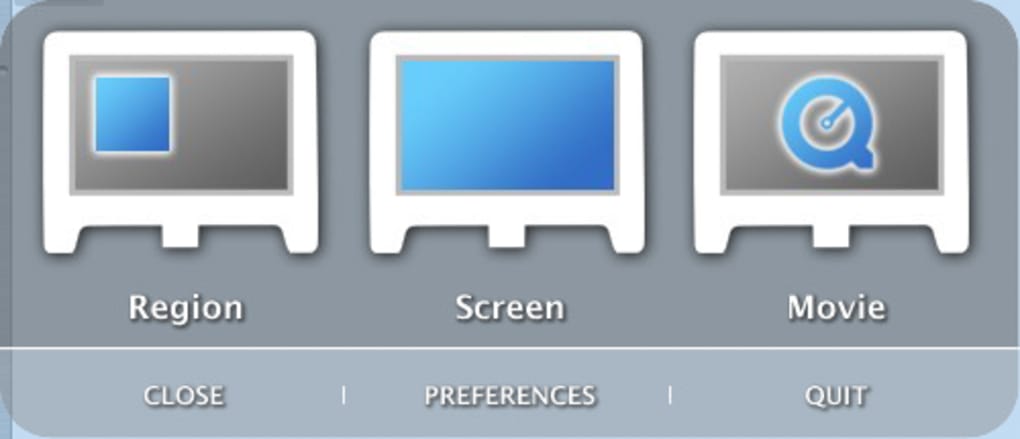
Copernicus was designed with a single mission: to let you capture exactly what you need, when you need it, without unnecessary friction. The interface is intentionally minimalistic—just a toolbar with clearly labeled icons for “Capture”, “Record”, “Batch”, and “Settings”. When you initiate a capture, a translucent overlay appears, letting you drag a rectangle around the desired area. After releasing the mouse, the image instantly lands in the preview window, where you can add simple annotations like arrows, text boxes, or highlights. The preview also includes a quality slider, enabling you to balance file size against visual fidelity before you click “Save”.
Video recording follows a similar workflow. You select the region, set the frame rate (from 5 fps up to 30 fps), and decide whether to store frames in memory (for ultra‑smooth playback) or write directly to the hard drive (to conserve RAM). The recorded clip is saved as an MP4 file, compatible with virtually every media player. Although the output format is fixed, the ability to control frame rate and storage method gives you enough flexibility for tutorials, bug reports, or quick demos.
One of the most appreciated features is the batch handling capability. If you need to capture a series of screenshots—say, each step of a software installation—Copernicus lets you queue them up and automatically name each file based on a customizable pattern (date, time, or sequential numbers). This eliminates the tedious manual renaming process and keeps your project folder organized.
- Instant full‑screen, window, or region capture
- Integrated preview with annotation tools
- Adjustable JPEG quality before saving
- Video recording with configurable frame rates
- Option to buffer video in RAM or write directly to disk
- Batch capture mode with auto‑naming patterns
- Keyboard shortcuts (F‑keys) for rapid access
- Secure, signed installer and automatic HTTPS updates
While Copernicus currently saves images only as JPEG files—a limitation for users who need PNG or BMP—it compensates by providing a high‑quality compression engine that keeps file sizes modest without sacrificing detail. The choice of JPEG is intentional, aiming to balance compatibility across all operating systems and to ensure that screenshots load quickly in web‑based environments.
Installation, First‑Run Setup & Daily Usage
Getting Copernicus onto your machine is straightforward. Visit the official download page, choose the installer that matches your operating system, and click “Download”. The Windows version comes as a .exe file, macOS as a .dmg, and Linux as a .tar.gz archive. All installers are digitally signed, so Windows Defender or macOS Gatekeeper will verify their authenticity automatically.
After launching the installer, follow the on‑screen wizard: accept the license agreement, pick an installation folder (the default location works fine for most users), and decide whether Copernicus should create a desktop shortcut. The process typically completes within a minute, even on older hardware. Once installed, the application adds itself to your system’s startup list, allowing you to capture the very first screen that appears after a reboot—handy for documenting system boot issues.
On first launch, Copernicus presents a short welcome dialog that walks you through the main settings:
- Default save folder: Choose where screenshots and videos will be stored.
- Image quality: Set a default JPEG compression level (70 % is a good balance).
- Video preferences: Select a default frame rate and storage method.
- Keyboard shortcuts: Enable or disable the F‑key hotkeys according to your workflow.
After configuring these options, you’re ready to start capturing. Press F9 (or click the capture icon) to open the overlay, drag to select an area, and release to view the preview. For video, press F10 to start recording and F11 to stop. All captured media automatically appear in the preview pane, where you can add annotations, adjust quality, or immediately export to your chosen folder.
For power users, Copernicus also supports command‑line arguments. You can launch a capture directly from a script using copernicus.exe /capture /region 0,0,800,600, which is useful for automated testing environments. The documentation includes a full list of parameters, ensuring that you can integrate the tool into any custom workflow.
Compatibility, Pros & Cons, & Expert Review
Platform Support
Copernicus runs natively on the three major desktop platforms. The Windows build supports 64‑bit Windows 7 and newer, with optional compatibility mode for older versions. macOS users receive a signed .dmg that works on Catalina and later, while Linux users can compile from source or use the pre‑built binaries available for popular distributions. Because the core rendering engine is based on the cross‑platform Qt framework, the UI feels consistent across all OSes, and keyboard shortcuts work the same way regardless of the host system.
Pros
- Free to use with no hidden premium tier.
- Fast, low‑latency capture suitable for real‑time demos.
- Integrated preview and annotation tools reduce the need for third‑party editors.
- Batch capture and auto‑naming streamline large projects.
- Secure, signed installer and automatic HTTPS updates protect against malware.
Cons
- Image export limited to JPEG; no native PNG or BMP support.
- F‑key shortcuts can be inconvenient on Mac keyboards lacking dedicated function keys.
- Video format fixed to MP4; no option for AVI or MOV.
- No built‑in cloud sync; files must be uploaded manually.
Copernicus delivers a solid set of screen‑capture capabilities without the bloat of many commercial alternatives. Its batch handling and on‑the‑fly quality adjustments make it especially useful for developers and content creators who need to produce consistent visual assets quickly. The main drawbacks—limited export formats and reliance on function‑key shortcuts—are minor compared to the overall value, especially given the tool’s zero‑cost model.
Frequently Asked Questions & Final Thoughts
Is Copernicus really free or does it have hidden fees?
Copernicus is completely free. All features—including video recording and batch processing—are available without any subscription or one‑time payment.
Can I change the screenshot format to PNG?
The current version only saves images as JPEG. Users who need lossless PNG files must convert them with a separate image editor after capture.
How does Copernicus handle privacy and security?
All captures are stored locally on your device. The application does not transmit data to external servers, and updates are delivered over a secure HTTPS connection. The installer is digitally signed to prevent tampering.
Can I use Copernicus on a corporate network with strict admin rights?
Yes. The installer can be run in silent mode for enterprise deployment, and the application does not require elevated privileges after installation. However, you may need admin rights to install it initially.
Is there any way to sync captured files to the cloud automatically?
Copernicus does not include built‑in cloud sync. You can point the default save folder to a synced directory (e.g., Dropbox, OneDrive, or Google Drive) to achieve automatic uploading.
Conclusion – Should You Download Copernicus?
If you need a reliable, fast, and completely free screen capture solution that works across Windows, macOS, and Linux, Copernicus deserves a place on your desktop. Its blend of instant captures, easy‑to‑use preview tools, and batch processing sets it apart from many free alternatives that either lack video support or force you into a paid tier for basic functionality. While the JPEG‑only export and reliance on function‑key shortcuts might be a minor inconvenience for some users, the overall value—especially for developers, educators, and support teams—is hard to beat.
Ready to streamline your screenshot workflow? Download Copernicus now and start creating crisp images and smooth video clips in seconds. Your next tutorial, bug report, or presentation will thank you.