Input Devices
- ACTIVE
- 2020 — Present
- ROLES
- Design & Implementation
I spend a lot of time in front of computers. After some years of back problems that started in my late teens, I've learned a few things: don't skimp on the chair, don't skimp on the desk and don't skimp on your input devices. Because you're gonna be using them a lot.
I like owning my devices and my hardware. I like making things. I've also always been a computer 'power user': Hammerspoon and Autohotkey, hundreds of little scripts, streamlined setups and dotfile repositories. Not to mention building my own software.
Custom input devices tickle all those interests, but unlike the nebulous depth of my computer, they're shiny and visible too.
I first decided I wanted one when I learned about QMK, the Quantum Mechanical Firmware: a custom microcontroller firmware just for keyboards. Program your keymap, flash your device and you can make any key on the board do anything you want — or more than one thing — without any dependencies on drivers and weird bloaty manufacturer software.
Layers, macros, repeating keys and modifiers. The promise of aesthetically-pleasing functionality. Custom designs and layouts and extra buttons, all of which can do anything you want them to do in as many configurations as you like.
So I made some!
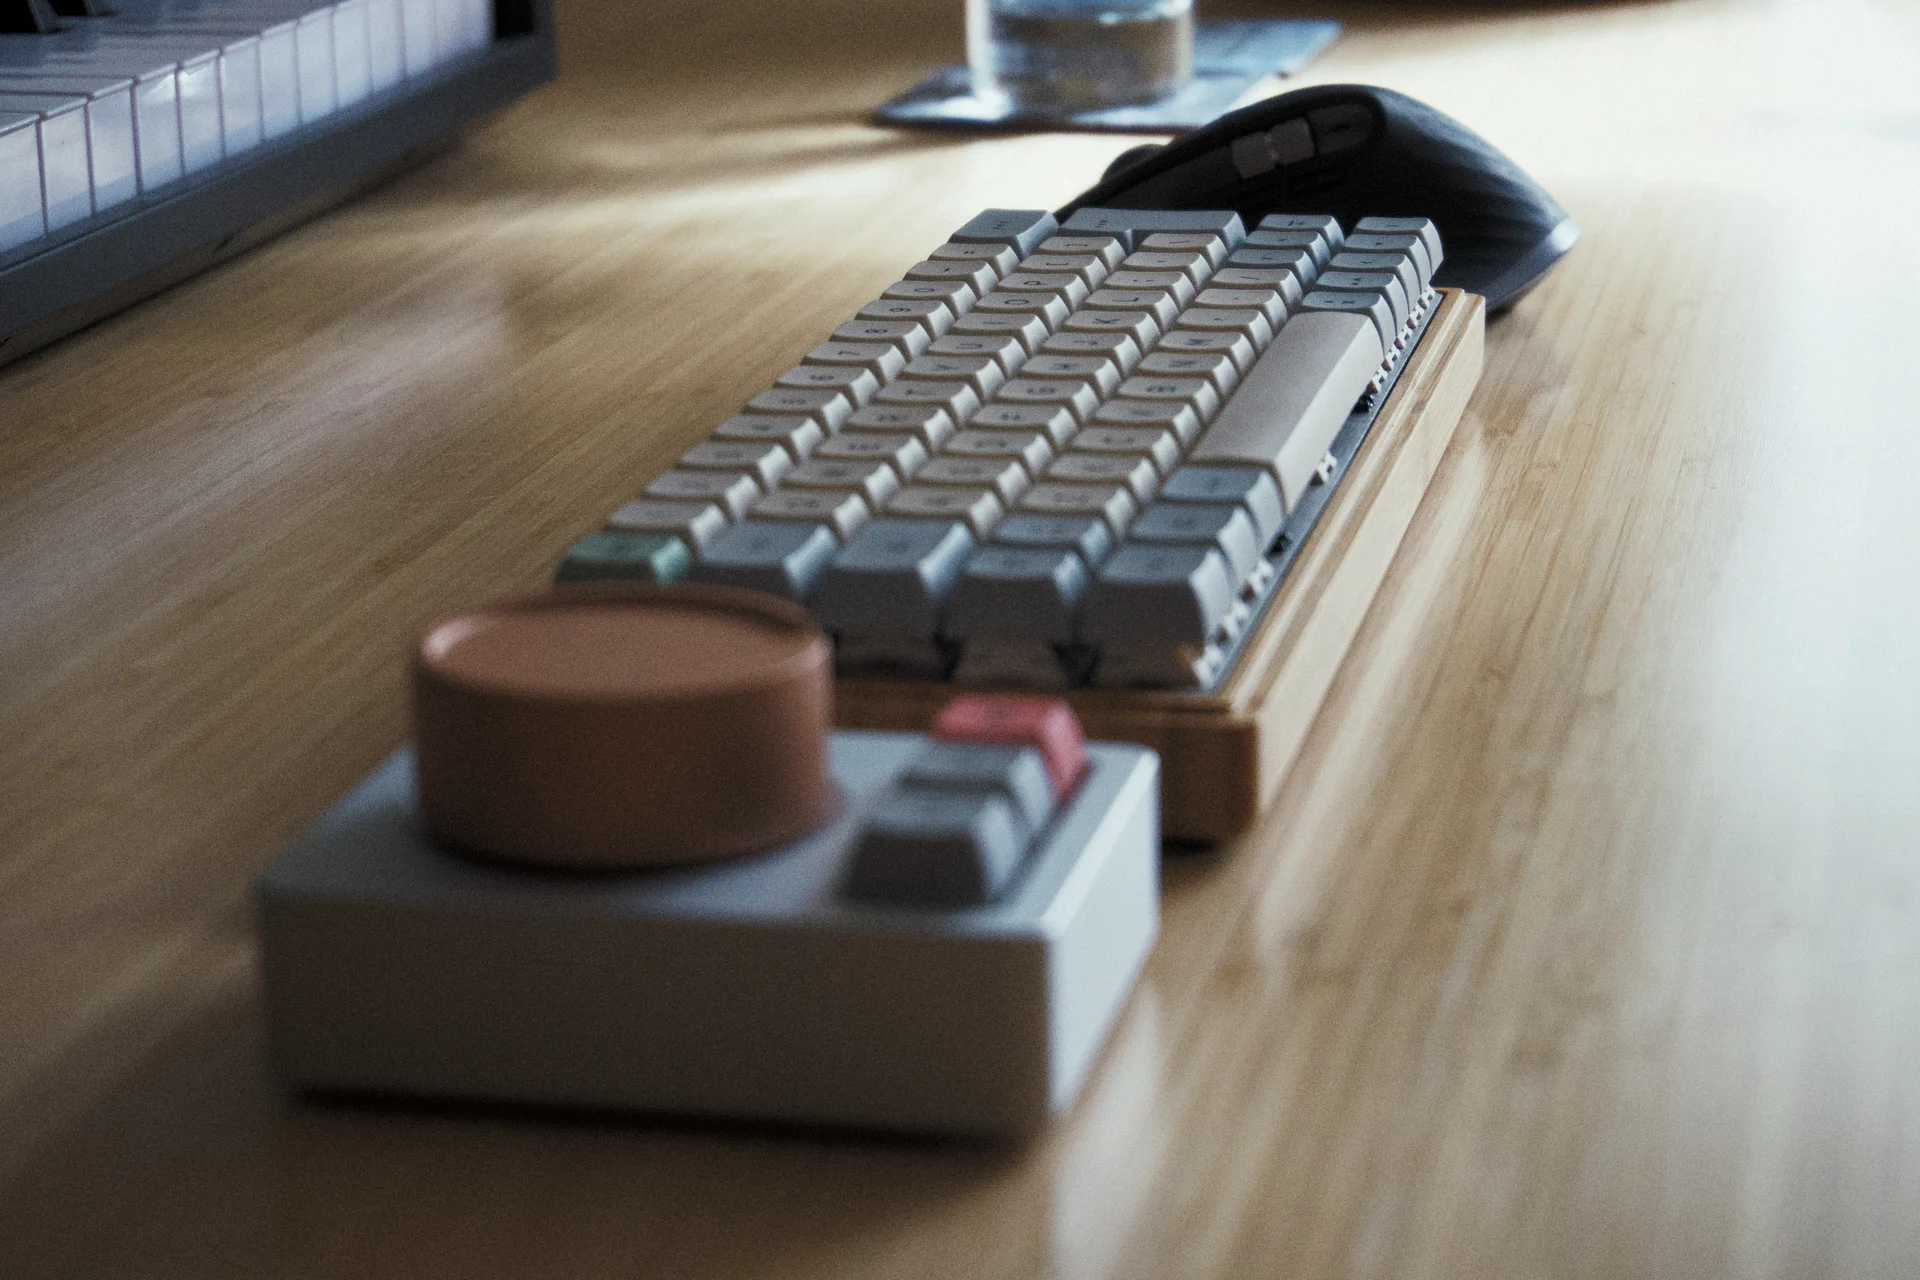
Wanderer

My most recent board, and my daily driver for two years now, is the Wanderer.
The physical layout is exactly the same as its predecessor, the Undertow. Not for lack of wanting a little change but because I just like it.
The Wanderer is also the first board of mine to use ZMK rather than QMK, a keyboard firmware based on the Zephyr RTOS.
Components
- BT60 Bluetooth PCB
- Novelkeys Cream switches
- Bamboo Case
- Cherry stabilisers
- (Another) custom brushed stainless steel plate
- XDA Canvas Keycaps
Layout and Keymap
While the aesthetics of custom boards are fun, there's really no point in buying expensive boards if they're not going to be useful. Where most saw the chance to reduce the number of keys or change the ergonomics, I just wanted a custom controller for all my stuff.

I've built a number of layers into the board that are dedicated to software I use regularly. These shortcuts offer fast, usually first-order access to common functions in applications, which lets me work faster. Where possible, the default shortcuts built into the application are used, allowing the board to be connected to any workstation running a stock installation of the same software and run seamlessly.
My favourite layer on here is the numpad, which is accessed by holding down the Tab key. When pressed, the Tab key is still the Tab key, but holding it will cause the right half of the board to turn into a numeric keypad. This lets me navigate in Blender efficiently without needing a full size keyboard or a separate numpad. I can also use the calculator efficiently because, of course, maths operators and bracket keys are available as well.
Undertow

The Undertow was my first custom keyboard. I actually had the keymap finished for over a year before all the parts finally arrived, because all of them were on eighteen month group buy lead times. The earlier days of this hobby were rough.
It's layout and design were the prototype for the Wanderer. I switch back to the Undertow every now and then, or use it for secondary devices like my work's iMac. The keymap generally matches the Wanderer's.
Components
- DZ60 PCB
- Holy Panda switches
- Datamancer 60% case in walnut
- Cherry stabilisers
- Custom brushed stainless steel plate
- Matt3o's beautiful Susuwatari keycaps
- JellyKey V1 Zen Pond spacebar
Dragonpad

The 'Dragonpad' is a programmable QMK numpad that covers my basic Krita controls, some common function system controls my regular boards have (play/pause, volume, etc.) and also a regular numpad, primarily for use with Dragonframe.
Components
(As currently pictured)
- Nullbits Tidbit kit
- Pro Micro RP2040
- Holy Panda switches
- DSA Milkshake keycaps
Layout and Keymap
In 'Krita mode,' I've set it up to be the left hand side of a keyboard: the equivalent of QWE / ASD / ZXC and the surrounding modifiers. You can see this with the grey legends in the screenshot below:

The numpad doesn't literally send Q, W or E because it's directly programmed to send all the default Krita shortcuts. The grey legends are just to help orient and show you how this is replicating my muscle memory for my normal keyboards.
When I sketch and paint on my laptop, I have to fold the screen over entirely, which leaves me without the usual Krita macro layer you can see above on the Wanderer. I like to never have to move the pen away from the canvas/tablet while I'm painting and just have my off-hand control everything else. I usually paint with the interface entirely hidden because these keyboard shortcuts cover everything and I don't need to tap the screen other than to lay down a stroke.
The media layer is accessed under the positional equivalent of the caps lock key, the same as my regular boards. This is only useful for pausing/skipping ads in the podcasts I listen to while drawing, so it's nice to bring it forward to this board as well.
The default layer is a pure numpad layout, which is also used for Dragonframe — stop-motion capture software — which I'm planning to get back into now I have a laptop again and I can set up a small studio in another room. Previously, I would have needed to wheel my workstation back and forth and it would kill my motivation to have to be done at a certain time to set up for my workday again.
The keycaps in the photo don't exactly match the keymap right now, but that's going to stay that way a while. I'll fix it when I'm done fiddling!
Sources
I maintain a wrapper repository for all my keyboards that lets me attach my keymaps without needing to maintain any forks of QMK/ZMK or have to rebase against them all the time.
After growing frustrated with QMK's shift to a similar and equally dysfunctional Python-based toolchain à la ZMK, I recently ported all of these boards to individual GitHub workflows for building. You have to wait a little longer for compilation, but the sheer joy of never having to install gigabytes of junk that needs constant rebasing again makes it all worthwhile.
All the keymaps for my boards are in here, along with other configuration files and build scripts.