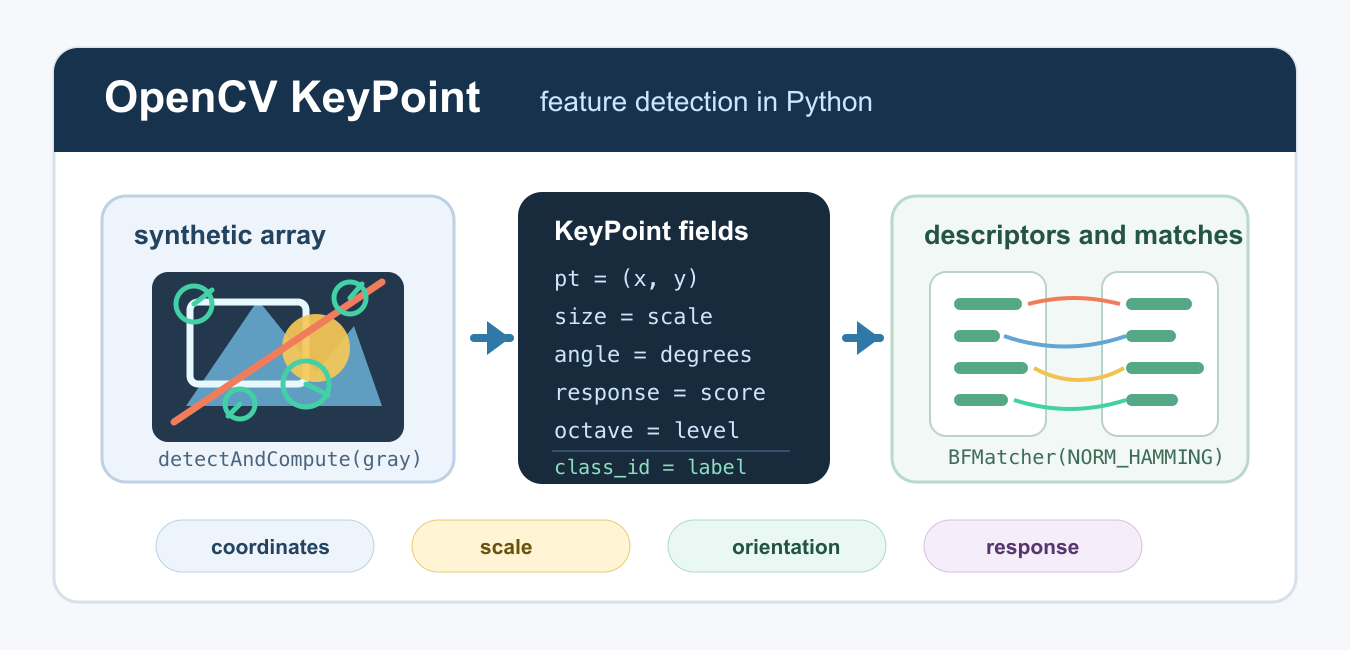
Quick answer: An OpenCV keypoint identifies a salient image location and stores detector-specific attributes such as coordinates, size, angle, and response. Keypoints are not descriptors: detect locations first, compute descriptors separately, and then match compatible descriptor vectors.
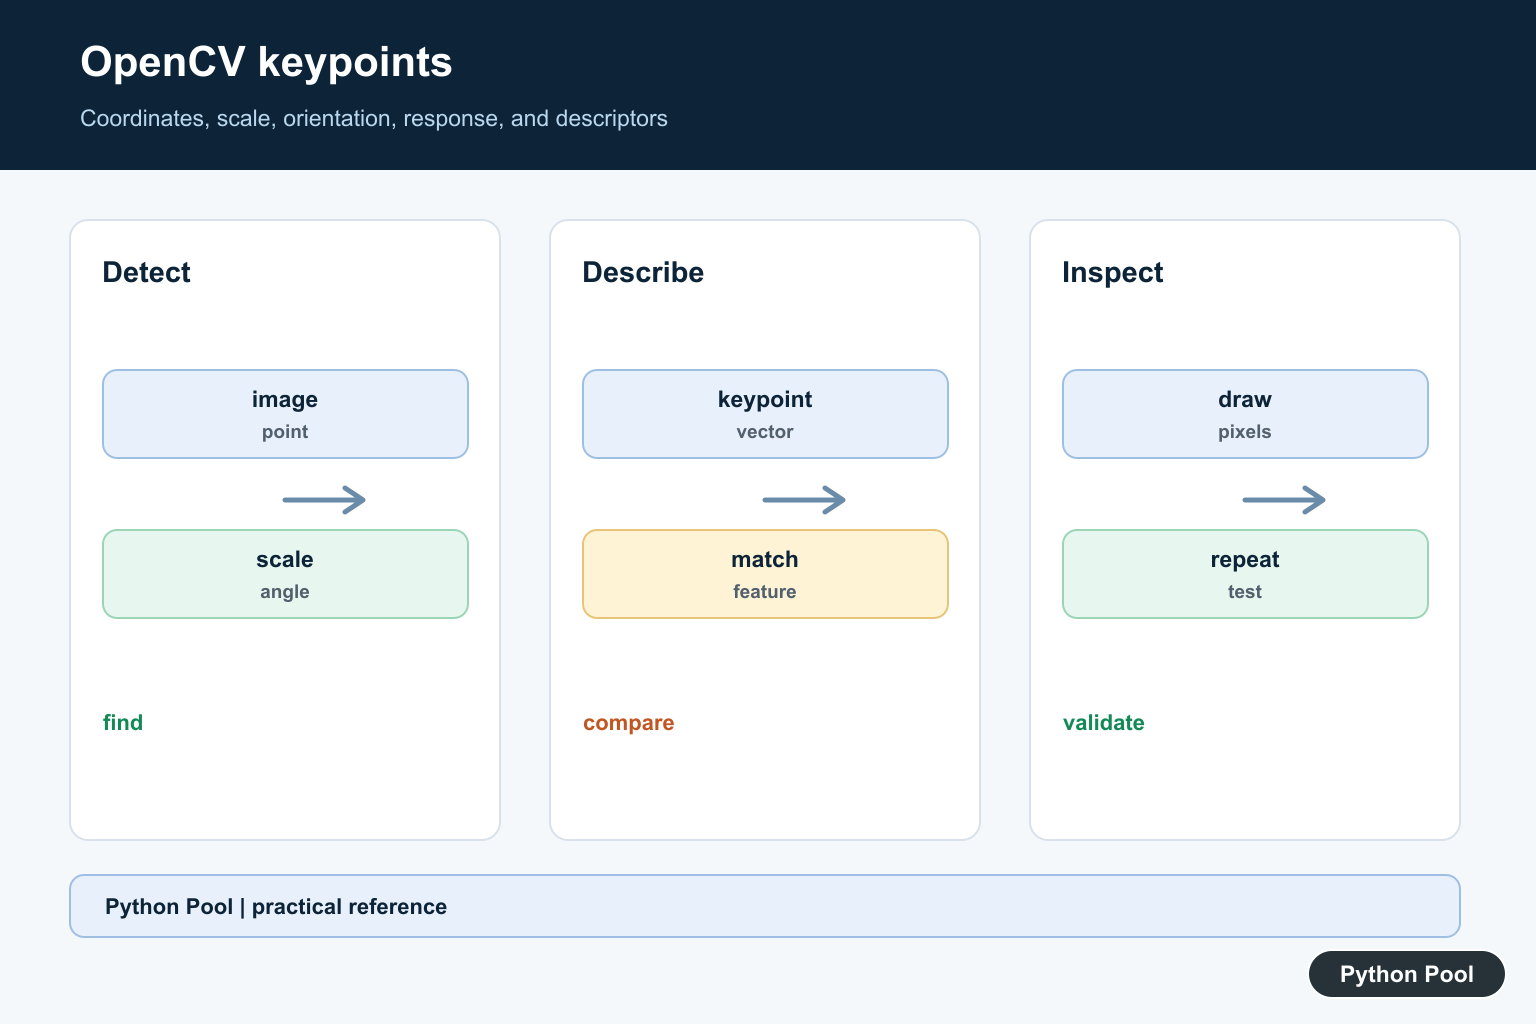
An OpenCV KeyPoint object describes one interesting location found by a feature detector. It stores where the point is, how large the local feature is, what direction was estimated, how strong the detector response was, and a few detector-specific fields that help with pyramid levels or labels. The object does not store the pixel patch itself, and it does not store the descriptor vector. Descriptors are returned separately by algorithms such as ORB, SIFT, AKAZE, or BRISK.
The official OpenCV references for this topic are the cv::KeyPoint documentation, the Feature2D documentation, and the ORB documentation.
Feature detection is useful when matching two views of the same scene, tracking stable points between frames, building panoramas, aligning documents, or finding repeated structures. A detector first selects candidate points. A descriptor extractor then turns the area around each point into numeric data that can be compared. In many OpenCV APIs, detect() returns keypoints only, while detectAndCompute() returns both keypoints and descriptors.
The most important field is pt, a pair of floating point coordinates in (x, y) order. This is not row-column order. When indexing a NumPy array, the order is usually [y, x], so coordinate conversion deserves care. size is the diameter of the neighborhood that the detector considered. angle is an orientation in degrees when the detector estimates one, or -1 when no orientation is assigned. response is a detector score, and higher values usually mean stronger features for that detector.
The octave field identifies the pyramid layer or scale level when a detector uses an image pyramid. The class_id field is an optional label that your code can set when grouping or carrying points through a pipeline. Different detectors use these fields in slightly different ways, so avoid comparing response scores across unrelated algorithms as if they used the same scale.
Create A KeyPoint Manually
You can create a keypoint directly when testing code that expects OpenCV keypoints. This does not run a detector; it only creates the object shape that OpenCV uses.
try:
    import cv2
except ModuleNotFoundError:
    print("Install opencv-python to run this example.")
else:
    keypoint = cv2.KeyPoint(42.0, 18.5, 7.0, 90.0, 0.8, 2, 5)

    print(keypoint.pt)
    print(keypoint.size)
    print(keypoint.angle)
    print(round(keypoint.response, 2))
    print(keypoint.octave)
    print(keypoint.class_id)
The constructor arguments are x coordinate, y coordinate, size, angle, response, octave, and class id. In normal code, you usually receive these objects from a detector instead of constructing them yourself. Manual construction is still useful for unit tests, serialization checks, and small examples.
Read KeyPoint Attributes
Convert keypoints into plain dictionaries when you need to sort, log, or send the values to another layer of your application. Keep the original KeyPoint objects for OpenCV calls that expect them.
try:
    import cv2
except ModuleNotFoundError:
    print("Install opencv-python to run this example.")
else:
    keypoints = [
        cv2.KeyPoint(12.0, 30.0, 5.0, -1.0, 0.15, 0, 0),
        cv2.KeyPoint(48.0, 10.0, 9.0, 45.0, 0.72, 1, 3),
    ]

    rows = []
    for item in keypoints:
        rows.append({
            "x": round(item.pt[0], 1),
            "y": round(item.pt[1], 1),
            "size": round(item.size, 1),
            "angle": round(item.angle, 1),
            "response": round(item.response, 2),
            "octave": item.octave,
            "class_id": item.class_id,
        })

    print(rows)
This representation is easier to inspect than the OpenCV object repr. It also makes coordinate order explicit. If you later index pixels near the point, convert with care: x comes from pt[0], while a grayscale array uses y as the first index.
Detect ORB Keypoints On Generated Data
The example below creates a synthetic grayscale array, draws a few simple shapes, and runs ORB. It avoids external files and does not open a GUI window.
try:
    import cv2
    import numpy as np
except ModuleNotFoundError as exc:
    print(f"Install {exc.name} to run this example.")
else:
    gray = np.zeros((160, 160), dtype=np.uint8)
    cv2.rectangle(gray, (30, 30), (120, 120), 255, 3)
    cv2.circle(gray, (80, 80), 24, 180, -1)
    cv2.line(gray, (20, 140), (140, 20), 220, 2)

    detector = cv2.ORB_create(nfeatures=80)
    keypoints, descriptors = detector.detectAndCompute(gray, None)

    print(len(keypoints))
    print(None if descriptors is None else descriptors.shape)
keypoints is the sequence of detected locations. descriptors is a NumPy array when descriptors are found, or None when the detector finds no usable features. Real code should handle both outcomes because blank, blurred, cropped, or low-contrast inputs may produce zero keypoints.
Filter Keypoints By Strength And Size
Feature detectors often return more points than you want to carry forward. Filtering by response and size is a simple way to keep stronger, more stable points before matching or tracking.
try:
    import cv2
except ModuleNotFoundError:
    print("Install opencv-python to run this example.")
else:
    keypoints = [
        cv2.KeyPoint(10.0, 10.0, 3.0, -1.0, 0.05, 0, 0),
        cv2.KeyPoint(25.0, 30.0, 8.0, 15.0, 0.40, 0, 0),
        cv2.KeyPoint(60.0, 20.0, 12.0, 70.0, 0.88, 1, 0),
    ]

    selected = [
        item for item in keypoints
        if item.response >= 0.30 and item.size >= 6.0
    ]

    print([(round(item.pt[0], 1), round(item.pt[1], 1)) for item in selected])
This example uses fixed thresholds so the rule is easy to read. For a full pipeline, you may prefer to keep the top N points after sorting by response, or use a spatial rule so all selected points do not cluster in one corner. A detector-specific score is useful within one detector run, but it is not a universal quality score across every OpenCV algorithm.
Draw Keypoints Without Displaying A Window
cv2.drawKeypoints() can render a color preview array. You can inspect its shape, save it in a controlled workflow, or pass it to a report step without using imshow().
try:
    import cv2
    import numpy as np
except ModuleNotFoundError as exc:
    print(f"Install {exc.name} to run this example.")
else:
    gray = np.zeros((120, 120), dtype=np.uint8)
    cv2.rectangle(gray, (25, 25), (95, 95), 255, 2)
    cv2.circle(gray, (60, 60), 18, 200, -1)

    detector = cv2.ORB_create(nfeatures=50)
    keypoints = detector.detect(gray, None)
    preview = cv2.drawKeypoints(
        gray,
        keypoints,
        None,
        flags=cv2.DRAW_MATCHES_FLAGS_DRAW_RICH_KEYPOINTS,
    )

    print(len(keypoints))
    print(preview.shape)
    print(preview.dtype)
The preview is a normal array with color channels. That makes it safe for headless scripts, tests, and notebooks that choose their own display method. If your production code only needs descriptors or coordinates, skip drawing and keep the data path lean.
Match Descriptors From Two Synthetic Views
Keypoints become most useful when paired with descriptors. This example creates two small scenes with a shifted shape, extracts ORB descriptors, and matches them with a Hamming-distance matcher.
try:
    import cv2
    import numpy as np
except ModuleNotFoundError as exc:
    print(f"Install {exc.name} to run this example.")
else:
    first = np.zeros((180, 180), dtype=np.uint8)
    second = np.zeros((180, 180), dtype=np.uint8)

    cv2.rectangle(first, (35, 45), (125, 135), 255, 3)
    cv2.circle(first, (80, 90), 22, 180, -1)
    cv2.rectangle(second, (45, 50), (135, 140), 255, 3)
    cv2.circle(second, (90, 95), 22, 180, -1)

    detector = cv2.ORB_create(nfeatures=120)
    kp1, des1 = detector.detectAndCompute(first, None)
    kp2, des2 = detector.detectAndCompute(second, None)

    if des1 is None or des2 is None:
        print("No descriptors found.")
    else:
        matcher = cv2.BFMatcher(cv2.NORM_HAMMING, crossCheck=True)
        matches = sorted(matcher.match(des1, des2), key=lambda item: item.distance)
        print(len(kp1), len(kp2))
        print(len(matches))
        print(None if not matches else round(matches[0].distance, 1))
The matcher compares descriptor rows, not the keypoint objects themselves. After matching, each match has query and train indexes that point back to keypoints in the first and second inputs. That lets you recover the coordinates for alignment, homography estimation, or tracking.
A reliable OpenCV feature workflow keeps these responsibilities separate: prepare a clean grayscale input, detect keypoints, compute descriptors, filter or rank points, match descriptors when needed, and only draw previews for debugging or reporting. Treat KeyPoint as metadata about a local feature. The pixel data and descriptor data live elsewhere, so keep all three pieces connected deliberately when building a larger computer vision pipeline. Computer-vision pipelines that add COCO annotations may also need pycocotools; Fix No Module Named pycocotools in Python covers platform wheels, build tools, and environment mismatches.
Read The Keypoint Fields
The pt field gives x and y image coordinates. Size represents a detector scale, angle represents orientation when available, and response indicates detector strength; exact meanings depend on the algorithm.
Separate Detection From Description
A detector finds candidate locations. A descriptor extracts a vector around those locations. Matching keypoints without computing compatible descriptors confuses geometry with appearance representation.
Choose A Detector For The Task
FAST, ORB, SIFT, and other detectors make different speed, robustness, licensing, and scale-orientation tradeoffs. Benchmark on representative images rather than assuming one method is universally best.
Draw And Inspect Results
Visualize keypoints on the original image with their scale or orientation when supported. A quick overlay reveals border artifacts, repetitive texture, excessive noise, or a detector threshold that is too strict.
Keep Image Coordinates Straight
OpenCV images use pixel coordinates with the origin at the top-left. Preserve the image shape and color interpretation when converting arrays, resizing, or passing results to another library.
Test Repeatability
Use translated, resized, rotated, and lightly changed versions of the same image. Check the number and distribution of detections, descriptor shapes, and match quality instead of relying only on a visual demo.
The official OpenCV KeyPoint reference defines the fields. Related Python Pool references include image arrays and tests.
For related computer-vision workflows, compare image arrays, repeatability tests, and detector diagnostics when inspecting keypoints.
Frequently Asked Questions
What is an OpenCV keypoint?
It is a detected image feature location with attributes such as position, scale or size, orientation, and detector response.
How do I access a keypoint’s coordinates?
Read its pt property, which contains the x and y position in image coordinates.
Are keypoints and descriptors the same thing?
No. Keypoints describe where features were detected; descriptors encode local appearance so features can be compared or matched.
How can I draw keypoints on an image?
Use OpenCV’s drawing helper with the detected keypoints and inspect the output image to confirm the detector is finding meaningful regions.
