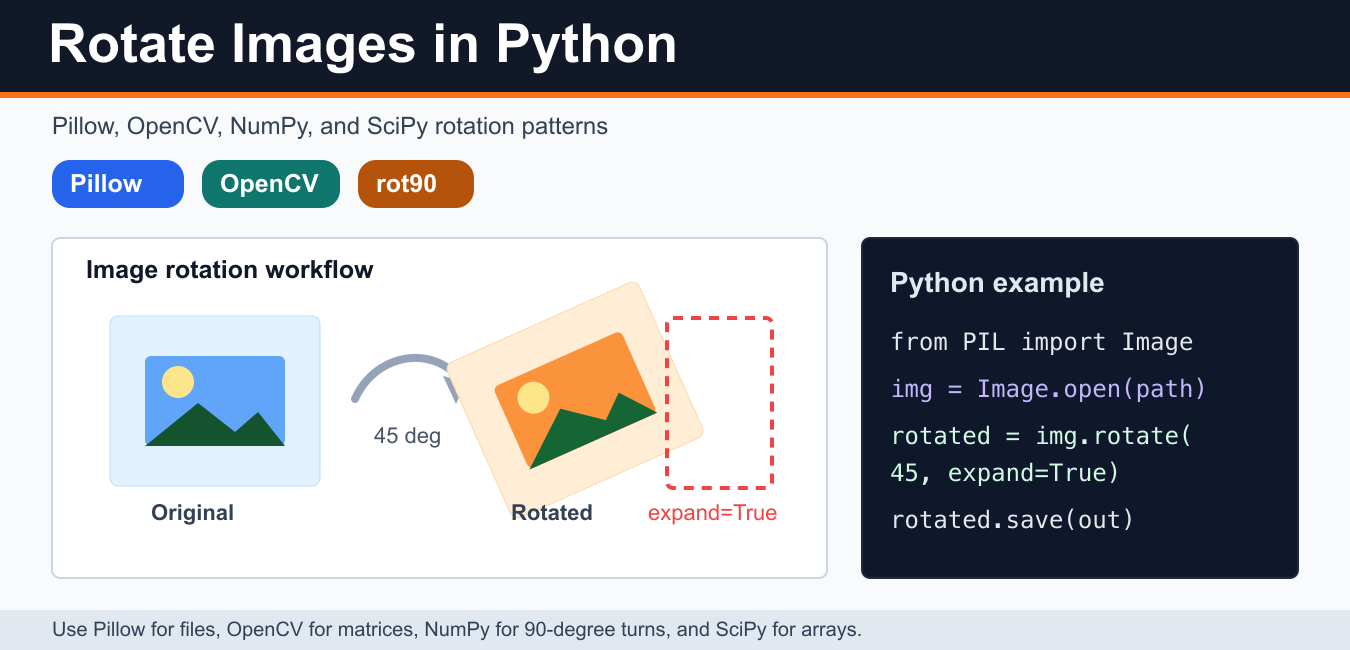
Quick answer: To rotate an image in Python, choose a library based on the data flow: Pillow is straightforward for image files, OpenCV fits computer-vision pipelines, and NumPy handles right-angle array rotations. For arbitrary angles, set canvas expansion and interpolation deliberately so the output is not clipped or unexpectedly blurred.
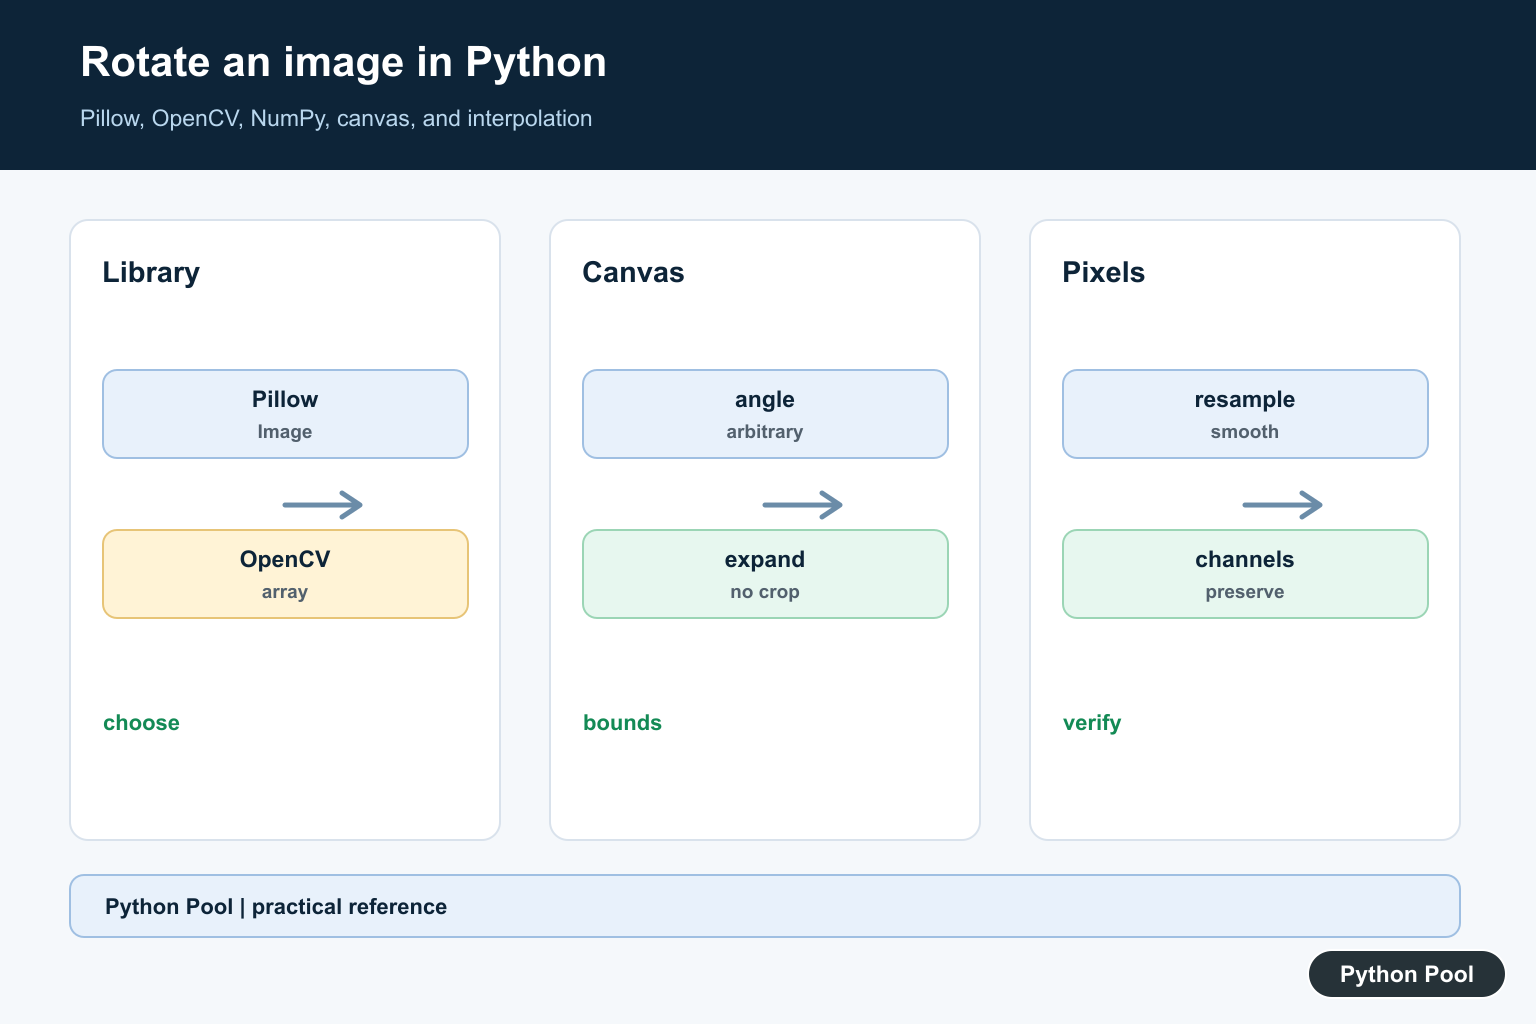
To rotate an image in Python, choose the tool that matches the job. Use Pillow when you are opening and saving image files, OpenCV when the image is already part of a computer-vision pipeline, NumPy for fast 90-degree array rotations, and SciPy when you need an arbitrary-angle rotation on numeric arrays. The best method depends on whether you care about canvas size, interpolation, transparency, EXIF orientation, and output format.
This guide replaces the old screenshot-based approach with copyable examples. Pillow is the maintained library behind the old PIL name. If your import fails, see PythonPool’s guide to fixing No module named PIL before debugging the rotation code itself.
Rotate an image with Pillow
Pillow’s Image.rotate() method is the simplest option for common file-based work. Angles are measured counterclockwise in degrees. Use expand=True when you want the output canvas to grow enough to keep the entire rotated image instead of clipping the corners.
from PIL import Image

image = Image.open("input.jpg")
rotated = image.rotate(45, expand=True, resample=Image.Resampling.BICUBIC)
rotated.save("rotated-45.jpg")
If the background corners matter, pass fillcolor. This is useful when rotating icons, thumbnails, product images, or charts that should not have black corner triangles.
from PIL import Image

image = Image.open("input.png").convert("RGBA")
rotated = image.rotate(
    30,
    expand=True,
    resample=Image.Resampling.BICUBIC,
    fillcolor=(255, 255, 255, 0),
)
rotated.save("rotated-transparent.png")
Rotate 90, 180, or 270 degrees with Pillow
For right-angle turns, use transpose() instead of arbitrary-angle rotation. It is direct, avoids interpolation blur, and is easier to read. This works well for orientation fixes and simple batch processing.
from PIL import Image

image = Image.open("input.jpg")
rotated_90 = image.transpose(Image.Transpose.ROTATE_90)
rotated_180 = image.transpose(Image.Transpose.ROTATE_180)
rotated_270 = image.transpose(Image.Transpose.ROTATE_270)

rotated_90.save("rotated-90.jpg")
Many camera images also include EXIF orientation metadata. Before rotating manually, normalize that metadata with ImageOps.exif_transpose() so the pixel data matches what viewers display.
from PIL import Image, ImageOps

image = Image.open("camera-photo.jpg")
image = ImageOps.exif_transpose(image)
image.save("orientation-fixed.jpg")
Rotate an image with OpenCV
Use OpenCV when the image is already a NumPy array or when rotation is part of a larger computer-vision workflow. OpenCV uses getRotationMatrix2D() to build an affine transform and warpAffine() to apply it. The example below keeps the original canvas size, which means corners can be clipped after rotation.
import cv2

image = cv2.imread("input.jpg")
height, width = image.shape[:2]
center = (width / 2, height / 2)

matrix = cv2.getRotationMatrix2D(center, 45, 1.0)
rotated = cv2.warpAffine(image, matrix, (width, height))
cv2.imwrite("opencv-rotated.jpg", rotated)
If you display the result locally, PythonPool’s cv2.imshow guide explains common display issues. If Matplotlib reports image dtype errors after conversion, see the fix for image data of dtype object cannot be converted to float.
Rotate without clipping in OpenCV
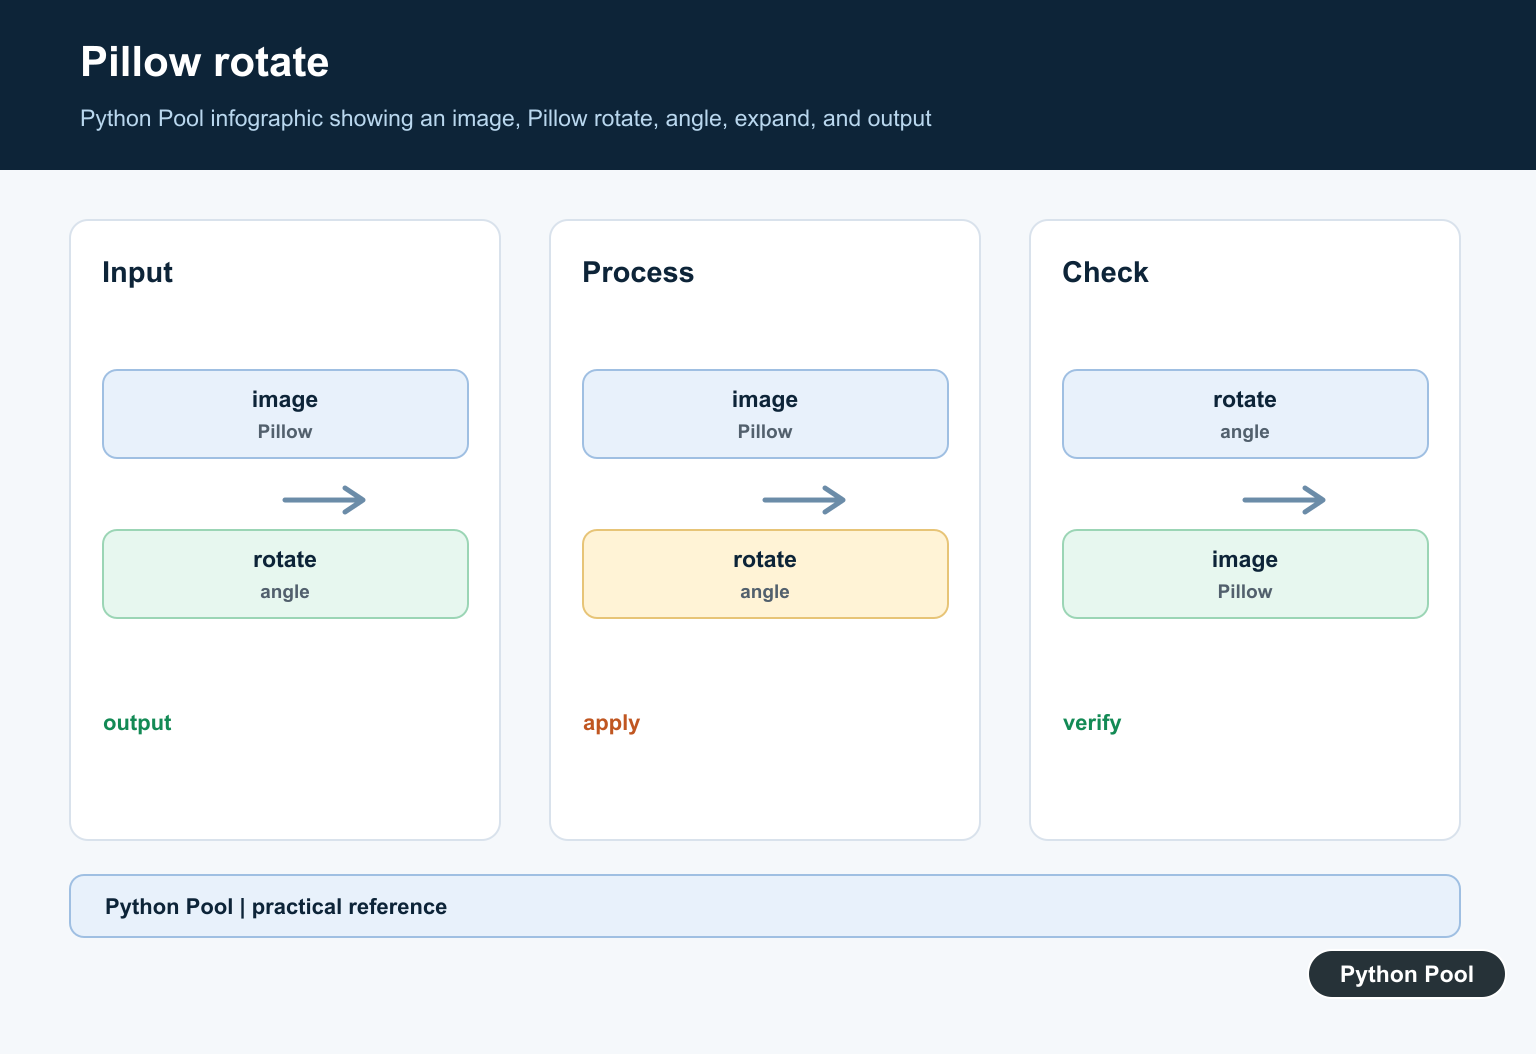
To keep the whole image after an arbitrary OpenCV rotation, compute the new bounding box and shift the transformation matrix. This takes more code than Pillow’s expand=True, but it is useful in computer-vision pipelines where staying in OpenCV arrays avoids extra conversions.
import cv2

image = cv2.imread("input.jpg")
height, width = image.shape[:2]
center = (width / 2, height / 2)
angle = 45

matrix = cv2.getRotationMatrix2D(center, angle, 1.0)
cos = abs(matrix[0, 0])
sin = abs(matrix[0, 1])
new_width = int((height * sin) + (width * cos))
new_height = int((height * cos) + (width * sin))

matrix[0, 2] += (new_width / 2) - center[0]
matrix[1, 2] += (new_height / 2) - center[1]

rotated = cv2.warpAffine(image, matrix, (new_width, new_height))
cv2.imwrite("opencv-rotated-expanded.jpg", rotated)
Rotate an image array with NumPy
NumPy is best for exact 90-degree turns. The np.rot90() function rotates an array in 90-degree steps and works on image arrays without interpolation. This is useful for masks, labels, grids, and images that should not be blurred by resampling.
import numpy as np
from PIL import Image

image = Image.open("input.png")
array = np.asarray(image)
rotated_array = np.rot90(array, k=1)
rotated = Image.fromarray(rotated_array)
rotated.save("numpy-rot90.png")
When moving between Pillow and NumPy, keep array shape and dtype in mind. The PythonPool guide on converting PIL images to NumPy arrays covers that workflow in more detail. If your work involves angles and radians, the NumPy angle guide is a useful reference.
Rotate arrays with SciPy
SciPy’s ndimage.rotate() is useful when your image is already numeric data and you need an arbitrary angle. It can reshape the result to fit the rotated image, similar to Pillow’s expanded canvas behavior.
import numpy as np
from PIL import Image
from scipy import ndimage

image = Image.open("input.png")
array = np.asarray(image)
rotated_array = ndimage.rotate(array, 30, reshape=True)
rotated = Image.fromarray(rotated_array.astype(np.uint8))
rotated.save("scipy-rotated.png")
For command-line or server-side image transformations, PythonPool also has an ImageMagick in Python with Wand guide. That can be a better fit when you already use ImageMagick for resizing, conversion, or batch processing.
Which method should you use?
- Pillow: best for opening, rotating, and saving normal image files.
- Pillow transpose: best for 90, 180, and 270-degree turns without interpolation blur.
- OpenCV: best when rotation is part of detection, tracking, or image-processing code.
- NumPy rot90: best for exact quarter-turns on arrays, masks, and labels.
- SciPy ndimage.rotate: best for arbitrary-angle numeric array rotation.
Common rotation mistakes
- Clipped corners: use Pillow’s
expand=Trueor calculate a larger OpenCV canvas. - Wrong direction: Pillow angles are counterclockwise; OpenCV uses the angle in its affine rotation matrix.
- EXIF surprises: normalize camera photos with
ImageOps.exif_transpose(). - Blurred right-angle turns: use transpose or
np.rot90()for exact 90-degree rotations. - Color confusion: OpenCV reads color images as BGR, while Pillow and Matplotlib commonly use RGB.
Official references
- Pillow Image.rotate()
- Pillow Image.transpose()
- Pillow ImageOps.exif_transpose()
- OpenCV getRotationMatrix2D()
- OpenCV warpAffine()
- NumPy rot90()
- SciPy ndimage.rotate()
Choose The Representation
Pillow returns Image objects and handles common file formats, metadata, and resampling. OpenCV commonly uses NumPy arrays with BGR channel order, while a raw NumPy array is best for direct array operations such as 90-degree rotations. Convert between representations at explicit boundaries.
Avoid Clipping
An arbitrary-angle rotation can require a larger canvas than the original rectangle. Pillow’s expand=True or an OpenCV rotation matrix with computed bounds can preserve the full image. Check the output dimensions and inspect transparent or background corners after the operation.
Choose Interpolation And Fill
Nearest-neighbor preserves hard edges but can look jagged; bilinear or bicubic methods are smoother but change pixels. OpenCV also needs a border mode and fill value. Select these based on whether the image is a photo, mask, label map, or diagram.
Handle Right Angles Efficiently
For exact 90, 180, or 270-degree turns, use a library operation designed for those angles or np.rot90. It avoids unnecessary interpolation and makes the expected shape transformation easy to test.
Test Channels, Metadata, And Output
Test RGB, RGBA, grayscale, and array inputs as applicable. Verify width and height, channel order, alpha behavior, file format, and save/reload fidelity. A visually plausible result can still have swapped channels or lost transparency.
The official Pillow rotate reference documents angle, resampling, expand, center, and fill behavior. Related references include OpenCV geometric transforms, numpy.rot90, and image tests.
For related image pipelines, compare Pillow-to-NumPy conversion, array conversion, and image tests when preserving channels and shape.
Frequently Asked Questions
What is the easiest way to rotate an image in Python?
Pillow’s Image.rotate() is a practical choice for common image workflows; use expand=True when the rotated image should not be cropped.
Why is my rotated image clipped?
The original canvas may be too small for the rotated corners. Expand the canvas or calculate the target bounds before saving.
Should I use Pillow or OpenCV?
Use Pillow for straightforward image-file workflows and OpenCV when the project already depends on computer-vision operations and array-based processing.
How do I rotate a NumPy image array?
Use a shape-aware operation such as np.rot90 for right-angle rotations or an image library for arbitrary angles and interpolation.
