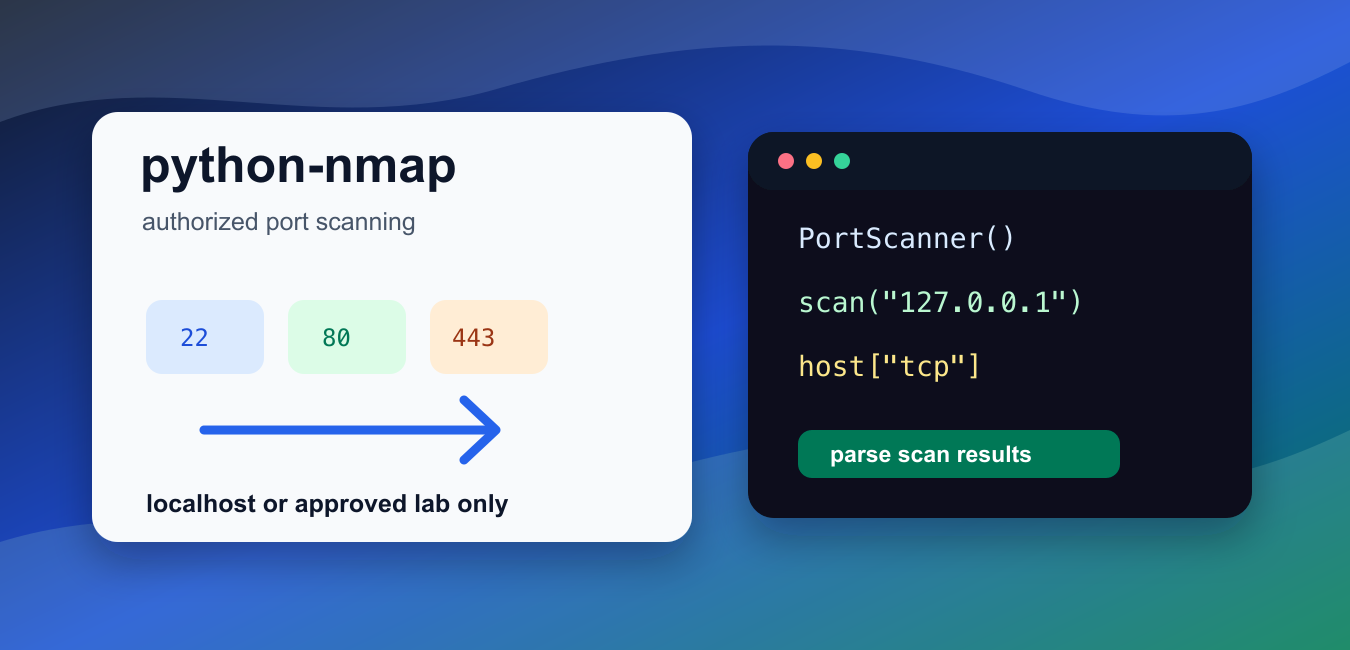
Quick answer: python-nmap is a wrapper around the Nmap executable, not a replacement for it. Use it only for authorized inventory or testing, verify the executable and target scope, apply timeouts, inspect exit status and stderr, and treat partial scan output as incomplete evidence.
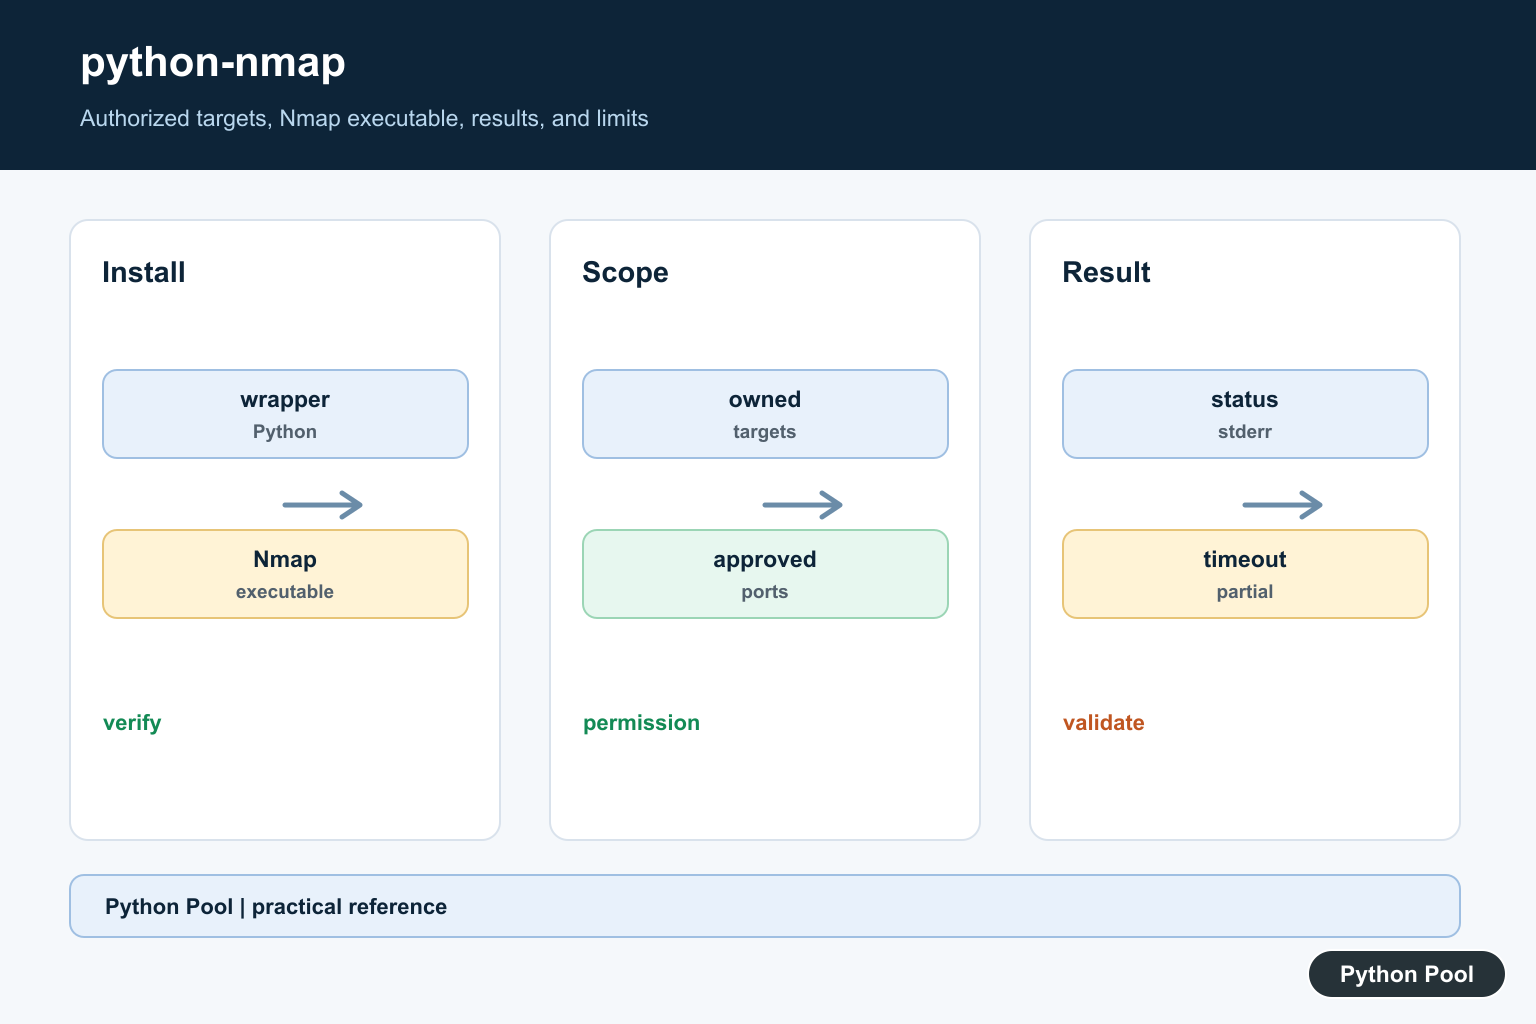
python-nmap is a Python wrapper around the Nmap command-line scanner. It lets a Python script start an Nmap scan, read host and port results, and turn those results into reports or checks.
Use it only on systems you own, administer, or have explicit written permission to test. Port scanning can trigger security alerts, abuse reports, or legal issues when it targets third-party networks. The examples below use localhost, private lab ranges, and sample data for that reason.
The main references are the python-nmap PyPI page, the python-nmap usage documentation, the official Nmap reference guide, the Nmap download page, and Nmap’s page on legal issues.
Install the Nmap program first, then install the Python wrapper with python -m pip install python-nmap. The wrapper depends on the external nmap executable, so installing only the Python package is not enough.
The basic workflow is to create nmap.PortScanner(), call scan() with authorized hosts and ports, then inspect host dictionaries for state, protocols, ports, service names, and product details.
Decide the scan scope before writing code. A scope should include the host or network range, port list, scan arguments, owner approval, and the time when the scan may run. Put those choices near the top of the script so a reviewer can see what the program will touch.
Keep scans small while testing. A narrow localhost scan is easier to understand than a broad network scan, and it avoids surprising other systems. Save larger scans for approved maintenance windows.
Also record the exact command line that Nmap runs. scanner.command_line() helps you audit flags, repeat a scan manually, or include scan details in a report.
Prefer simple scan arguments until you know why you need more. Service detection can be useful, but it sends additional probes. Aggressive or intrusive options should be reserved for lab systems or clearly approved assessment work.
For repeatable maintenance checks, store the parsed result, the command line, the scan time, and the approved scope together. That makes it easier to compare changes later and prove what the script was allowed to do.
Check python-nmap Setup
Before writing scan logic, confirm that the Nmap executable and the Python package are both available.
from shutil import which

print("nmap installed:", which("nmap") is not None)

try:
    import nmap
    print("python-nmap installed")
except ModuleNotFoundError:
    print("install python-nmap")
If the first line prints False, install Nmap from the official project or your operating system package manager. If the import fails, install the Python wrapper in the same environment that runs your script.
Setup errors are common on new machines because the wrapper imports successfully but cannot find the nmap executable. Test both layers before debugging scan output.
Define A Localhost Scan
This function shows the core PortScanner pattern without running the scan during import.
def scan_localhost_ports():
    import nmap

    scanner = nmap.PortScanner()
    scanner.scan(
        hosts="127.0.0.1",
        ports="22,80,443",
        arguments="-sV",
    )
    return scanner.command_line()

print("scan function ready")
Call this only on a machine where scanning localhost is permitted. The -sV argument asks Nmap to probe service versions, which can take longer than a simple port-state check.
For a first run, use a short port list and a single host. After the script behaves correctly, widen the scope only if the authorization and operational plan allow it.
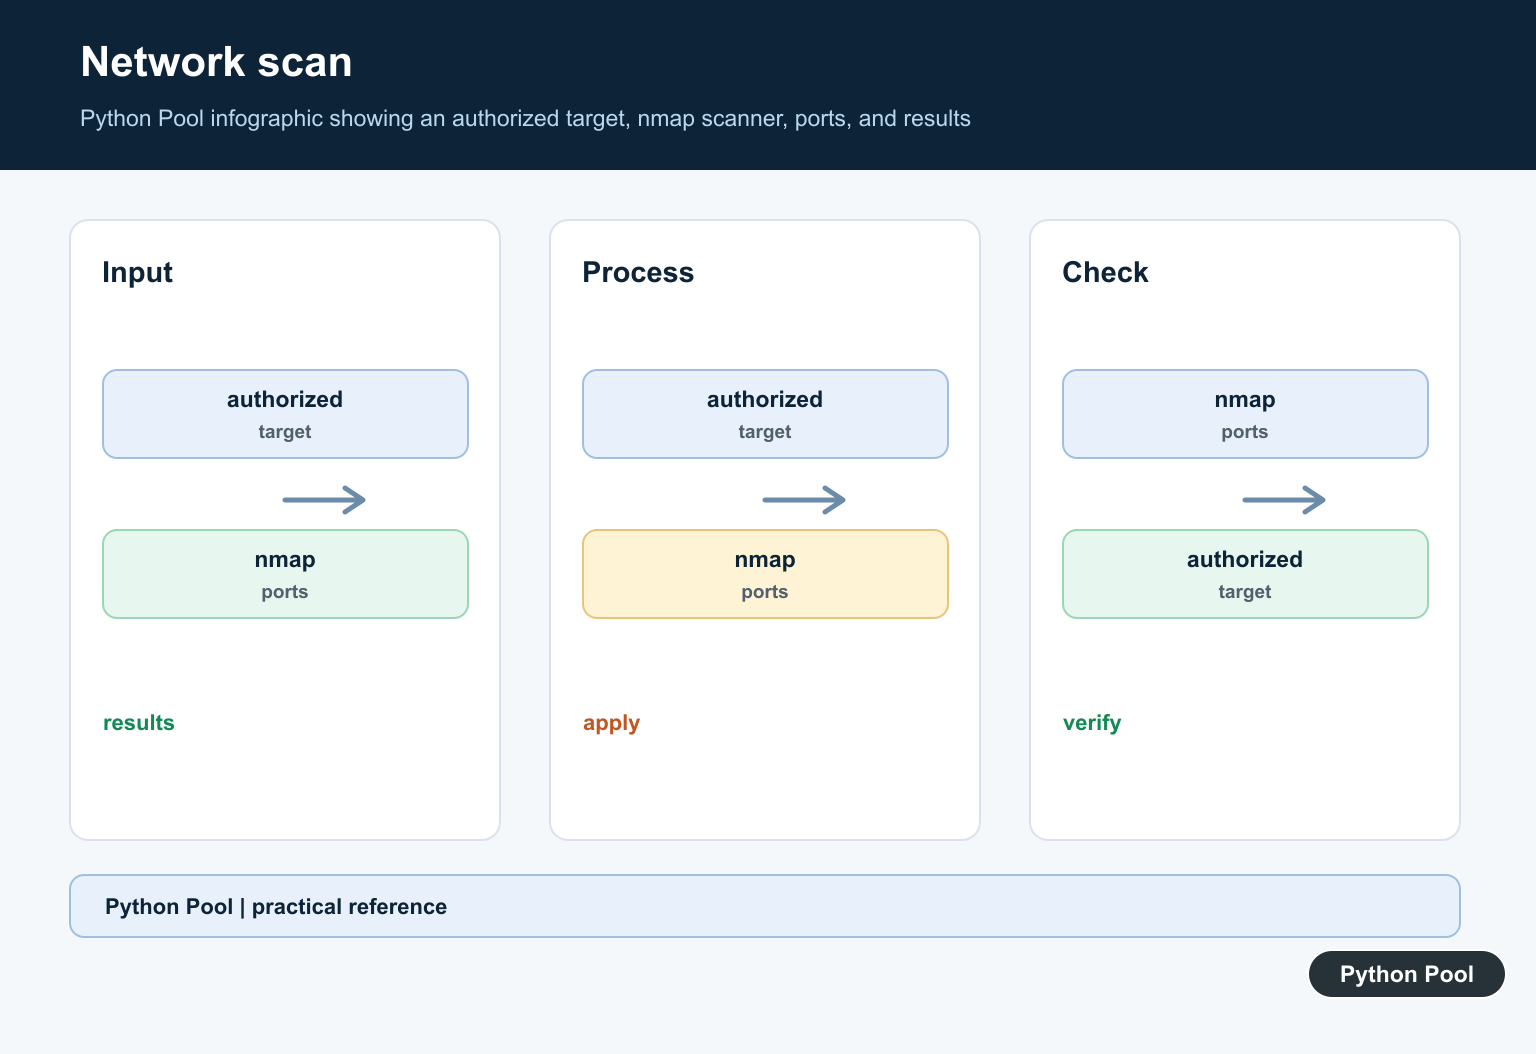
Read Open Ports From Results
Scan results are nested dictionaries. This sample uses the same shape you inspect after a real scan.
scan = {
    "scan": {
        "127.0.0.1": {
            "status": {"state": "up"},
            "tcp": {
                22: {"state": "open", "name": "ssh"},
                80: {"state": "closed", "name": "http"},
                443: {"state": "open", "name": "https"},
            },
        }
    }
}

host = scan["scan"]["127.0.0.1"]
open_ports = [
    port
    for port, data in host.get("tcp", {}).items()
    if data.get("state") == "open"
]

print(open_ports)
The code reads the TCP section and keeps ports whose state is open. Use get() so the parser does not fail when a protocol section is absent.
Not every scan produces every section. Some hosts may be down, filtered, or missing the protocol key you expected, so robust parsing is important for automated reports.
Build Report Rows
For reports, flatten host and port data into rows.
scan = {
    "scan": {
        "127.0.0.1": {
            "tcp": {
                22: {"state": "open", "name": "ssh", "product": "OpenSSH"},
                443: {"state": "open", "name": "https", "product": "nginx"},
            }
        }
    }
}

rows = []
for host, details in scan["scan"].items():
    for port, service in details.get("tcp", {}).items():
        rows.append({
            "host": host,
            "port": port,
            "state": service.get("state", ""),
            "service": service.get("name", ""),
            "product": service.get("product", ""),
        })

print(rows[0])
This structure is easy to write as CSV, JSON, or a database row. Keep the raw scan result too when auditability matters.
Flat rows are useful for dashboards and diffs. The raw nested result is useful when you later need extra fields such as service version, reason, script output, or hostnames.
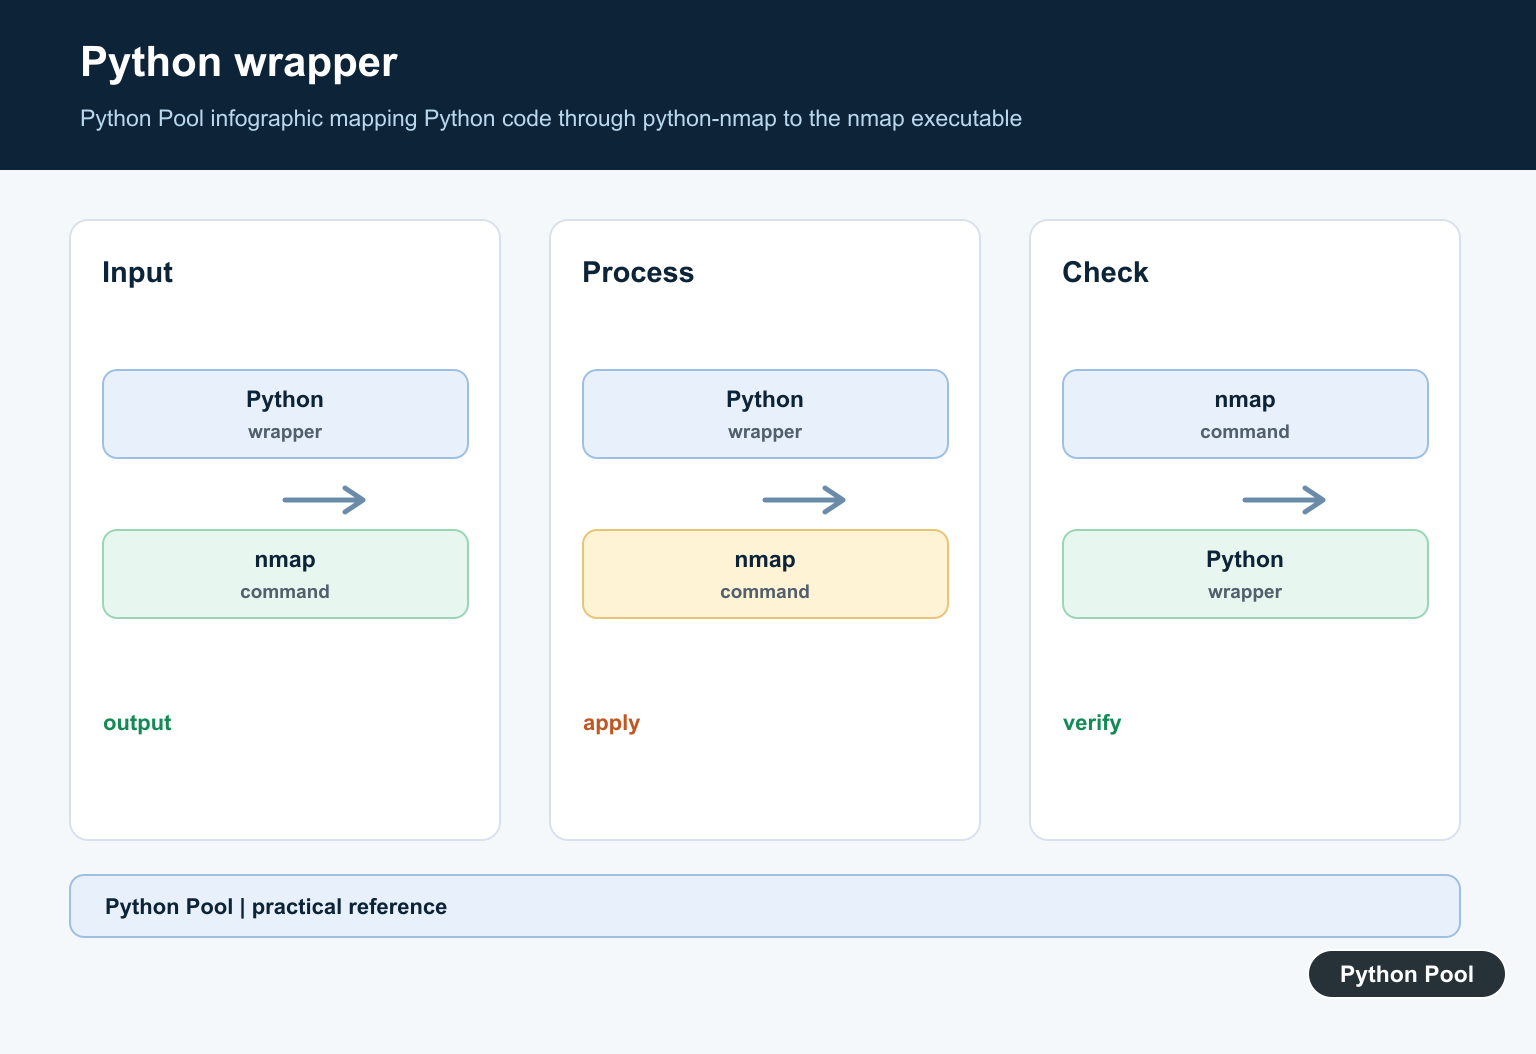
Limit Targets To Approved Ranges
A small target check can prevent accidental scans of public addresses.
from ipaddress import ip_network

def allowed_lab_target(value):
    network = ip_network(value, strict=False)
    return network.is_loopback or network.is_private

print(allowed_lab_target("127.0.0.1"))
print(allowed_lab_target("192.168.1.0/24"))
print(allowed_lab_target("8.8.8.8"))
This helper allows loopback and private address space. It is not a replacement for authorization, but it catches obvious mistakes before a script launches a scan.
Production tools should still require an approved scope file, command-line confirmation, or deployment control. A helper like this is only a guardrail, not permission.
Handle Scan Errors
Wrap real scans so setup failures and Nmap errors produce useful messages.
def scan_with_error_handling(hosts, ports):
    import nmap

    scanner = nmap.PortScanner()
    try:
        return scanner.scan(hosts=hosts, ports=ports, arguments="-sV")
    except nmap.PortScannerError as error:
        return {"error": str(error)}

print("error-handled scan function ready")
Common causes include the Nmap executable not being installed, insufficient permissions for a chosen scan type, blocked network traffic, or a target string outside the approved scope.
Log failures with enough detail to reproduce the issue, but avoid dumping sensitive network inventories into public logs. Keep reports in a location that matches the sensitivity of the systems being scanned.
In short, use python-nmap as a controlled wrapper around Nmap: install both layers, scan only authorized targets, keep command lines auditable, parse result dictionaries carefully, and handle setup errors clearly.
Separate The Wrapper From Nmap
The Python package coordinates a command-line scanner that must be installed and available to the running process. Check the executable path, version, permissions, and the interpreter environment before debugging result parsing. A package import can succeed even when the Nmap binary is missing.
Define An Authorized Scope
Write down the hosts, ports, timing limits, and purpose before starting a scan. Do not scan public systems or networks without explicit permission. In a production inventory tool, constrain targets at the application boundary and log who requested the scan and why.
Validate Structured Results
A returned dictionary or parsed object is not automatically complete or correct. Check the command status, stderr, host state, protocol, port state, and scan arguments. Keep raw output for a controlled diagnostic path when a parser or Nmap version changes.
Use Timeouts And Resource Limits
Network scans can be slow or produce large output. Set a timeout, limit concurrency, avoid unbounded target lists, and handle process termination deliberately. A timed-out scan should be reported as timed out rather than converted into an empty successful result.
Test With Fixtures
Unit tests should parse deterministic sample output and cover open, closed, filtered, unreachable, malformed, and partial cases. Integration tests belong in an isolated lab or test network with permission, not against arbitrary Internet hosts.
The Nmap reference guide documents scan behavior and options. The python-nmap project describes the wrapper interface. Related guidance includes Python test isolation and operational logging.
For related process control, compare running commands, subprocess termination, and operational logging when wrapping an external scanner.
Frequently Asked Questions
What is python-nmap?
python-nmap is a Python wrapper that helps call the Nmap network scanner and inspect its results from Python code.
Does python-nmap install Nmap itself?
Usually no. Install the Nmap executable separately, verify its path and version, and then configure the wrapper to use it.
Can I scan any public IP address?
No. Scan only systems you own or have explicit permission to test, and follow the target network’s rules and rate limits.
How should I handle scan failures?
Validate targets, capture stderr and exit status, apply timeouts, and treat partial results as incomplete rather than as proof that a port is closed.

It threw key error when I change ip addr
Do you input an IP outside of the network?
I tried the code, only option 7 is available,
all other return the following message:
in analyse_nmap_xml_scan
raise PortScannerError(nmap_err)
nmap.nmap.PortScannerError: ‘You requested a scan type which requires root privileges.\nQUITTING!\n’
You need to run your Python code as an administrator to get results. In windows, you can do this by opening a command prompt using “Run as Administrator” option. In Linux, you can do this by using the “sudo” command.
Regards,
Pratik
Thanks for addressing my question. I’m using a Mac…Already tried sudo su in terminal…with no results 🙁
sudo command should work in Mac. Can you check if your user account has admin privileges? Check this guide if it helps support.apple.com
Regards,
Pratik
hey i’m trying to run the code but it’s writing scanner = nmap.PortScanner()
AttributeError: module ‘nmap’ has no attribute ‘PortScanner’
can you help?
Hey i’m trying to run the code but it’s writing scanner = nmap.PortScanner()
AttributeError: module ‘nmap’ has no attribute ‘PortScanner’
can you help?
pip uninstall nmap
pip install python-nmap
This will solve it.
How u did OS detection?
You can select option 5 to get OS info.