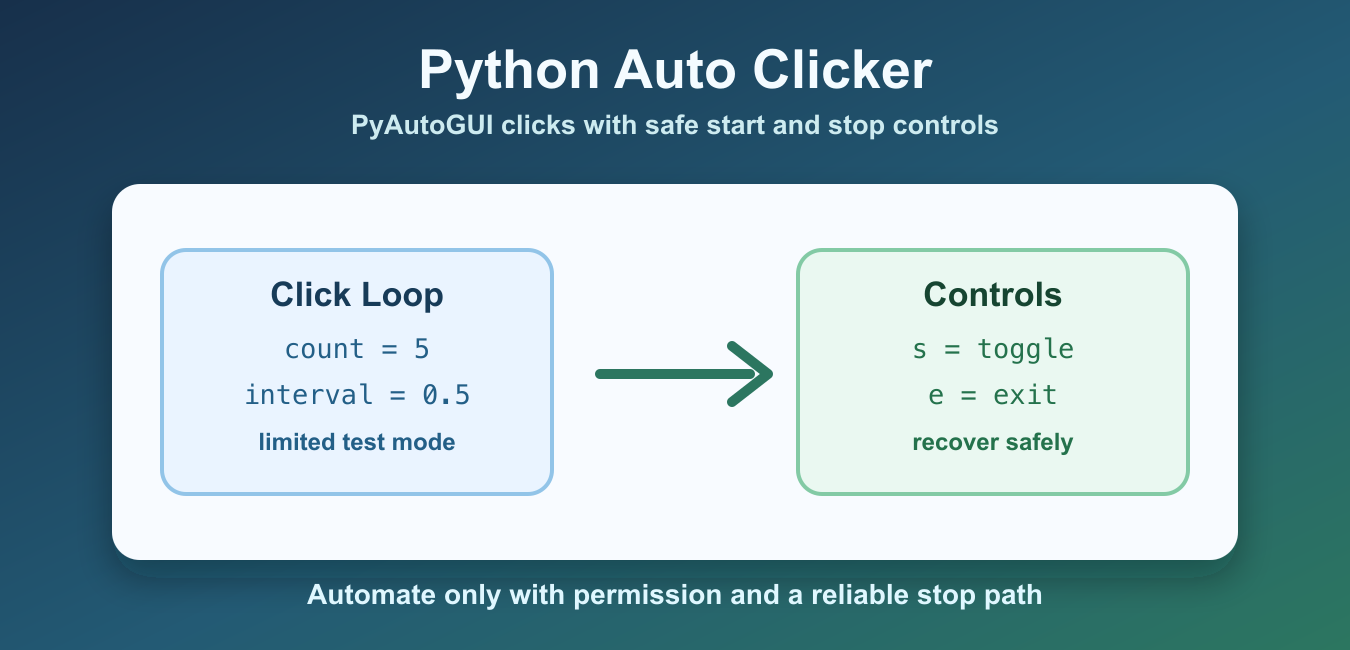
Quick answer: A useful Python auto clicker is a bounded desktop-automation script, not an infinite loop. Use PyAutoGUI for the mouse action, keep its fail-safe enabled, validate the count and interval, add a visible countdown and stop path, and test the control logic with a fake click function before sending real input.
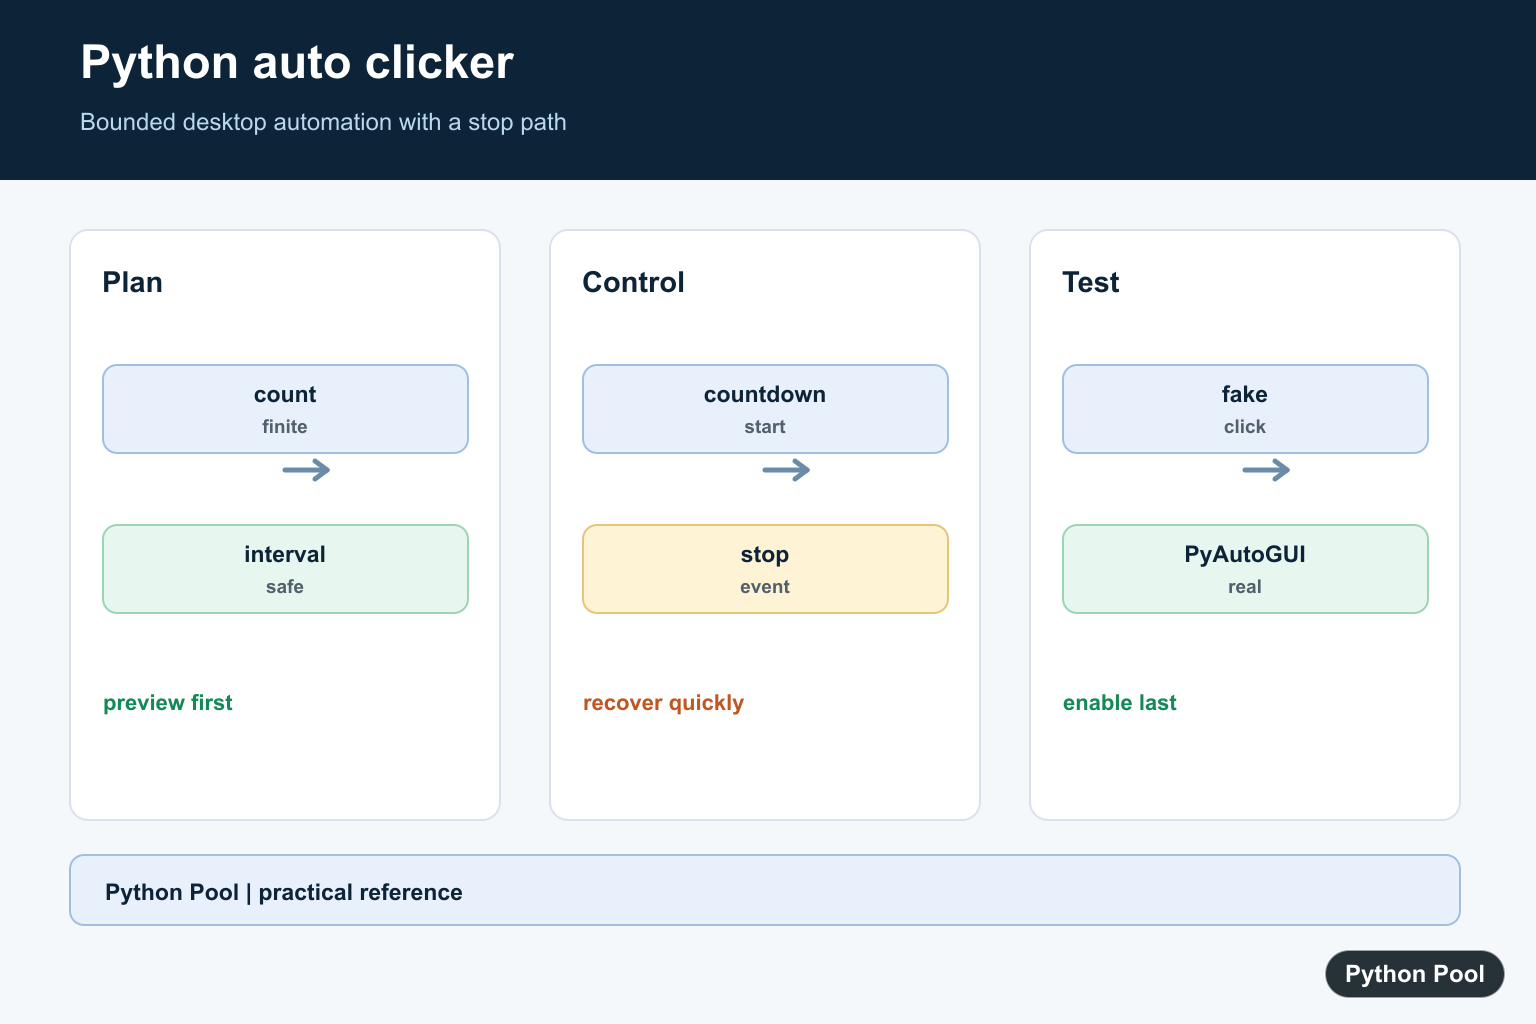
A Python auto clicker sends repeated mouse clicks at a controlled interval. It is useful for local testing, repetitive desktop workflows, accessibility experiments, and demos on your own machine. Use it only where automation is allowed, and always keep a stop key or fail-safe path available.
The two common Python options are PyAutoGUI and pynput. PyAutoGUI is simple for moving and clicking the mouse, while pynput is useful for listening to keyboard events. The PyAutoGUI documentation and pynput documentation cover platform permissions and API details.
On macOS and Windows, desktop automation may require accessibility or input-control permission. On Linux, behavior can depend on the display server. Test with a small click count first, and do not point the cursor at anything destructive while developing. For broader test planning, see the Python testing framework guide.
A good auto clicker has three safeguards: a short initial countdown, a small default click count, and a reliable stop path. Avoid starting with a very fast infinite loop. If the target application freezes or receives focus unexpectedly, a conservative setup gives you time to recover.
Start With A Limited PyAutoGUI Clicker
The safest first version uses a fixed click count and a visible delay. That keeps the script from running forever if the mouse is in the wrong place.
from threading import Event


def click_many(count=5, interval=0.5, click_func=None):
    if click_func is None:
        click_func = lambda: print("planned click")
    for _ in range(count):
        click_func()
        Event().wait(interval)


print("Starting in preview mode")
click_many(count=3, interval=0.1)
Move the mouse to a harmless test area before the countdown ends. Keep PyAutoGUI’s fail-safe enabled so moving the cursor to a screen corner can stop runaway automation.
This limited loop is also useful for confirming permissions. If no clicks happen, check whether the operating system blocked automation, whether the terminal has focus, or whether the target application needs to be active first.
Click A Specific Screen Position
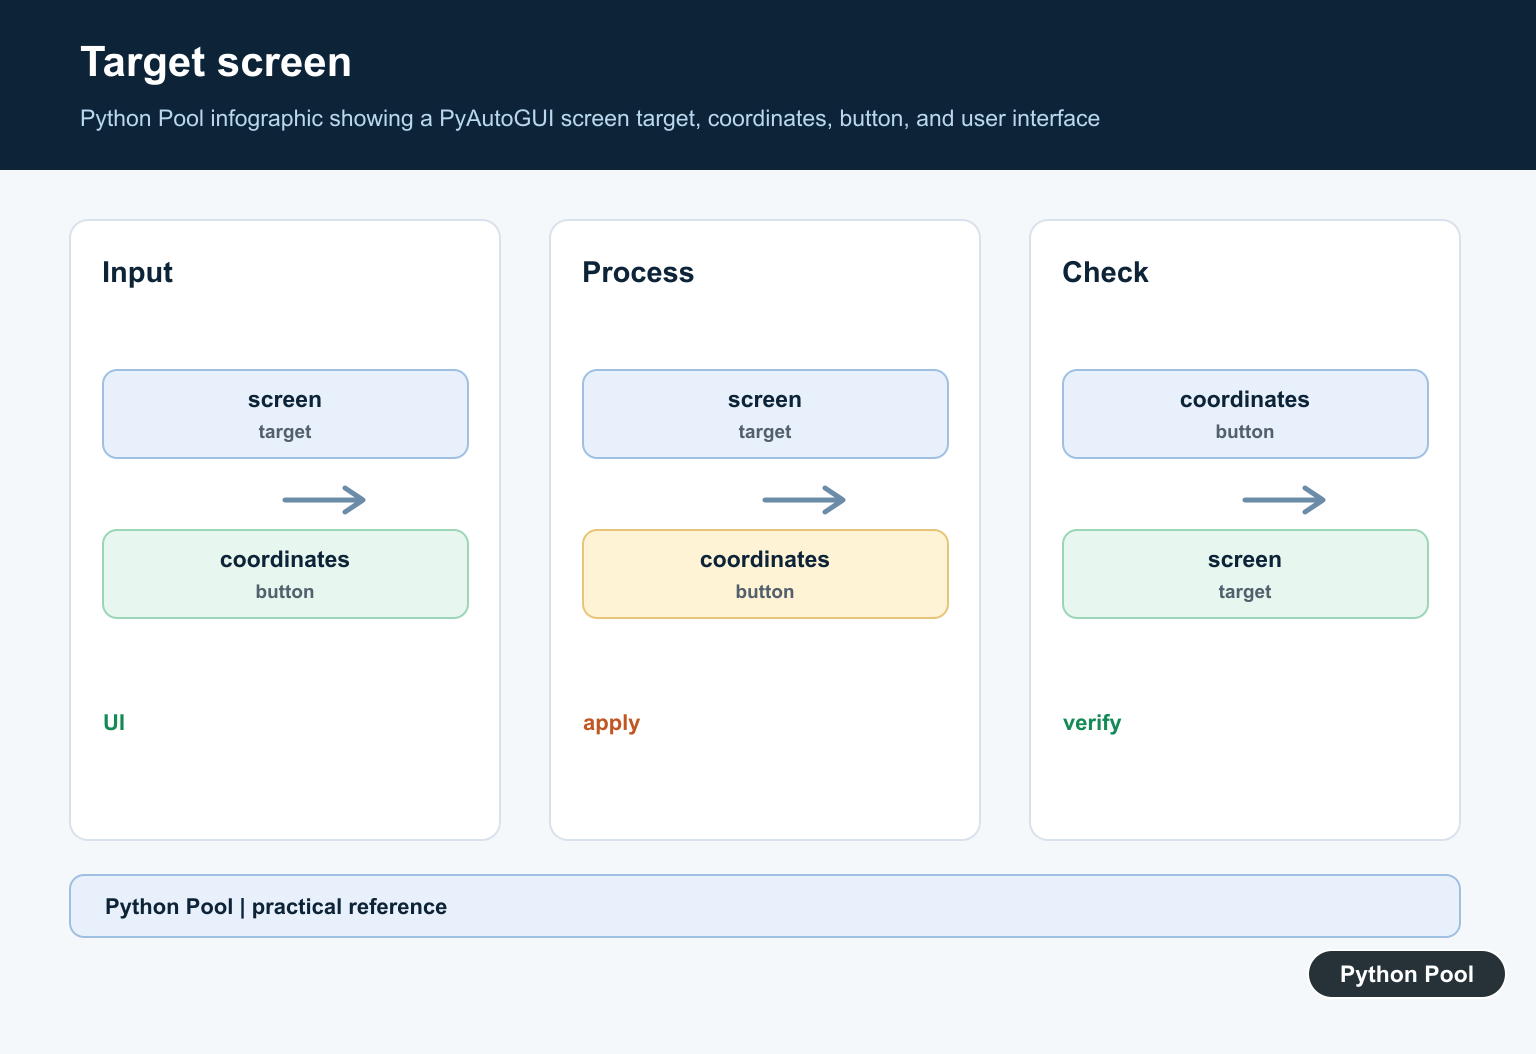
If the click target is known, pass coordinates explicitly. This is more repeatable than relying on the current cursor position.
from threading import Event


def click_position(x, y, count=3, interval=0.25, screen=(1920, 1080), dry_run=True):
    width, height = screen
    if not (0 <= x < width and 0 <= y < height):
        raise ValueError("click position is outside the screen")
    for _ in range(count):
        if dry_run:
            print("planned click", x, y)
        else:
            import pyautogui

            pyautogui.click(x=x, y=y)
        Event().wait(interval)


click_position(100, 200, count=2, interval=0.1)
Coordinates start at the top-left corner of the primary screen. Print pyautogui.position() while moving the mouse if you need to find a target coordinate.
Hard-coded coordinates can break when the screen resolution changes. For long-term scripts, consider locating a window or image target first, then clicking relative to that target instead of relying on one absolute point.
Add Start And Stop State
A reusable clicker object can track whether clicking is active. The loop sleeps briefly when stopped so it does not waste CPU.
import threading
from threading import Event


class AutoClicker(threading.Thread):
    def __init__(self, interval=0.25, click_func=None):
        super().__init__(daemon=True)
        self.interval = interval
        self.click_func = click_func or (lambda: print("planned click"))
        self.active = False
        self.keep_running = True

    def run(self):
        while self.keep_running:
            if self.active:
                self.click_func()
            Event().wait(self.interval)


print(AutoClicker(interval=0.2).interval)
This class does not decide which key starts or stops it. Keeping keyboard control separate makes the click loop easier to test and reuse.
The thread is marked as a daemon so it does not keep Python alive after the main program exits. The explicit keep_running flag still gives the script a clean shutdown path.
Control It With pynput
Use pynput to listen for keys. This example shows the toggle logic with simple key values so it can be tested without starting a real listener.
class ClickerState:
    def __init__(self):
        self.active = False
        self.keep_running = True


clicker = ClickerState()


def on_press(key):
    if key == "s":
        clicker.active = not clicker.active
    elif key == "e":
        clicker.keep_running = False
        return False


print(on_press("s"))
print(clicker.active)
print(on_press("e"))
print(clicker.keep_running)
Choose keys that are unlikely to interfere with the application you are testing. If a program captures keyboard input in a special way, global listeners may behave differently by operating system.
Use PyAutoGUI when you mainly need mouse actions. Add pynput when you need global keyboard controls. Keeping the libraries in separate layers makes it easier to replace one later.
Validate Click Settings
Click intervals that are too small can overload an application or make the mouse hard to recover. Validate settings before starting the loop.
def validate_settings(count, interval):
    if count < 1:
        raise ValueError("count must be at least 1")
    if interval < 0.05:
        raise ValueError("interval is too small")
    return count, interval


print(validate_settings(10, 0.2))
Use conservative defaults. A human-readable delay such as 0.2 or 0.5 seconds is usually better than a very fast loop while you are still testing.
Test Without Clicking The Real Mouse
For tests, replace the real click function with a fake one. This lets you verify the loop logic without sending mouse input.
def collect_clicks(count, click_func):
    for _ in range(count):
        click_func()


events = []
collect_clicks(3, lambda: events.append("click"))

print(events)
This pattern is useful when separating automation logic from desktop control. Keep real PyAutoGUI calls at the edges of your program and test the rest with plain Python functions.
A safe Python auto clicker should have a limited test mode, clear start and stop controls, a sensible interval, and a way to test logic without clicking the real mouse. Start small, confirm permissions, and use automation only in applications and workflows where repeated clicks are appropriate.
Keep Real Clicking Behind A Small Interface
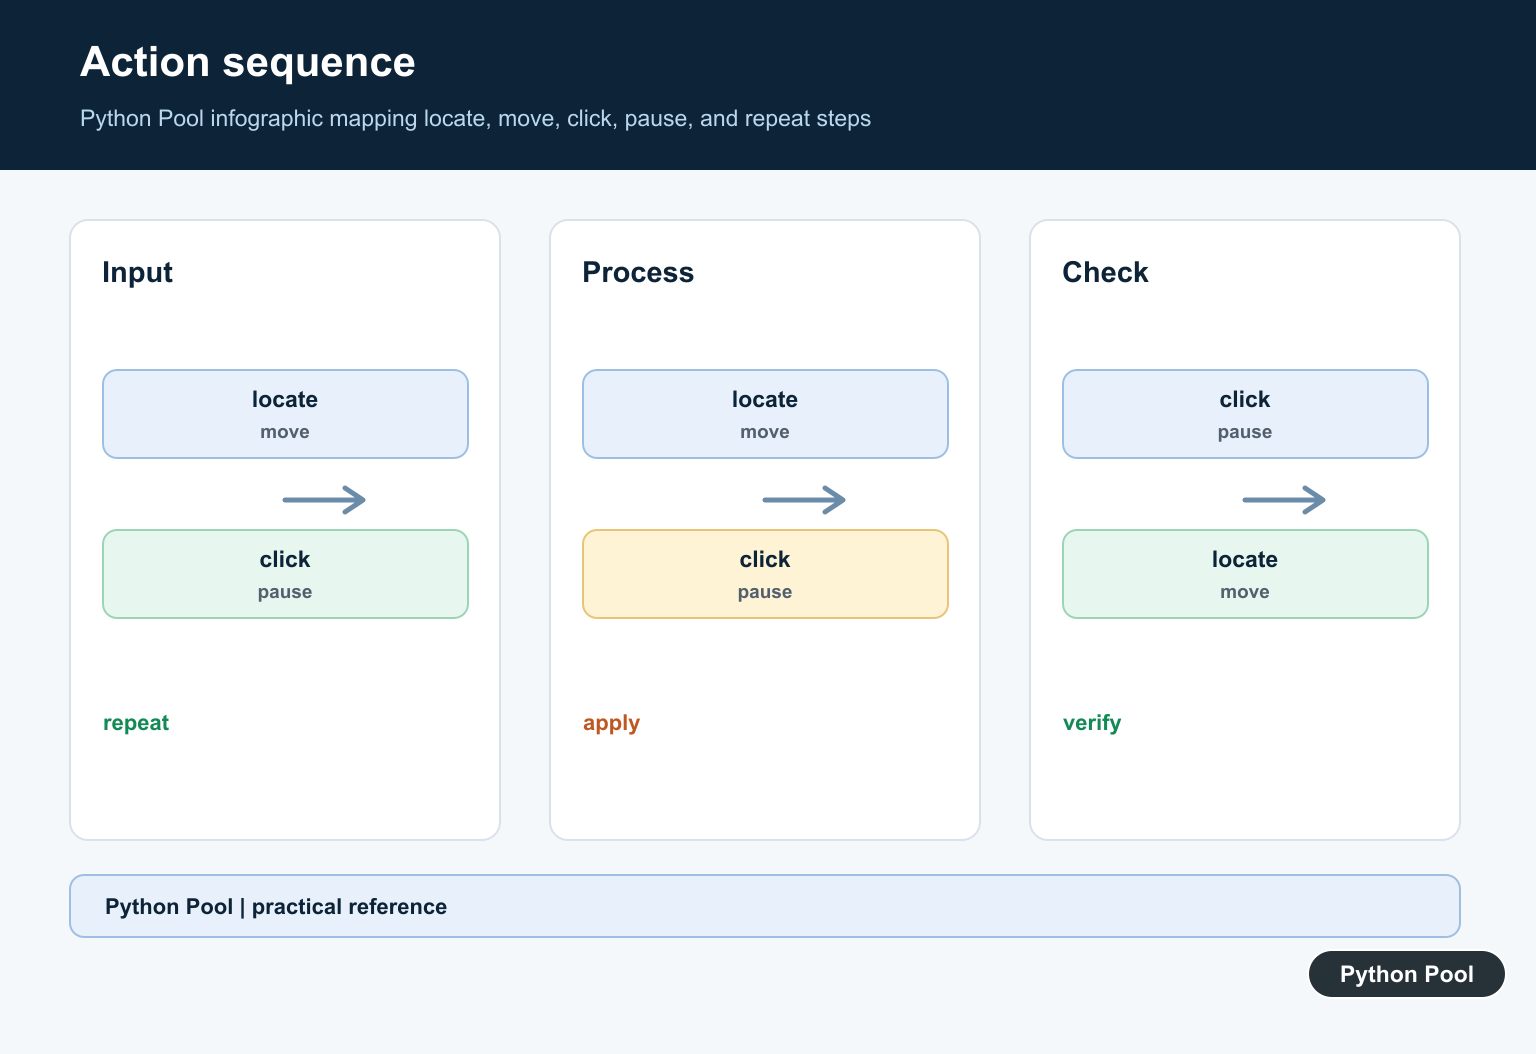
Separate the click action from the loop. A fake function can record planned clicks in tests, while the real adapter calls PyAutoGUI only after the settings and target have been checked.
def click_many(count, interval, click_func):
    for _ in range(count):
        click_func()


planned = []
click_many(3, 0.2, lambda: planned.append("click"))
print(planned)
Use PyAutoGUI Coordinates Carefully
PyAutoGUI uses screen coordinates with the origin at the top-left. Check the screen size and target coordinates, keep the default fail-safe enabled, and start with a harmless target. Permissions and coordinate behavior vary by operating system.
import pyautogui

width, height = pyautogui.size()
x, y = 100, 200
if not pyautogui.onScreen(x, y):
    raise ValueError("target is outside the screen")

pyautogui.click(x=x, y=y, clicks=2, interval=0.25)
Add A Countdown And Finite Limit
A countdown gives the user time to move the pointer away from a risky location, and a finite count prevents a mistake from becoming an unbounded process. Make the count and interval visible before starting.
import time

count = 5
interval = 0.5
for remaining in range(3, 0, -1):
    print(f"starting in {remaining}")
    time.sleep(1)

print(f"planned clicks: {count}, interval: {interval}s")
Stop With State Or An Event
For a longer-running tool, use a stop event or a thread-safe state flag instead of killing a thread. The stop action should be tested independently and should leave the program in a predictable state.
from threading import Event

stop = Event()

for index in range(100):
    if stop.is_set():
        print("stopped")
        break
    print("planned click", index + 1)
    if index == 2:
        stop.set()
These safeguards follow the PyAutoGUI guidance on click coordinates and fail-safe behavior. Keep the automation limited to systems and workflows where you have permission to automate, and use the related Python testing framework guide when turning the dry-run path into tests.
For related desktop automation and reliability, compare PyDirectInput, threading locks, and Python testing frameworks when separating input control from the code you can test safely.
For the authoritative API and current behavior, consult the PyAutoGUI documentation.
Frequently Asked Questions
How do I make a Python auto clicker?
Use PyAutoGUI for controlled mouse clicks, set a finite count and interval, and add a visible start and stop path before connecting it to a real target.
Is PyAutoGUI safe for an auto clicker?
PyAutoGUI includes a fail-safe that can raise an exception when the pointer reaches a screen corner; keep it enabled and use conservative defaults while testing.
How do I stop a Python auto clicker?
Use a finite click count, a stop key or event, and a clean shutdown flag. Test the stop path before allowing real clicks in the target application.
Can I test an auto clicker without clicking?
Yes. Inject a fake click function that records planned events, then test timing and state transitions without sending mouse input through PyAutoGUI.

i am getting the error message “click_thread.start()
NameError: name ‘click_thread’ is not defined” on Thonny on a raspberry pi running raspian.
Hi, We’ve fixed the code as of now. Please check it and let us know.
AttributeError: type object ‘Button’ has no attribute ‘left’
When starting to auto-click
No, It’s working correctly. Make sure you are running it with python3. Press ‘s’ to start-stop auto clicking.
Question: Can you tell me how i can download this library in google collab?
No, you can’t run it on Google colab since there is no active display.
I know im late but is it possible to create an autoclicker that can press a moving button by detecting the pixel color? if so, how?
Yes, but I dont recommend doing that. It would slow down your processes by significant time.
For doing this, you need to loop through your screen and match the color.
from PIL import ImageGrab
image = ImageGrab.grab()
for y in range(0,image.size[1]):
for x in range(0,image.size[0]):
pixel = image.getpixel( (x,y) )
if pixel == YOUR_PIXEL_VALUE:
Regards,
Pratik
I was wondering how to increase click speed with a super simple gui bot. like.
import pyautogui
for i in range (250):
pyautogui.click(430, 468)
Currently CPS is around 10. I was looking to increase this to maximum. I’ve read some blogs suggest using pyautogui.pause = 0, but I’m not having any change with this. Any suggestions?
Yes, you can use pause to control the click per second. Set pyautogui.PAUSE to 0 to increase the CPS to maximum.
Driver code will look like this –
pyautogui.PAUSE = 0
Condition:
pyautogui.click(430, 468)
Regards,
Pratik
Would there be there a possibility to start the Auto Clicker with the F1 key?
Yes, use start_stop_key = KeyCode(char=’f1′) in the code. Then you can start it with f1.
Regards,
Pratik