

Building your signup form
Edit your signup form and your surveys in one editor, pick a design, decide what people see after they sign up, then publish and add the form to your site.
A project has one signup form, the form people fill in to join, plus as many surveys as you like. Both open in the same editor. Open Forms, then press Edit on your signup form, or on a survey. New survey makes a survey and opens it.
A form is a schema, not markup. You define its fields once and every place shows them: your launch page, every embed on every site, the popup and the API. Change a field, publish, and all of them update, with nothing to re-paste anywhere.
The editor#
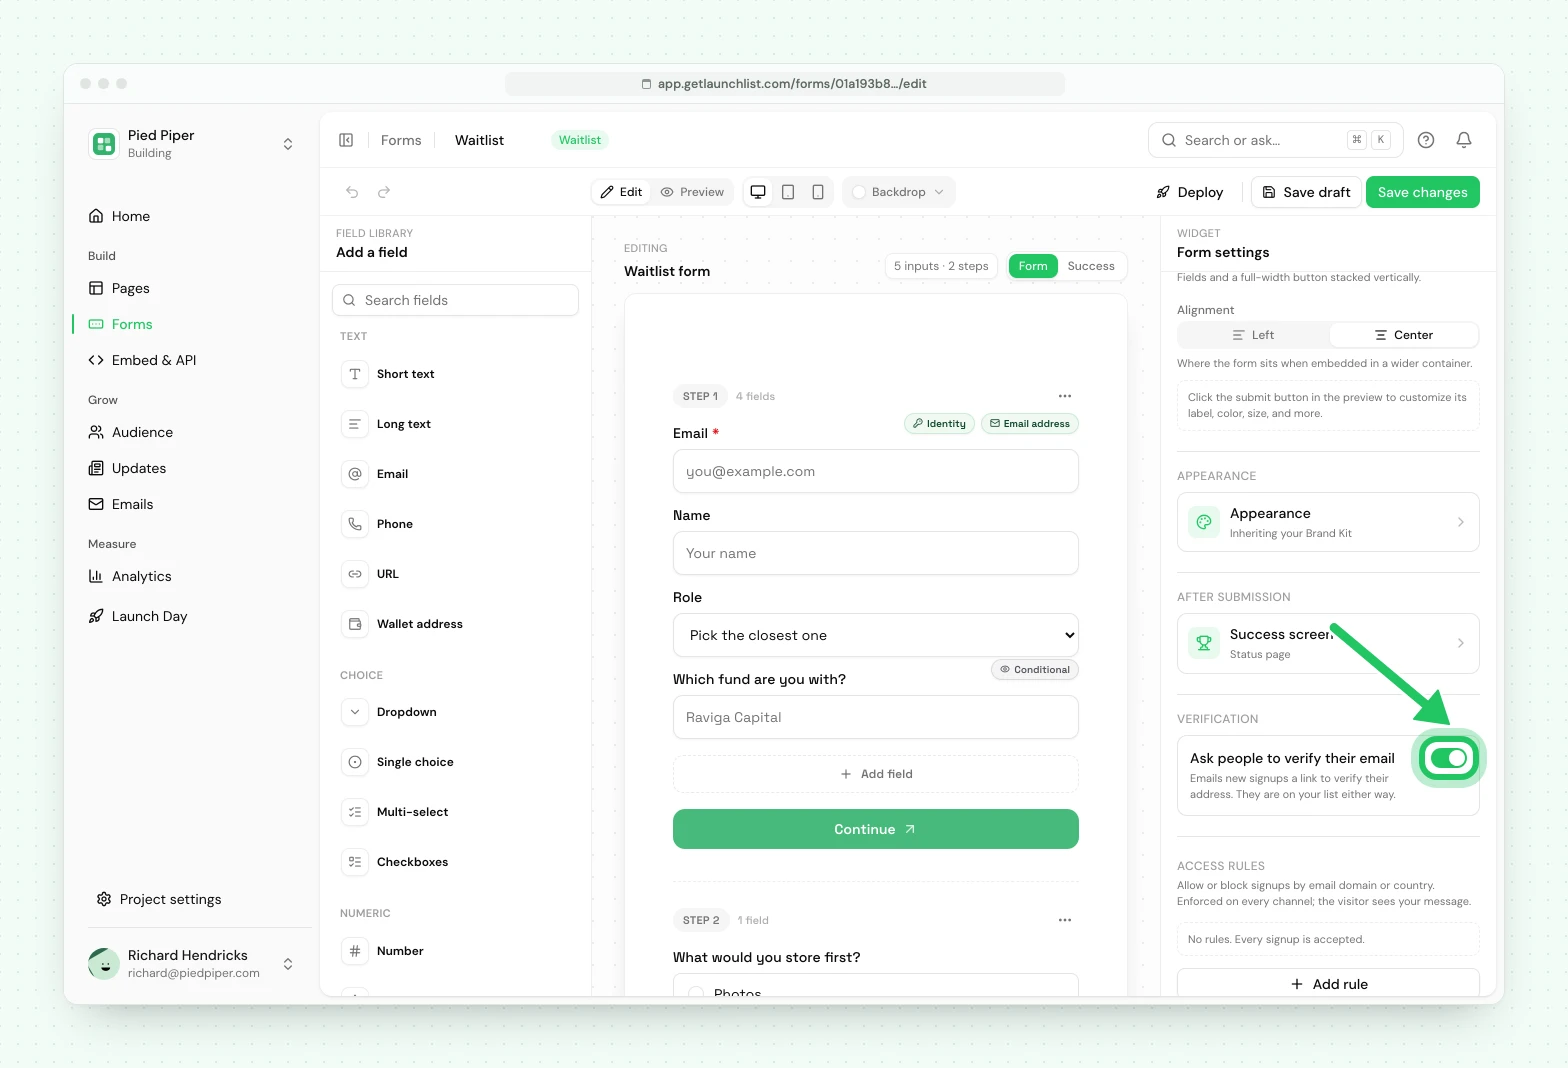
The middle of the editor is the form as people see it, with what they see right after signing up below it. Click any part of it (a field, the button, the message) to edit it on the right, under Properties. Design is the form's look.
Preview background, in the top bar, draws the form on your launch page, on a light or dark site, or on a color of your own, so you can check it where it will sit. Test form lets you fill it in and see what happens next. Nothing you send there is saved.
Saving and publishing#
Every change is saved as a draft a moment after you stop. The top bar says Saved, not live yet while your draft differs from the live form, and your live form keeps working unchanged the whole time.
Press Publish to put your changes live. The panel lists what will change before you press it. Your launch page shows the new version within a few minutes, and so does every site and app you added the form to.
Adding fields#
Press Add field under the form. The common ones come first:
| Field | What it asks |
|---|---|
| Their email address | |
| Name | Their name |
| Short text | One line, like a company name |
| Long text | A few sentences |
| Phone | A phone number, checked against the country's format |
| Dropdown | One option from a list |
| Single choice | One option, all shown at once |
| Checkboxes | Any number of options |
| Consent checkbox | Agreement to your terms |
| URL | A web address |
| Wallet | A crypto wallet address |
| Number | A number |
| Date | A date |
| Rating | A score from 1 to 5 |
| Hidden field | Nothing: it records a value without asking |
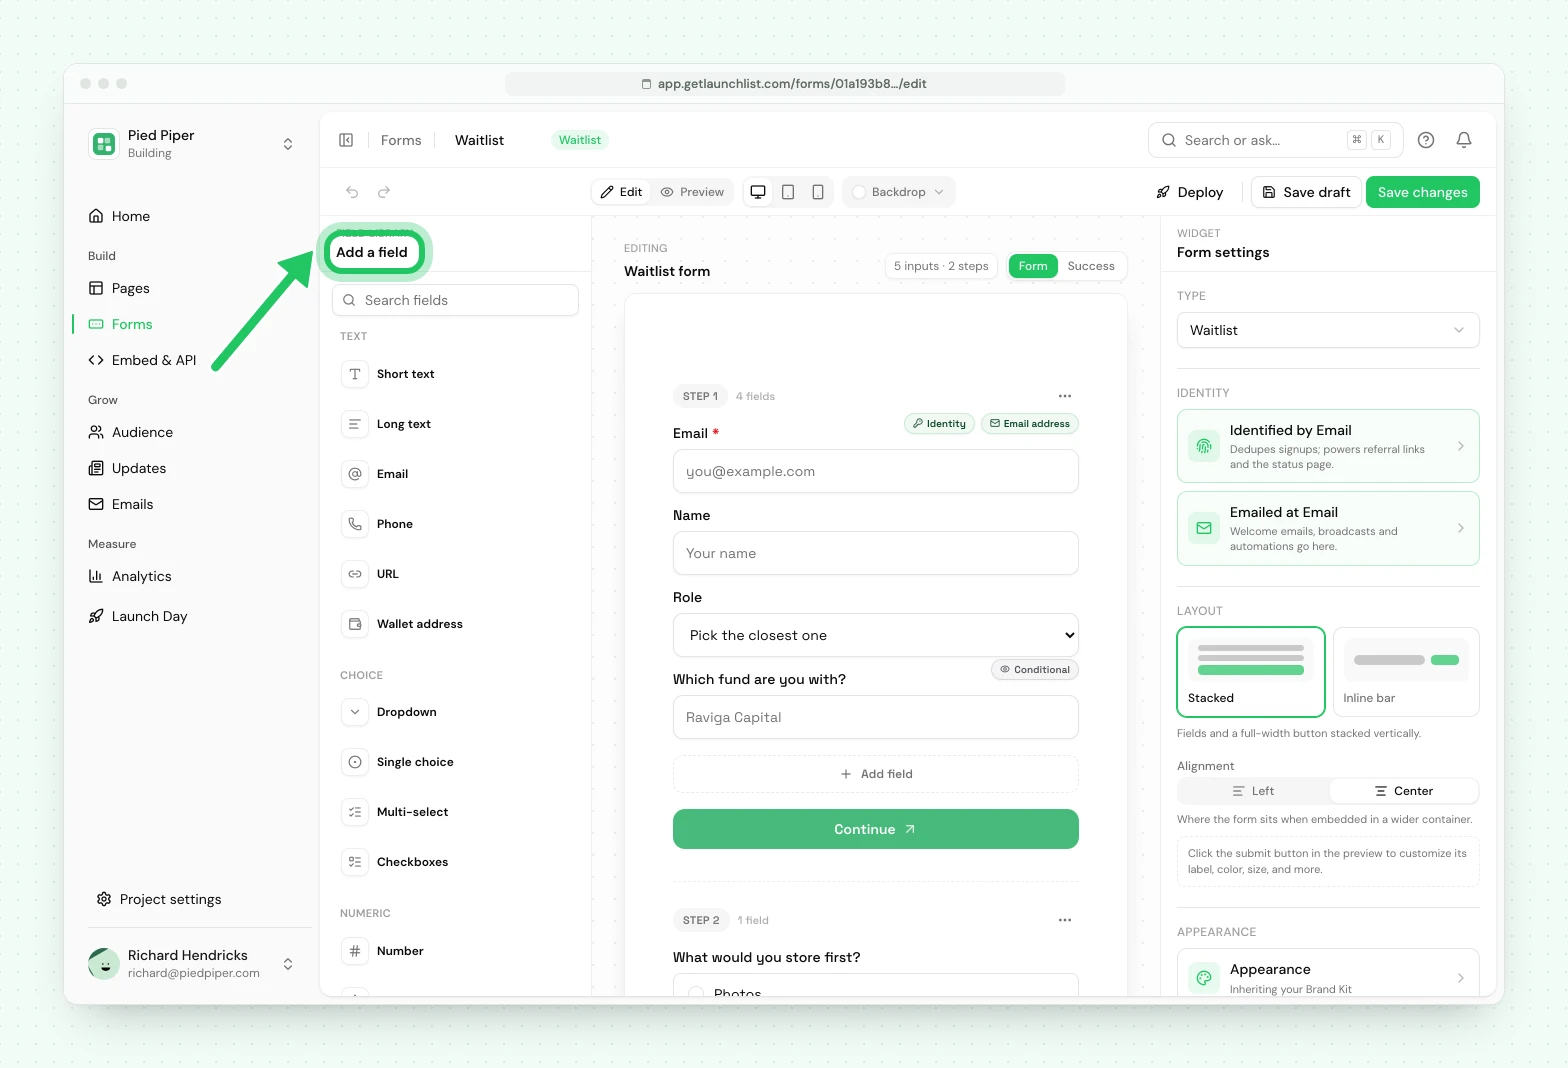
Each field has a label, a placeholder or help line, and a Required switch. Set its width to Full or Half, so two short fields share a row on a computer. On a phone every field is full width. Move a field up or down from its toolbar on the canvas.
Under More options on a field:
- Show only when asks it only after another question is answered.
- Name in exports and the API is the key its answers are filed under, in CSV exports and in the API. Rename it before you publish if you want a different one.
A hidden field records where a signup came from without asking anyone. Its name doubles as a
query parameter, so ?invite_batch=wave2 on the link you share lands in that column, and the
Value you set is used when the parameter is absent.
Split into steps, under the form's own More options, asks the first half of the fields, then the rest.
How people are recognized#
Every signup is recognized by one field, and that is what stops the same person appearing twice: signing up again with the same answer updates the same person, and it gives each signup their referral link and status page. A new signup form is recognized by email. To change it, open the form's More options in Properties and pick another field under Recognized by:
- Email: an Email field.
- Phone number: a Phone field.
- Username: a Short text field, like a handle or a member ID.
- Wallet address: a Wallet field, for a crypto launch. It takes an EVM, Solana or Bitcoin address, or an ENS name.
- Your own ID: a URL or Number field.
Add the field first (Add field), then choose it. The field you choose becomes required and is always shown, and it cannot be deleted while it recognizes signups: choose another field first. The change goes live when you publish, and a signup form cannot be published without one.
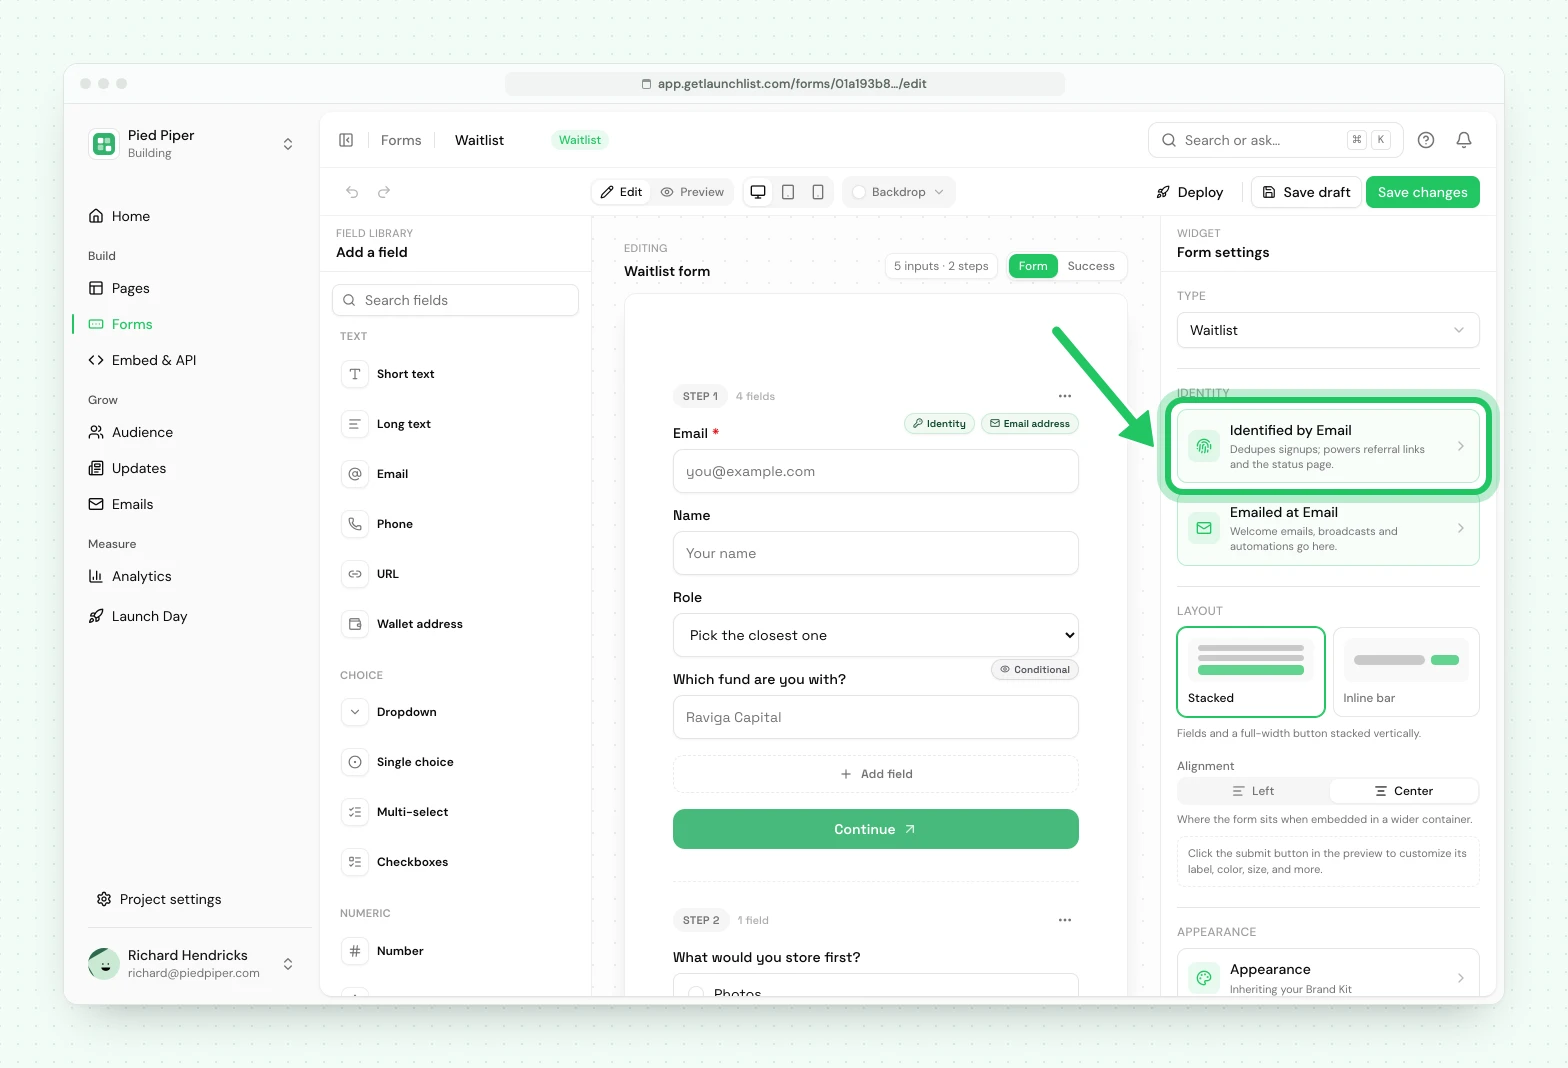
Everything downstream works the same way whatever you choose: duplicates, referrals, the status page, the API. Emails are different, because LaunchList sends email, not text messages. If a form recognized by phone, username or wallet also has an Email field, signups are emailed at the address they typed there, and the verification link goes to that address. With no Email field there is no address to verify or to send a welcome email, a broadcast or an automation to, and the editor says so under Ask people to verify their email.
Choosing a design#
Under Design, pick one of four:
- Simple: each field with its label above it, then the button.
- Bar: one box with the button beside it. It fits a form that asks one thing, like an email; with more fields it shows as Simple.
- Card: the form on a card with a heading and a short line of your own.
- Line: fields drawn as a single underline.
Then set its accent color (your brand color unless you pick another), fonts (your site's own font, or one of our pairings), corners and the space between fields. Finer colors for the fields and the button are under More options.
Embedded forms render inside a shadow root, so the host site's CSS cannot reach them. That is what makes an embed safe to drop into a site you do not control, and it is why you style the form here rather than in CSS on your site.
On your launch page the form takes the page's own look, so it matches the page around it.
What people see after they sign up#
Click the part under the form, or open After signup in Properties, and pick one:
- Status page (the default): their own page with their place in line and a link to share.
- Message: a heading and message of your own, where the form was.
- Link: a page of your own, like a payment link, on the Collect plan and above.
With Link or Status page, Open in a new tab opens it in a new tab when the form is on your website, so your site stays open. A launch page always opens it in the same tab.
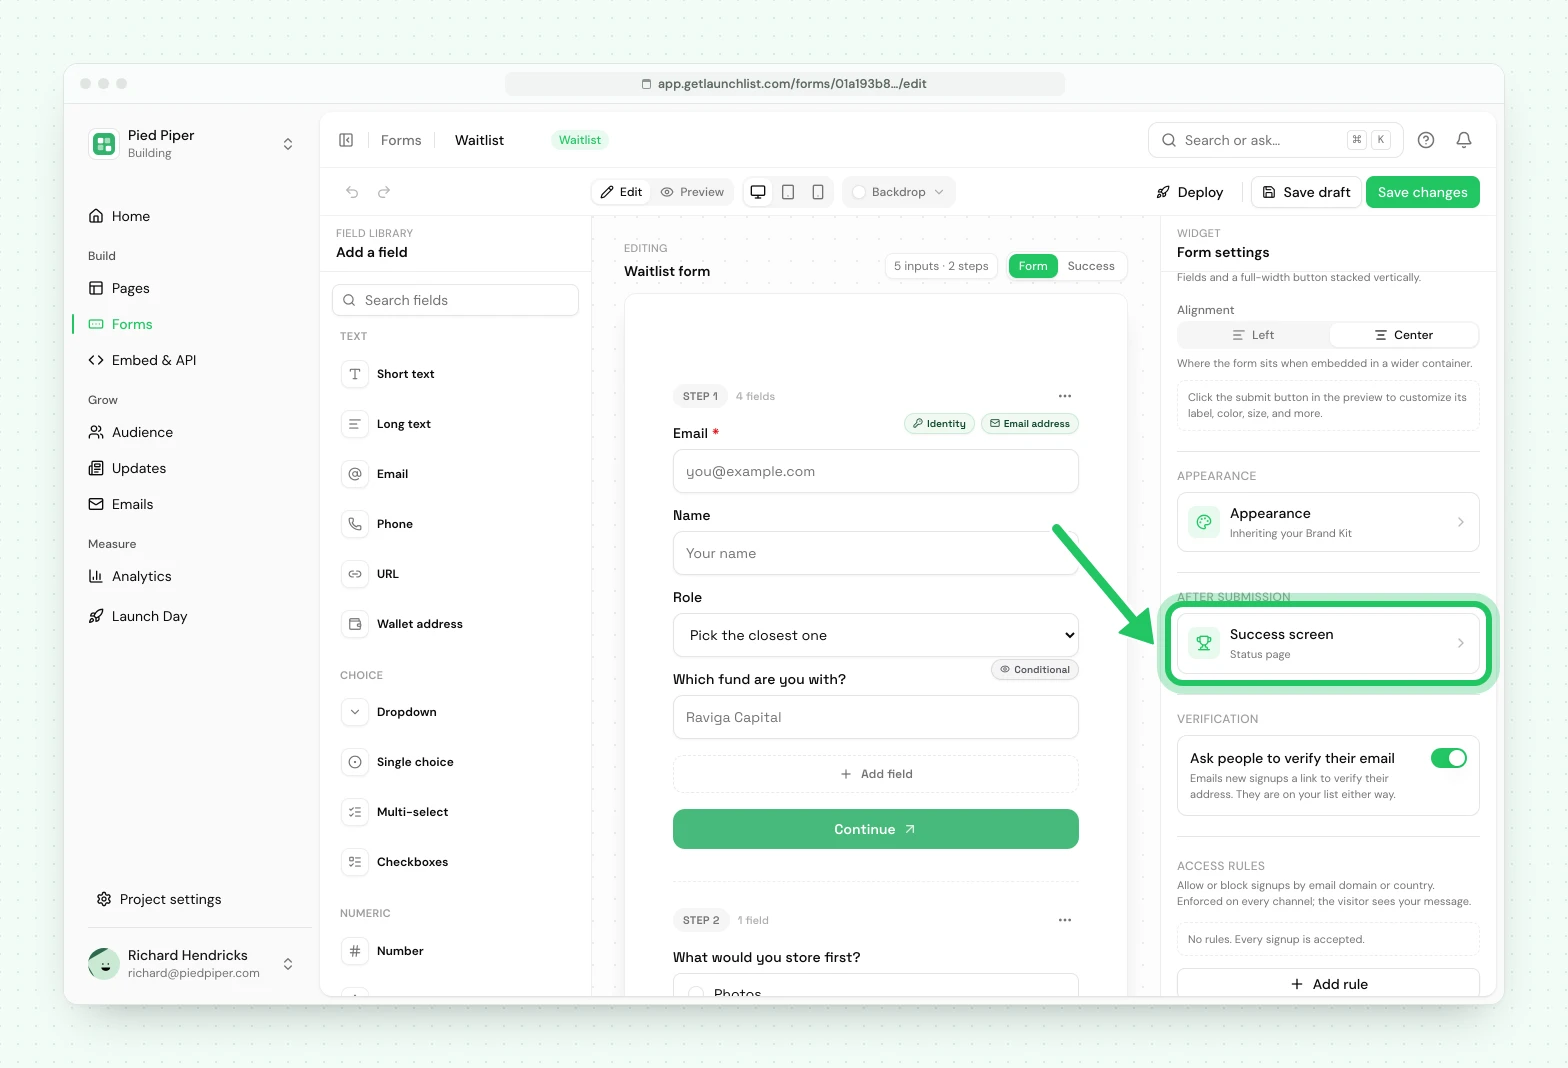
A message can use variables, like {{first_name|there}} or {{position}}: press Add a variable
under the heading or the message. The full list, and how each choice works, is on
the success page.
Ask people to verify their email sends each new signup a link to verify their address. It is on for a new signup form, and a form with no email field cannot use it. Everyone who signs up is on your list either way: verifying only proves the address, and until they verify, their welcome email waits and a referral they bring counts once they click. While it is on, the default message tells them to check their email. See email verification.
Who can sign up blocks or allows signups by email domain or by country. A rule by email domain needs an Email field on the form, since it checks the address they give.
Surveys#
A survey is edited the same way. It shows on your signups' status pages, where they answer as themselves. Anywhere else (your website, or sent from your app) it asks for their email first, so we know who answered, and someone new is added to your signups.
Read what a survey collected under Forms: open the survey's menu and choose See answers.
Adding the form to your site#
Press Add to site in the top bar (Share on a survey). It has one tab for each place:
- Launch page: the page we host, with the form already on it. Copy its link and share it.
- Your website: choose what your site is built with, and follow that builder's own steps. The code to paste is in each step.
- Your app: one request, with your form's own fields, to send signups from your own code.
Then sign up once yourself with your own email and find yourself in Audience.
Next#
- Every way to integrate: every place the form can go
- The success page: what people see after they sign up
- Core concepts: forms, contacts and submissions
Common questions
Can I add custom fields to a waitlist signup form?
Yes, without writing any HTML. Press Add field and pick a name, text, choice, number, date, rating, consent or hidden field. Every embed on every site picks up the change when you publish, so nothing needs re-pasting.
Do my changes go live as I type?
No. The editor saves your work as a draft a moment after you stop typing, and your live form keeps working unchanged. Your changes go live only when you press Publish.
How many fields should a waitlist form have?
As few as possible, usually one. Every additional field costs signups. Ask for what you will act on before launch, and collect the rest later with a survey.
