Contact Sales & After-Sales Service

Contact & Quotation

  • Inquire: Call 0086-755-23203480, or reach out via the form below/your sales contact to discuss our design, manufacturing, and assembly capabilities.
  • Quote: Email your PCB files to [email protected] (Preferred for large files) or submit online. We will contact you promptly. Please ensure your email is correct.
One place for your enquiry

Continue on Contact

  1. Download the planning worksheet and review the open items.
  2. Send your requirements and available fabrication files on Contact.
  3. Agree the construction, inspection scope and quotation before ordering.
Request a project review →

Need an NDA or a particular file-transfer method? Contact us before sharing confidential files.

Notes:
For PCB fabrication, we require PCB design file in Gerber RS-274X format (most preferred), *.PCB/DDB (Protel, inform your program version) format or *.BRD (Eagle) format. For PCB assembly, we require PCB design file in above mentioned format, drilling file and BOM. Click to download BOM template To avoid file missing, please include all files into one folder and compress it into .zip or .rar format.

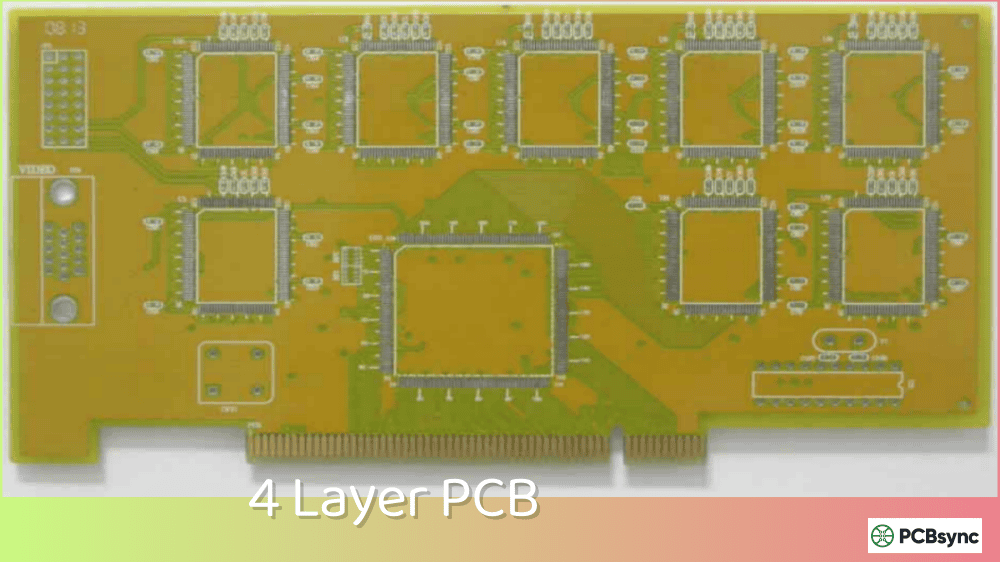
PCB manufacturing / four-layer return paths and power distribution

4 Layer PCB.
A clearer path from layout to build.

Compare four-layer electrical allocations, choose your thickness target and prepare the fabrication review scope. Prepare the stackup questions that matter before you route critical signals.

Prototype & production requirements · Bare-board fabrication · Assembly available

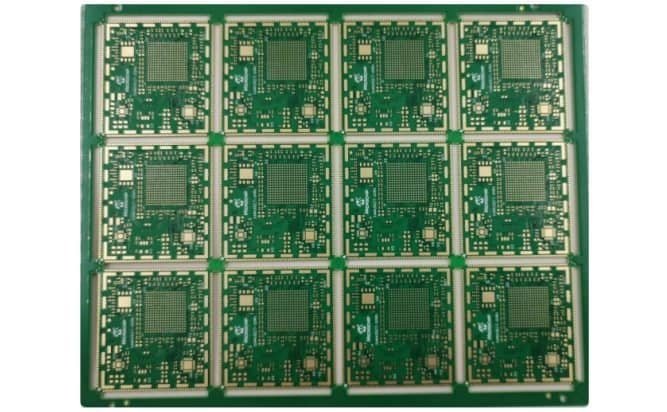
Bare printed circuit board with fine-pitch pads and edge contacts
From the board, to your design.Fine-pitch pads, plated holes and edge contacts. Compare four-layer electrical allocations in the planner below.
Configure first

4 Layer PCB tools. One project brief.

Start with size, quantity and thickness. Compare the electrical layer assignment, record unresolved requirements, then prepare a project brief for Contact.

Engineering worksheet · no sign-up

Compare 4-layer reference strategies

Compare ground-referenced routing and power distribution. A power plane requires a defined return-transition strategy; neither arrangement is automatically suitable.

Enable JavaScript to use this worksheet. You can also send your requirements through Contact.

Discuss this project →

Inputs stay in this page until you download them. Nothing is submitted automatically. Review the worksheet, then attach it on Contact.

WORKED ENGINEERING EXAMPLE

Follow the return path when a signal changes layers

Hypothetical design scenario · Original conceptual diagram · Not a customer case or approved fabrication specification

Follow the return path when a signal changes layers. Original conceptual engineering diagram; hypothetical values.L1 SignalL2 GroundL3 Ground / powerL4 SignalLayer functions only — spacing is not to scale
L1 signal · L2 ground · L3 ground or power · L4 signal. Diagram is not to scale.

Consider a hypothetical four-layer controller with routing on L1 and L4. In S/G/G/S, both routing faces can reference ground planes. In S/G/P/S, the bottom signal references a power plane; a transition between reference systems needs a suitable high-frequency return path. Neither arrangement is an approved impedance stackup.

Use this in your design review

  1. Identify the actual reference conductor along each critical route.
  2. Check plane splits and reference changes at signal vias.
  3. Move to six layers if the routing and reference requirements cannot coexist within the four-layer construction.

What to bring to the review

Request dielectric thickness, material properties at the design conditions, finished copper and the impedance geometry. A layer-purpose sketch alone cannot determine trace width.

Discuss this construction →
Board specifications, layer concepts & fabrication brief
PCBSync engineering workbench

4 Layer PCB design & cost planner

Plan the board. Compare the construction. Prepare a useful RFQ.

Enable JavaScript for the planner, or use the Contact page. No sign-in or design-file upload is needed to explore the tool.

01 / Your board specification

02 / Electrical structure

Compare the role of each copper layer before committing to a layout. Coloured rows show electrical assignments, not dielectric dimensions or a pressed stackup.

Confirm material grade, copper, dielectric spacing, impedance and tolerance with engineering. Extra layers alone do not guarantee a continuous return path.

Electrical concept

Signal / ground / power · not to scale

Engineering limits and data storage

This tool prepares specifications; it does not inspect files or issue a price, approved stackup, impedance result or delivery commitment. Non-personal specifications may be retained in this browser tab for two hours. Download and review your brief before sending it through Contact.

Understand the construction

What is a 4 layer PCB?

A 4 layer PCB has four copper layers separated by dielectric material. A common arrangement places signal routing on the two outer layers and reference or power planes internally. Another useful allocation dedicates both internal layers to ground and routes power on the outside. Neither is universally best: power distribution, signal references and available routing area decide the fit.

This page focuses on 4 layer PCB. For material families, layer-count tradeoffs and manufacturing routes, return to the multilayer PCB overview. For wider construction choices, see our PCB manufacturing planner.

Structure before routing

Choose the electrical allocation. Then confirm the physical stack.

These are planning choices, not released material recipes. Layer roles, pressed dielectric thicknesses, copper and the finished-board tolerance must be reviewed together.

ChoiceWhat it changesReview before release
S / G / G / STwo inner ground references; power routed on the outer layers.Useful when continuous outer-signal references are a priority. Check power routing area, voltage drop and decoupling.
S / G / P / SOne ground plane and one dedicated power plane.Signals near the power plane reference that plane. Review power-reference transitions and decoupling; do not assume every signal sees ground.
0.8 or 1.0 mm targetCompact mechanical envelopes.Check handling, connector fit and the dielectric spacing required by the proposed trace geometry.
1.2 or 1.6 mm targetAlternative mechanical targets for general board formats.Confirm finished thickness tolerance and the actual copper / dielectric construction; a target alone does not define impedance.
2.0 or 2.4 mm targetGreater mechanical thickness where required.Revisit drill aspect ratio, connector engagement and dielectric gaps. More thickness is not automatically better electrical performance.
A prepreg glass-style name is not a guaranteed pressed thickness. Use the selected material system, resin content, copper distribution and the manufacturer’s proposed construction. The thickness checker above adds user-entered geometry; it does not predict lamination.
Design for a buildable board

4 Layer PCB design tips that change the next decision.

01 / References

Treat both sides as electrical structures

A top trace close to ground and a bottom trace close to power have different reference arrangements. When a net changes layers, examine how its return current transfers. Add ground stitching when it connects the relevant ground references; it cannot by itself make two different reference nets equivalent.

02 / Power

Budget the routing area

In S / G / G / S, the inner layers can stay continuous ground, but supply routing still needs space and a current-carrying strategy. Reserve area for power distribution, decoupling and component escape before judging whether four layers are sufficient.

03 / Geometry

Confirm spacing before impedance routing

For outer-layer traces, the nearby reference distance matters more than the overall board thickness alone. Agree the pressed stackup, material values and copper before freezing widths and gaps. Avoid copying another supplier’s four-layer trace width without its full construction.

FOLLOW THE RETURN PATHContinuous referenceKeep the nearby reference continuous.Split referenceA split can force a longer return route.Concept only. Actual current distribution depends on frequency and the full structure.
Return-path concept, not an electromagnetic simulation.

Make impedance a complete requirement.

Specify the target, tolerance, signal layer, reference layer and trace structure. Add the material and fabrication notes that control the geometry. A nominal target such as 50 Ω is incomplete without its construction and acceptance plan.

Explore controlled-impedance manufacturing and the impedance calculator. Use early calculations to frame the review, then agree the stackup before final routing.

For hole geometry, the drill aspect-ratio checker is a useful planning aid. Confirm whether a value refers to a drilled hole or a finished plated hole.

Mechanical and electrical fit

Specify thickness without losing the stackup.

Start with the product’s constraints.

Connector engagement, enclosure clearances, board support and assembly handling can constrain the finished thickness. Record the target and acceptable tolerance in the fabrication drawing. Include copper and coating assumptions when comparing a calculated total with the nominal board thickness.

For 4 layer PCB, do not assume a thinner board is cheaper or that a thicker one is electrically safer. Dielectric availability, hole geometry, material choices and the process route can outweigh the nominal thickness.

Separate a target from an approved recipe.

The tool offers mechanical targets for discussion. Feasibility depends on the combined layer count, copper, materials and features. A thickness target alone does not establish a buildable material construction.

Ask for a stackup drawing that identifies material, copper, pressed dielectric spacing, finished thickness and tolerances. Keep the approved drawing with the released fabrication files so repeat orders use the same controlling requirements.

What controls the price

Compare 4 layer PCB costs on the same specification.

01 / Construction

Layers are one part of the cost

Board area, material, copper and finish enter the base comparison. Dense features, unusual tolerances and complex vias can change the manufacturing route. Keep required electrical and reliability constraints when discussing cost reductions.

02 / Batch

Compare quantity breaks

Tooling and setup are spread over the batch. Panel utilization and production quantity affect the commercial quote. Compare the same revision at prototype and intended production quantities, with consistent inspection requirements.

03 / Scope

Separate the unpriced additions

Impedance verification, special vias, material substitutions, expediting, assembly, freight and taxes must be identified. A planning estimate with those items excluded cannot be compared directly with a fully scoped production quote.

Construction & verification

Connect the construction to the inspection plan.

Review areaEvidence to agree
Fabrication releaseRevision-controlled Gerber and drill files, material / stackup approval and resolved engineering questions.
Bare-board electrical testContinuity and isolation test scope against the agreed netlist. This is different from a powered functional test of an assembly.
Critical structuresProject-relevant inspection or cross-section requirements for holes, copper and material construction.
Controlled impedanceSpecified structures, tolerances and coupon / measurement requirements where requested.
Repeat productionRevision and change control, agreed acceptance records and disposition of any approved substitution.

Explore PCB electrical testing, the PCB laboratory and quality control. Request applicable certification scope and evidence during supplier qualification.

Questions before release

4 Layer PCB questions, answered.

Is S / G / P / S always the best 4 layer PCB stackup?

No. S / G / P / S reserves an internal power plane, while S / G / G / S provides two internal ground references and requires power routing elsewhere. The right allocation depends on power delivery, signal references, return transitions and routing area.

Is 1.6 mm a required thickness for a 4 layer PCB?

No. Finished thickness is a design and manufacturing requirement, not a consequence of layer count. Confirm the target and tolerance against the enclosure, connectors, materials, copper and dielectric build.

Can I use the electrical diagram as a fabrication stackup?

No. It shows copper-layer roles only. A fabrication stackup also needs material grades, pressed dielectric thicknesses, copper, finished thickness and tolerances. Confirm that construction with engineering.

Does this worksheet issue a quotation?

No. The worksheet records requirements and open questions. Request a reviewed quotation on Contact; price and schedule depend on files, materials, process details, quantities and agreed inspection scope.

What should I send if the design is not finished?

Start with the layer count, approximate size, quantities, target thickness, interfaces, material needs and open questions. Share the proposed layer map if available. A complete final quotation may need released fabrication data.

Can manufacturing and assembly be reviewed together?

Yes. Include the BOM, placement data, assembly drawing and test requirements with the board specification. Confirm panelization, finish, component supply and inspection scope across both services.

Engineering quotation

Request your 4 Layer PCB quote.

Send the current revision and the requirements that decide the build. If the design is still evolving, start with a brief and identify what remains open.

  1. Fabrication data: Gerber, drill files, outline and revision.
  2. Construction: layer map, material, target thickness, copper and finish.
  3. Electrical requirements: impedance targets, reference layers, vias and test scope.
  4. Commercial scope: quantity breaks, required timing and assembly needs.

Use Prepare text for Contact to copy your worksheet into your message, or download and attach it. Nothing is sent or transferred automatically.

For a supplier review, ask for the current certification scope and project-relevant inspection records. Discuss NDA arrangements before sending confidential design files.

Prefer a direct conversation? Contact PCBSync.

One place for your enquiry

Continue on Contact

  1. Download the planning worksheet and review the open items.
  2. Send your requirements and available fabrication files on Contact.
  3. Agree the construction, inspection scope and quotation before ordering.
Request a project review →

Need an NDA or a particular file-transfer method? Contact us before sharing confidential files.

PCBSync engineering resources · Updated 30 September 2026 · Diagrams are planning concepts; project-specific manufacturing requirements need confirmation.